The Proving Grounds means every syllable of their name. It’s one tough world to get through. But here’s how to complete and solve all the Proving Grounds puzzles in Remnant 2.
How to Complete the Proving Grounds Puzzles in Remnant 2
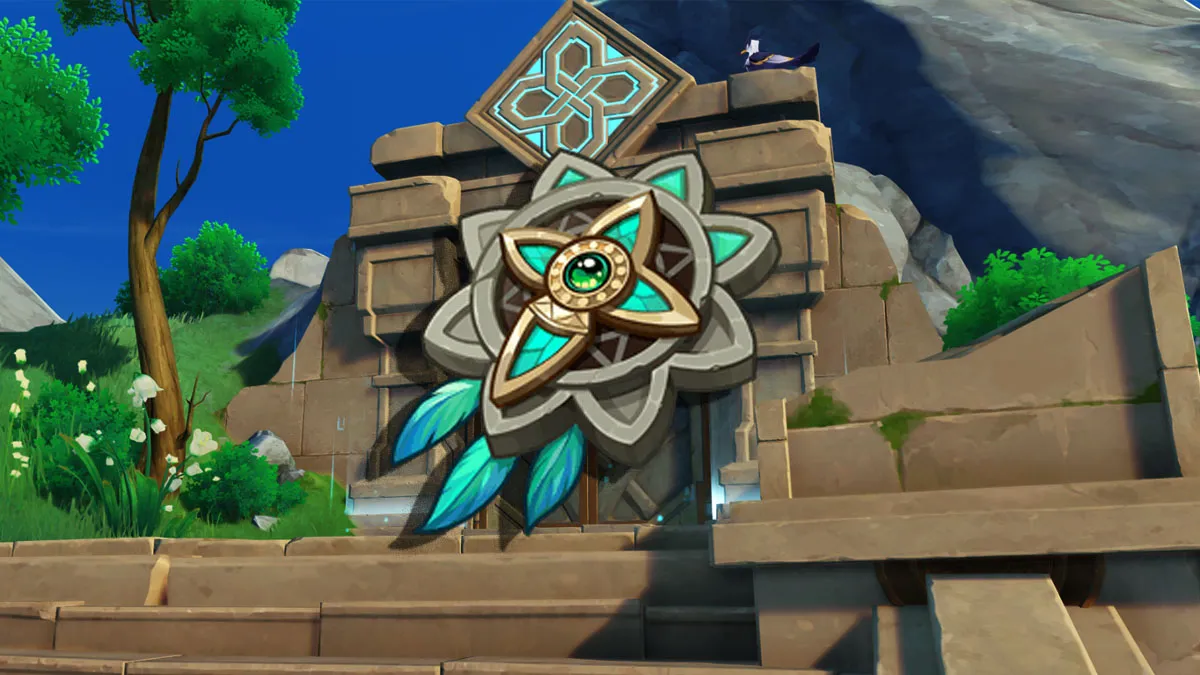
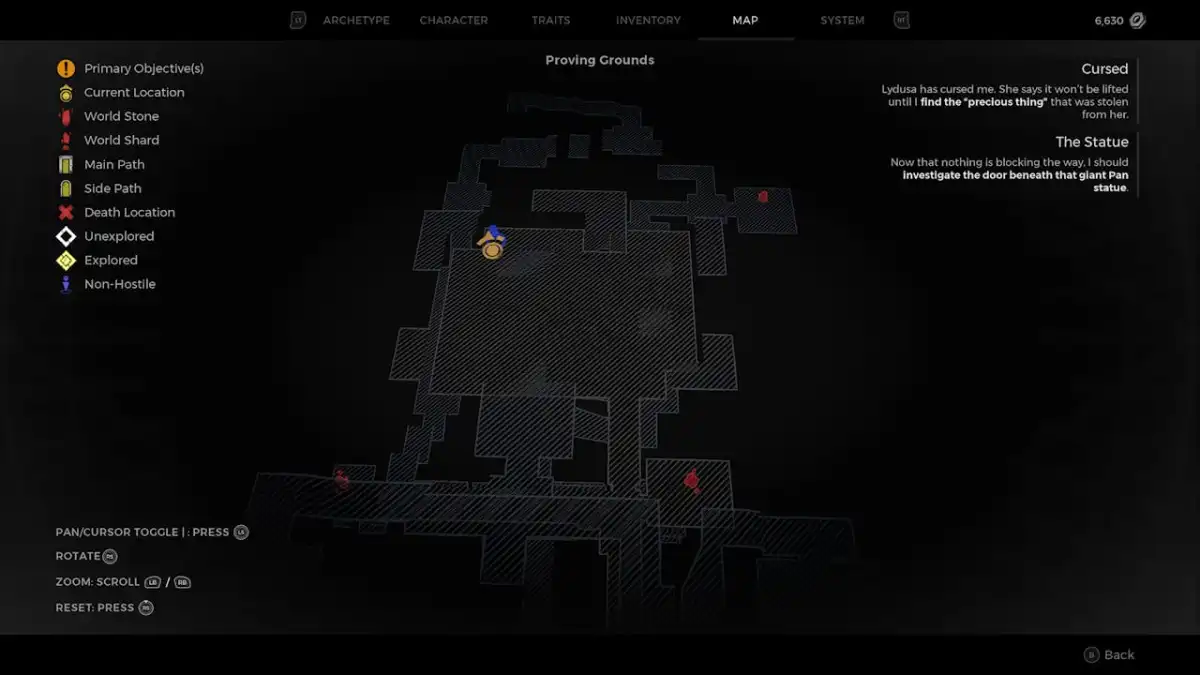
The Proving Grounds is a completely optional world, but completing it will net you three items: the Combat Armor, the Flying Bomb Trap, and the Floodlit Diamond Ring. So, here’s how to complete the three Proving Ground puzzles and find the super-secret room behind an invisible wall in Remnant 2.
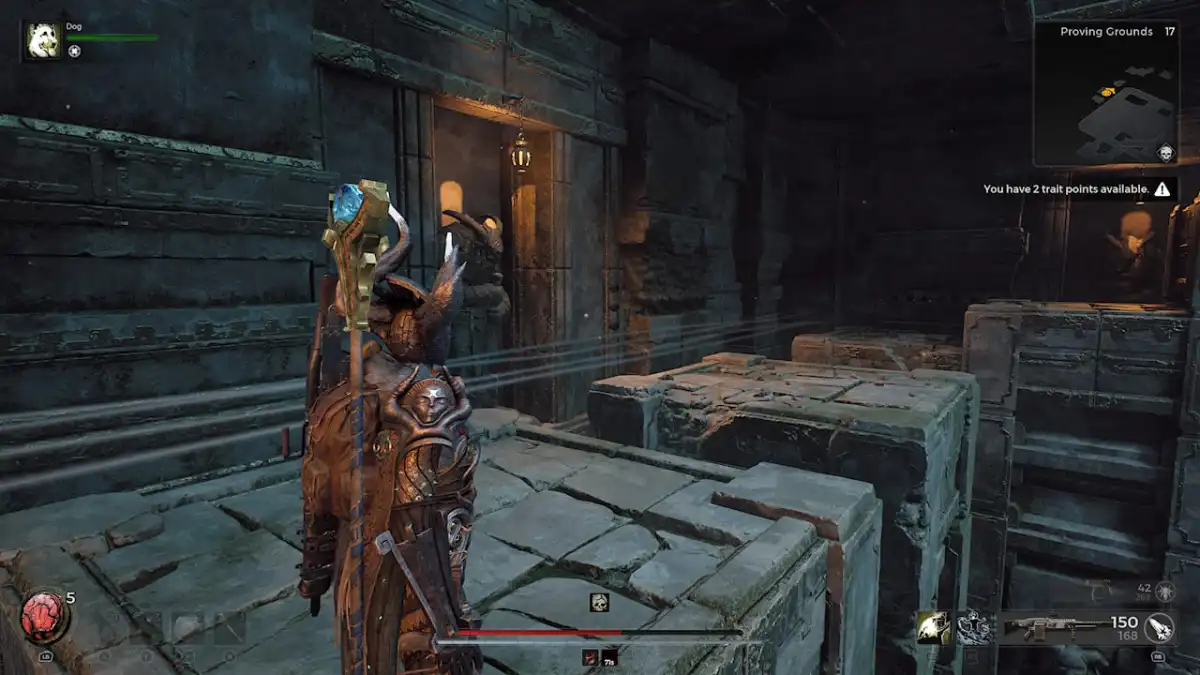
Puzzle 1 in the Proving Grounds in Remnant 2
Before you tackle this quest, I highly recommend the Black Cat Band. This ring will stop you dying once when you take fatal damage, leaving you at 1 HP instead. This will give you a little wiggle room in an otherwise unforgiving set of tests. To get the Black Cat Band, die 13 times and buy it from Reggie in Ward 13.
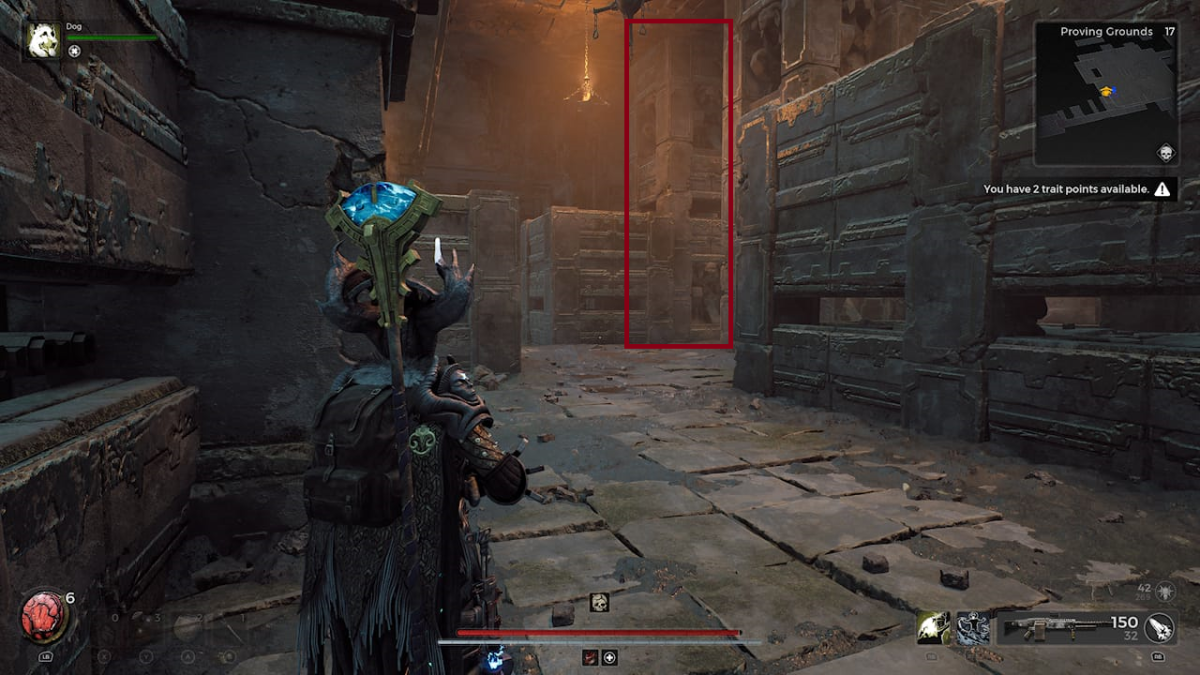
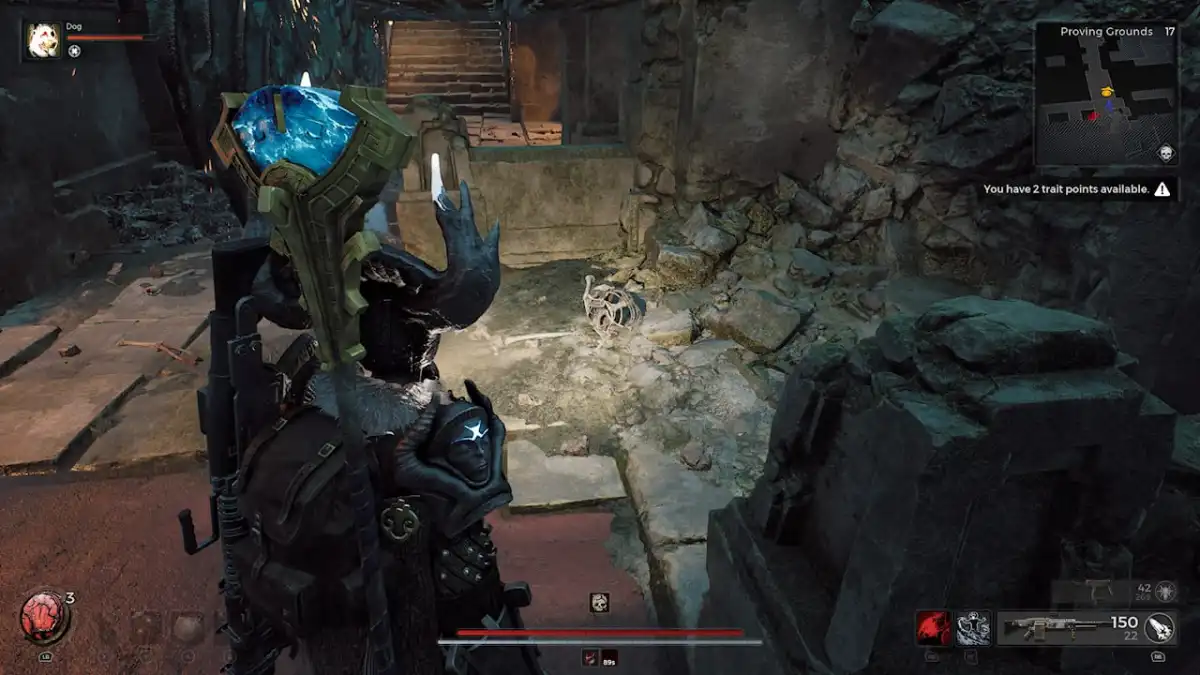
So, first up to the plate is the arrow puzzle. Though, this is less of a puzzle and more a timed test. The solution is straightforward. The moment the arrows closest to you shoot, immediately run to the end of the first platform and jump. Ideally, aim for the far-left side of the platform. Scrambling up each platform has a delay, and the moment you make it up, you’ll likely need to run right and jump again, this time for the right side of the next platform.
Once you’ve made it to the third platform, which lets you essentially scramble up a step, stand very close to the right-hand side. From this position, you can’t be hit by arrows. You’ll need to cautiously walk to the end of this platform, then time your jump. Waiting until the arrows from the wall shoot is usually your best bet. You can then walk towards the end of the next platform and do it again, before quickly scrambling up the stairs to your right.
With the end almost in sight, timing is key. Take your time and be patient, then reach the end. Once you do that, you’ll be able to jump down into the courtyard, where you’ll find a lever. Pull it, and the water will descend. If you like, you can now return to the arrow room and jump down onto the lower floor.
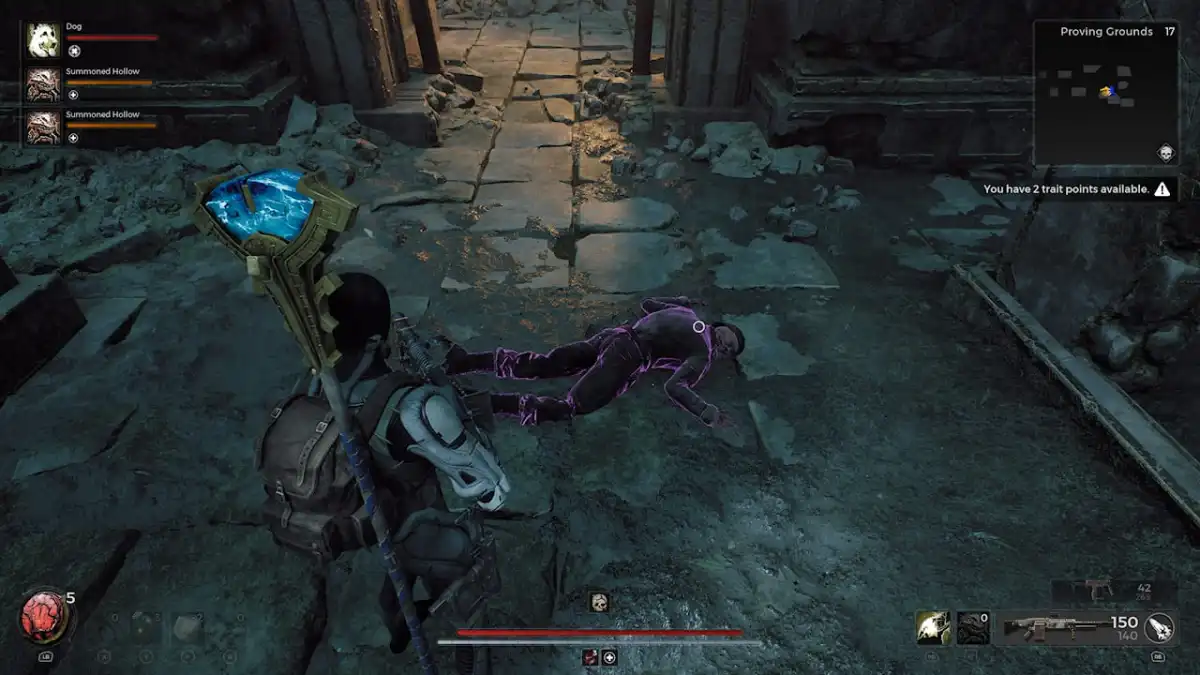
Doing so will let you find the Combat Armor, tucked close to the first jump. But beware of the monsters!
Related: How to Get the Invoker in Remnant 2
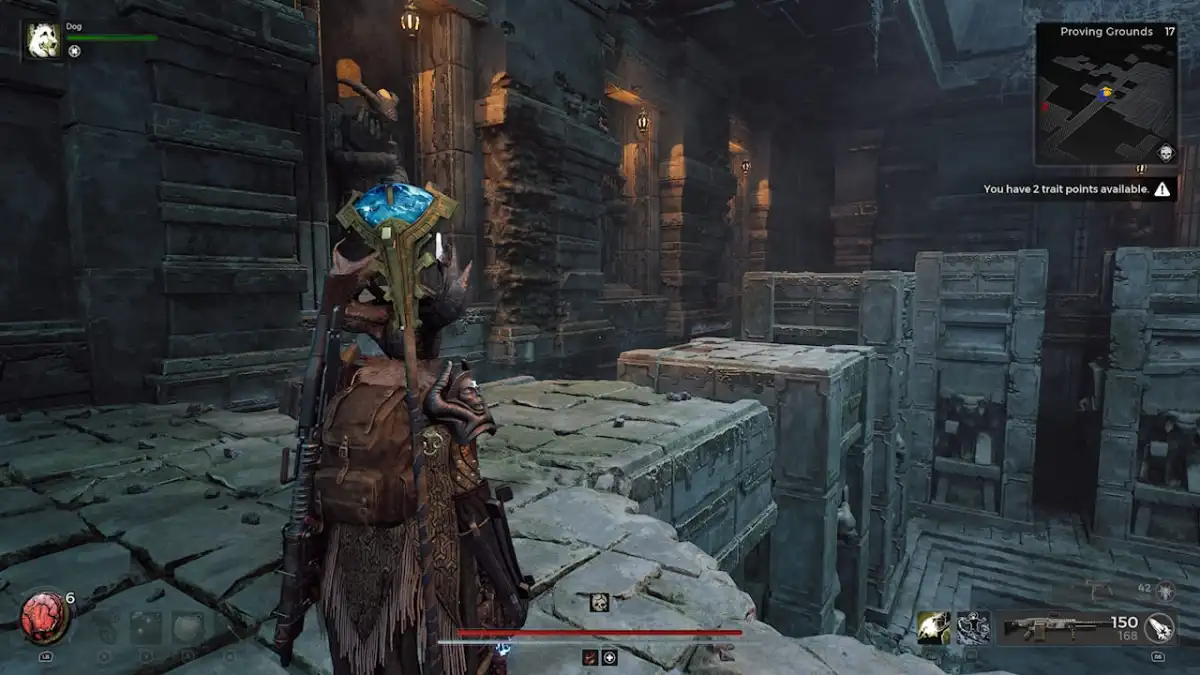
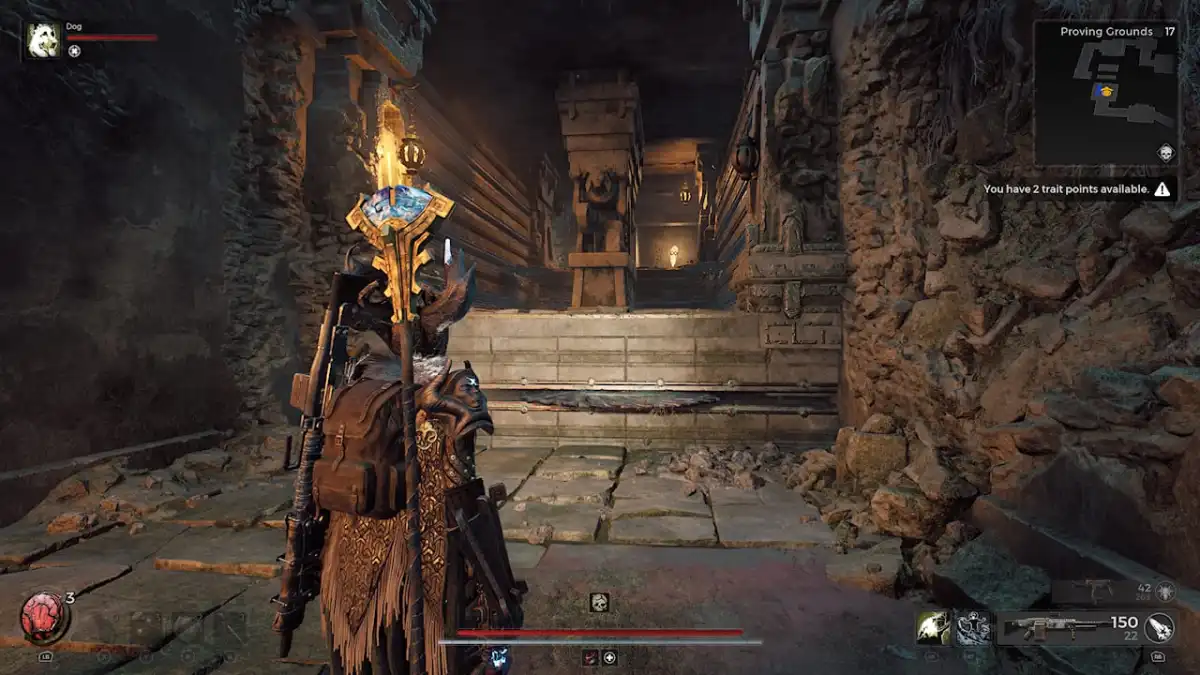
Puzzle 2 in the Proving Grounds
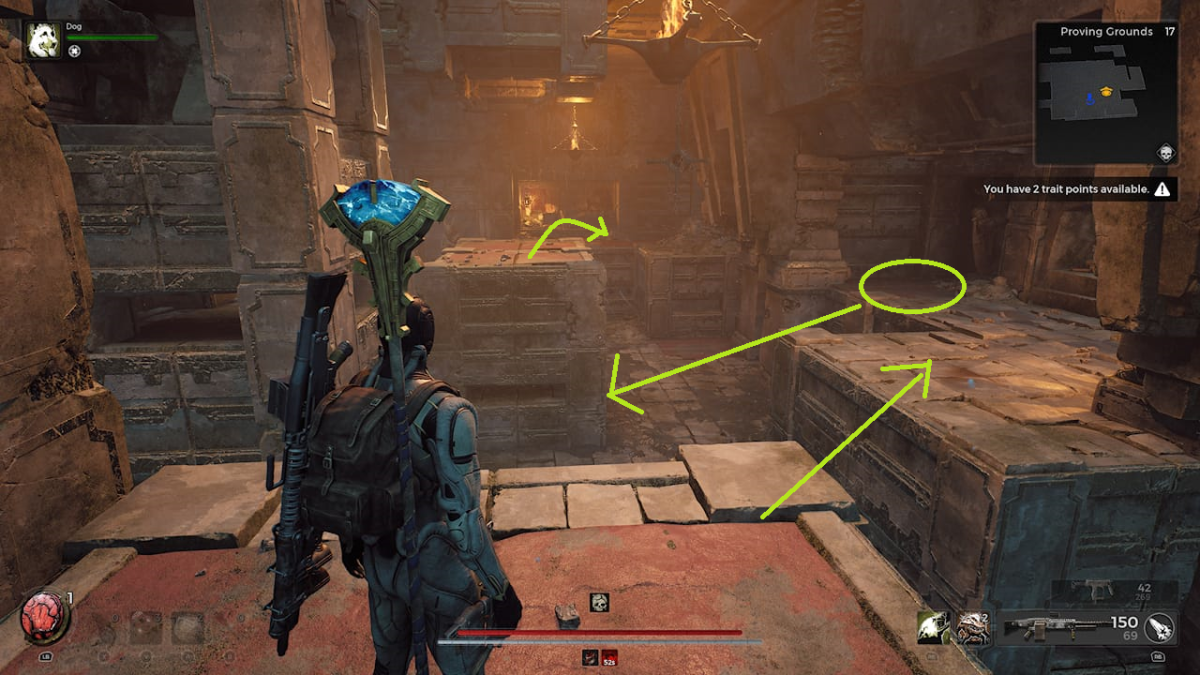
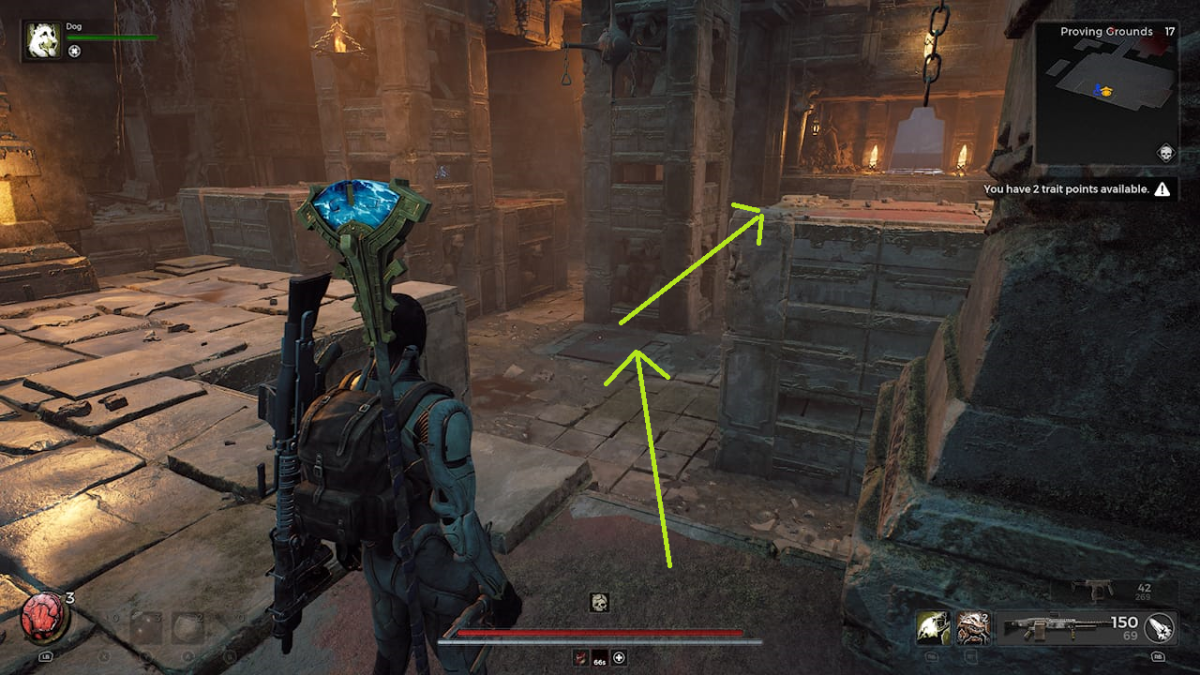
We’re very close to our goal the moment we enter the room. Our objective is to lower the platform that’s immediately left to us when we enter the room and ride the platform up to the next level.
To do that, we’ll need to stand on the red tile in the top left corner of the room. Be sure to kill all the pot enemies before you do so, as it will make your life much easier.
Once you stand on the red tile, the tall pillar on the right side of the room will descend. You’ll need to wait until the tower is fully flush to the floor before running over. That’s because the tiles are timed. The moment you step off of it, you’re running against a timer that will have the tower rise again.
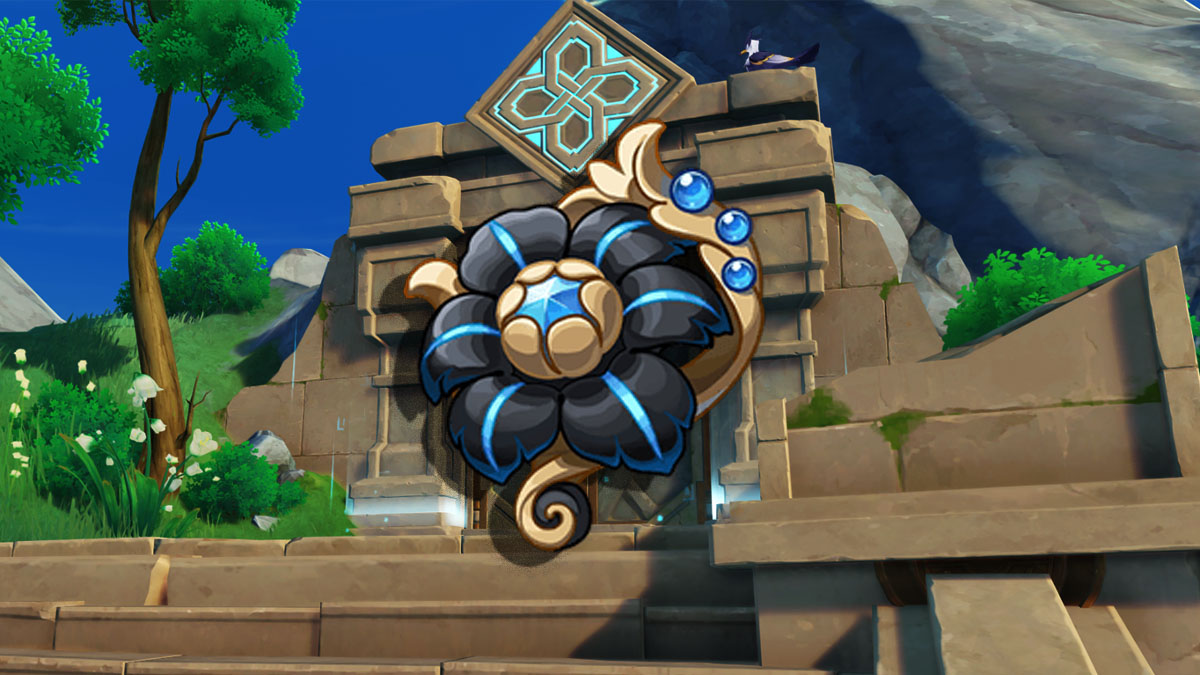
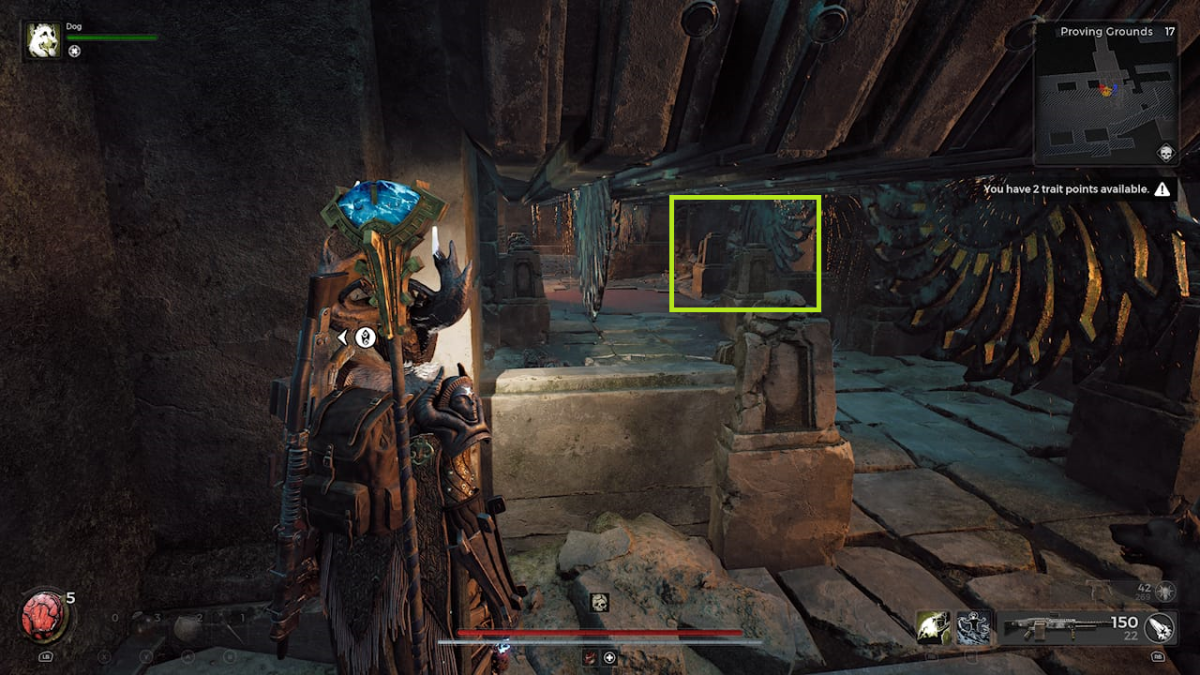
But! Even if you get to the pillar on time, beware! If you don’t jump off to the left platform in time, you’ll be crushed. There are two options for this pillar. You can jump left, which is what you’ll need to do to complete the puzzle or jump towards the wall. Doing so will launch you into a secret room hidden behind an illusion of a wall. Here, you can find the Floodlit Diamond ring.
| Ring | Description |
|---|---|
| Floodlit Diamond Ring | Increases weakspot damage by 12%. Bonus is doubled against Exposed targets. |
This is an exceptionally powerful ring if you know you can consistently hit those crit spots! You can then jump down into the nearby hole and completely bypass the puzzle. Which is really helpful.
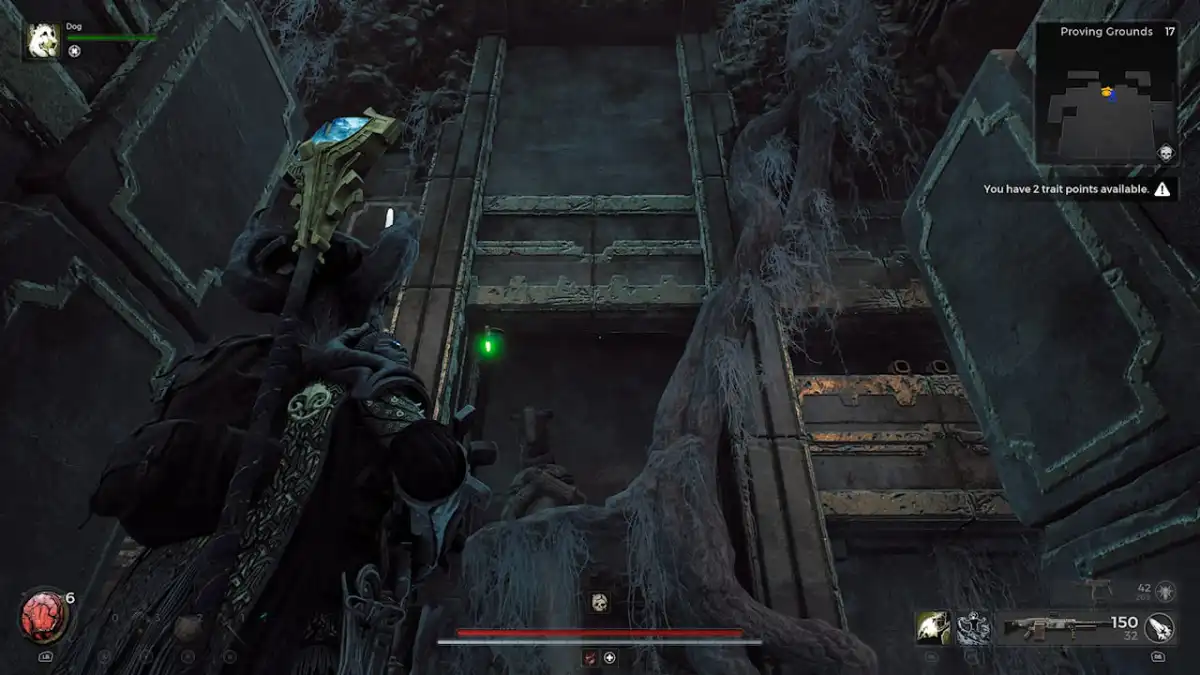
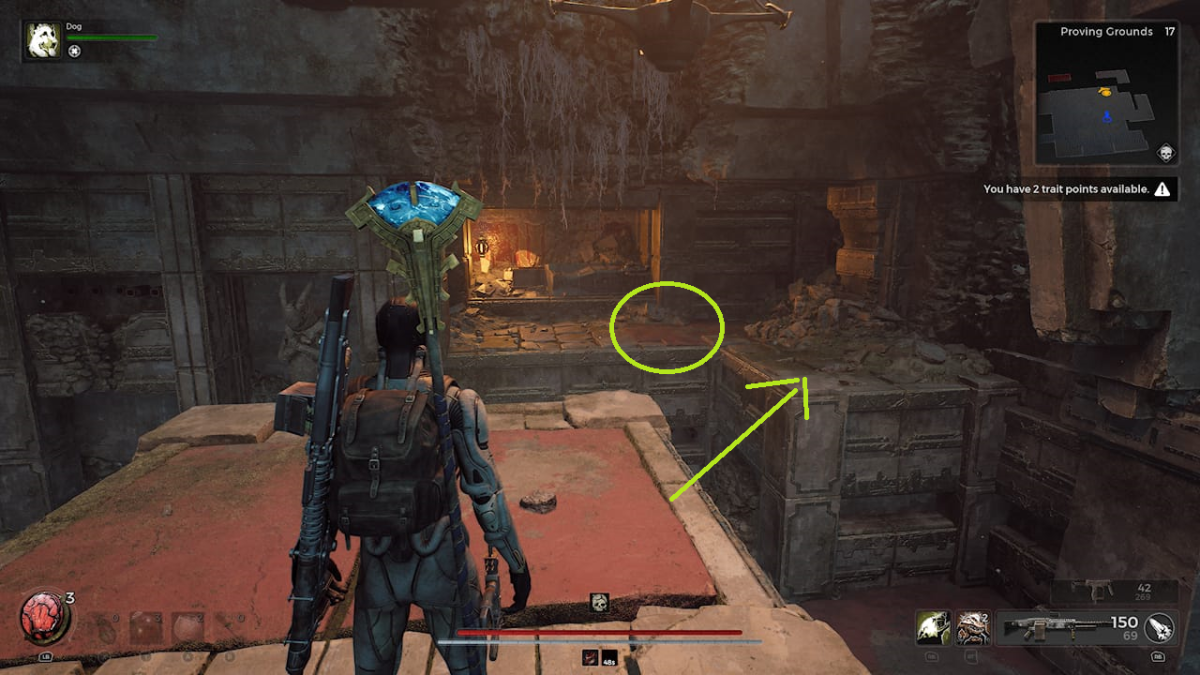
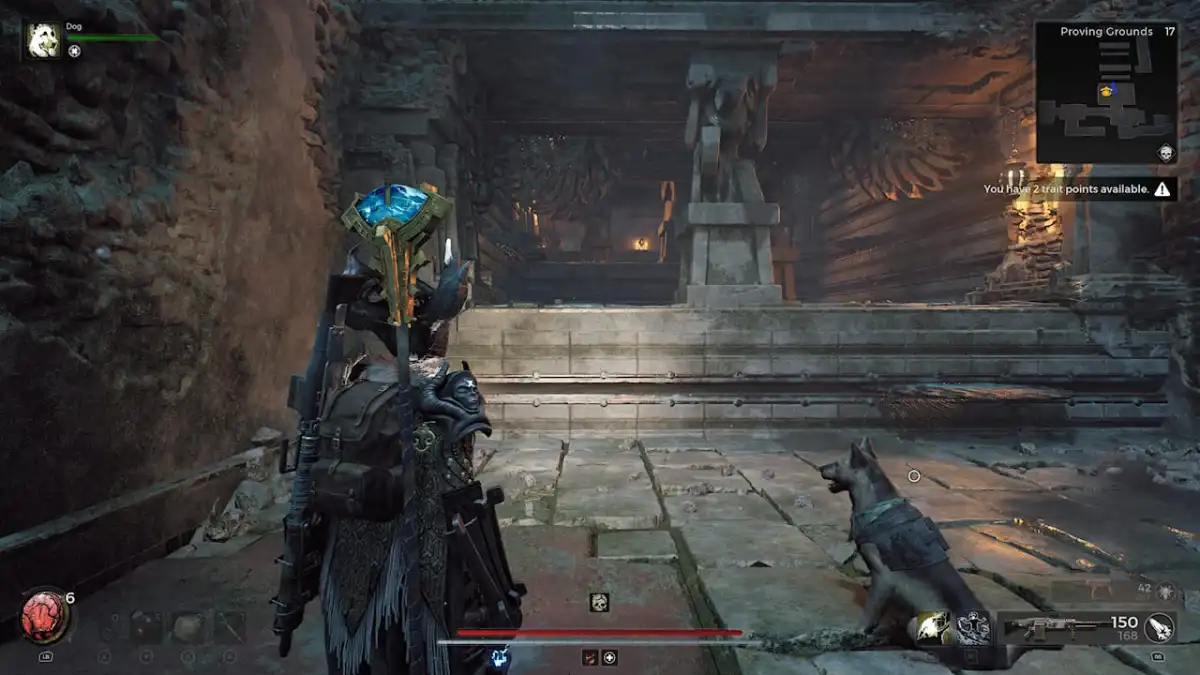
Otherwise, to complete the puzzle like normal, jump onto the far balcony on the most northern side of the room.
Here, you’ll find another red tile. Stand on it, and you’ll see a platform descend.
Run to this platform and jump on it, then jump to the nearby platform in the middle of the room.
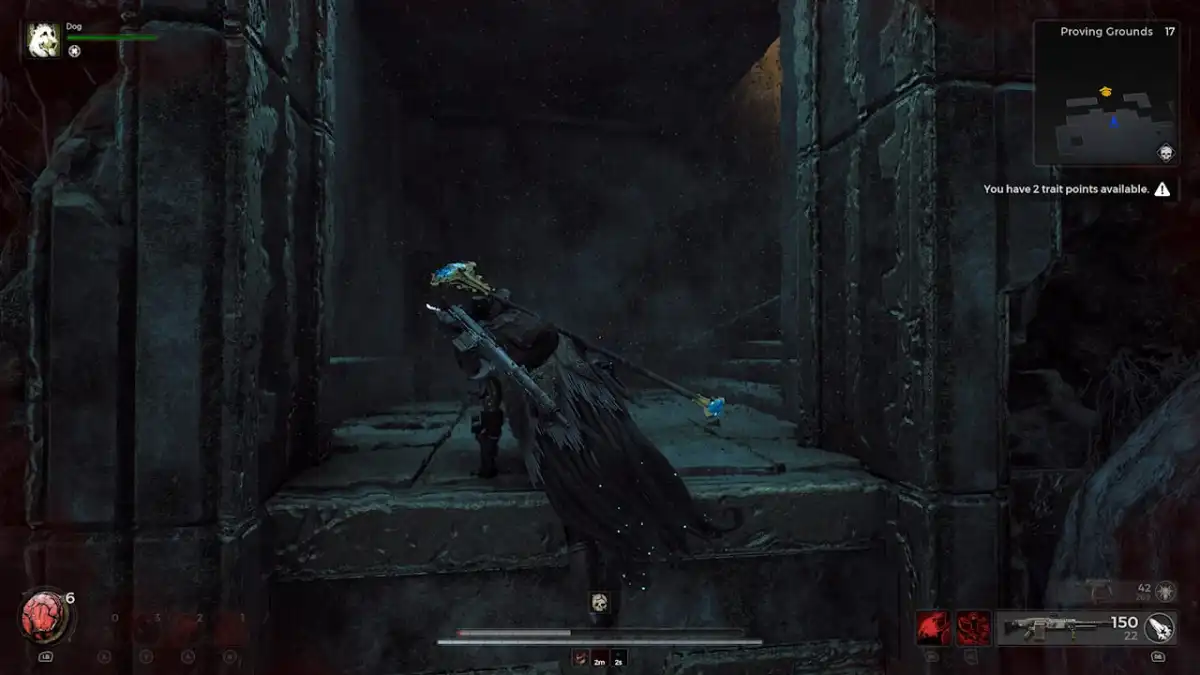
From here, launch yourself to the balcony on the west side of the room and stand on the tile there.
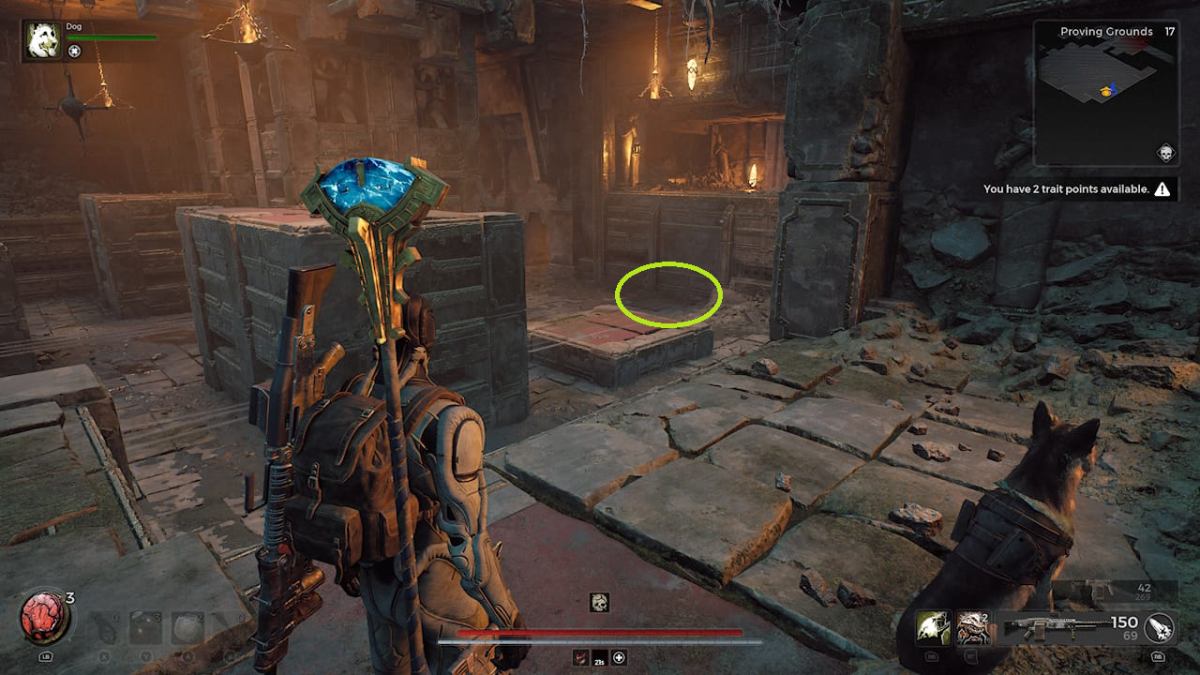
This will cause the final platform near the room’s entrance to descend. You’ll have to run through quite a few arrows, but you should have enough time to make it even if you need to briefly pause. Once you reach the platform, it’s on to the third puzzle!
Related: How to Get the Onyx Pendulum in Remnant 2
Puzzle 3 in the Proving Grounds in Remnant 2
Unfortunately, there’s no hidden room to take us to safety in this puzzle. And I really wish there was, because these saw blade trials are my absolute least favorite. Poor Dog just can’t avoid them. But some people have successfully cheesed it by sliding past the ladder as they descend and going right over the trap tile at the bottom of the floor. I find the cheese to be incredibly unreliable, so here’s how to solve it legitimately.
You’ll need to get to the little alcove to the right side of the sawblade filled corridor. Then, step on the red tile in the middle of the hall. You can safely stand beside the broken column to the right. By standing on this tile, a door will open at the end of the corridor. But, like all things triggered by red tiles, it’s on a timer.
You’ll need to carefully follow the middle blade down the hall, towards the stairs. Then, when the saw blade on your left passes you by, go left and run up the stairs. This will get you through this section safely.
But we’re not done yet. There are two more saw blade sections to go. But unlike the last segment, there’s no real secret to this part. You simply need to stand on the red tile and reach the end of the long hall before the timer runs out.
If the timer does run out, a wall will rise, which will block you off from the next section. You’ll then have to go left, down a corridor, and jump down to restart this segment of puzzle 3. So, that being said, take your time and even do a dry run that’s not timed to help you learn the saw blades and the jumps. It’s better to miss the timer than die, as you’ll have to start all the way back at the checkpoint. Alternatively, you can use the Black Cat Band to absolutely tank one entire saw blade and keep running. But you only get to use the band once every ten minutes.
Fortunately, if you make it through this segment, there will be a checkpoint waiting for you before the last stretch of the third puzzle.
Once you make it to the end, you’ll be granted the Cracked Flask, which you can take to the crafter in Ward 13 for the Flying Bomb Trap weapon mod.
Remnant 2 is available now on PC, PlayStation 5, and Xbox Series X|S.