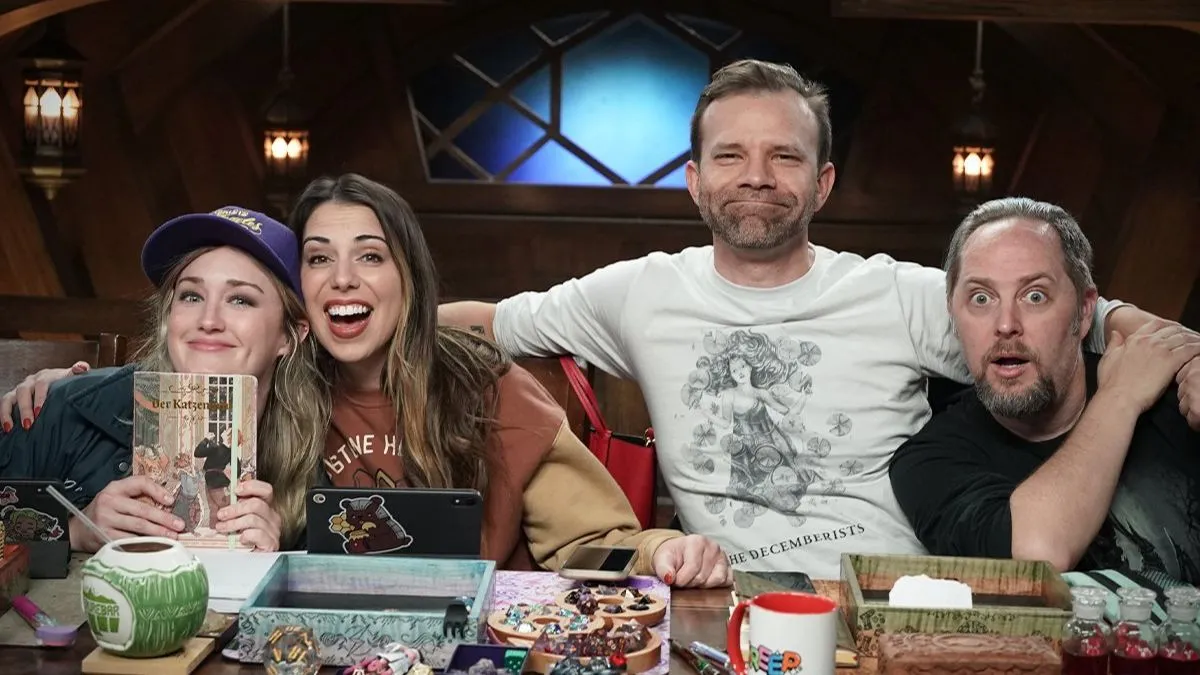
The following explainer contains spoilers for Critical Role, Campaign 3, Episode 77, “The Promise and the Price”
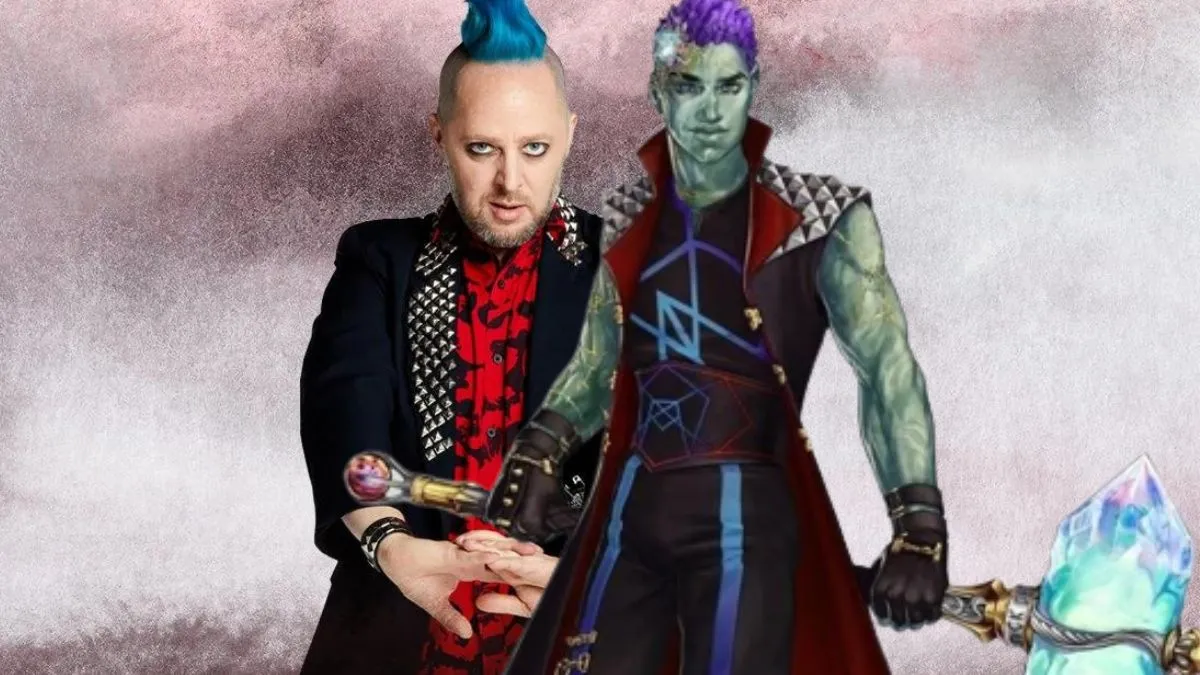
Taliesin Jaffe singlehandedly spiked the heart rates of both fans and players at Critical Role’s table when Ashton Greymoore enacted a foolhardy plan with the shard of the Primordial Rau’shan. Here’s what happened with the controversial (and nearly explosive) character decision.
Taliesin Jaffe’s Ashton Greymoore Attempted to Absorb a Second Shard
Acting against the explicit warning of the Great Tree of Atrophy, Evontra’vir, Ashton decided to use Ludinus Da’leth’s harness, the Quintessence Array, to funnel the power of Rau’shan’s Primordial shard into themselves. Because the Earth Genasi was already infused with the shard of Rau’shan’s mate, Ka’Mort, this course of action was strongly cautioned against, with the implication that one body could not withstand the power of both shards.
Bells Hells’ intended plan was to have Ashley Johnson’s Fearne Calloway use the Quintessence Array to absorb the power of the shard that she helped Ashton retrieve in The Shattered Teeth. However, Ashton informed Fearne of their intentions and convinced her to stay by their side during the process, sending the rest of the party away under false pretenses. Fortunately, as soon as the process became volatile, the Bells Hells rushed back to aid despite their confusion in the change of plan.
What followed ranked among Campaign 3’s most stress-inducing Dungeons & Dragons‘ rolls as Jaffe embarked on ten rounds of Constitution saving throws. The party dumped as much healing and protection into Ashton as possible in an attempt to buoy them through each round of damage. This aide didn’t necessarily evade dire consequences, such as Ashton losing an arm, and a failed save led to Ashton’s explosive death. Fortunately, the barbarian was magically reassembled, thanks to a restorative ring gifted by Aabria Iyengar‘s guest player character, Deanna.
Ashton Greymoore’s Decision Evoked Major Reactions from Critical Role Fans
Though Ashton narrowly avoided explosion, the Critical Role fandom did not. While tension was the theme of the stream, the reactions after the dust had settled ran the entire emotional gamut. A portion of fans were disturbed by Ashton’s actions, with some Critters characterizing their choice as reckless at best and manipulative at worst. Though fans watched Ashton literally come back from the brink of death (thanks to Iyengar), additional stressors cropped up from the sense that this decision endangered the entire party.
However, not all Critical Role fans were upset with Ashton. In fact, many were thrilled to witness such a brazen decision that felt in line with both Jaffe’s style of roleplay and his assessment of Ashton’s faults. Long-time fans of Jaffe’s player characters certainly felt a sense of déjà-vu from Campaign 2, however. One Tumblr user further connected Ashton’s actions as in line with Jaffe’s entire Critical Role resume. Ashton had kissed Fearne right before donning the Quintessence Array, echoing the words of Jaffe’s Campaign 1 character Percy de Rolo: “Don’t trust a man who just kissed somebody – that’s a man who’s saying f**k it.”
While some discourse has cropped up between Critters, many ultimately issued trust in the Critical Role team and the story they’re telling together. Frustrations were likewise palpable at the table and will likely yield some delectably dramatic role-play moments as the group grapples with the emotional fallout of Ashton’s decision. As far as mechanics, Ashton’s missing arm has been replaced with a molten rock appendage, with further technical and emotional aftershocks explored in the campaign’s 78th installment.