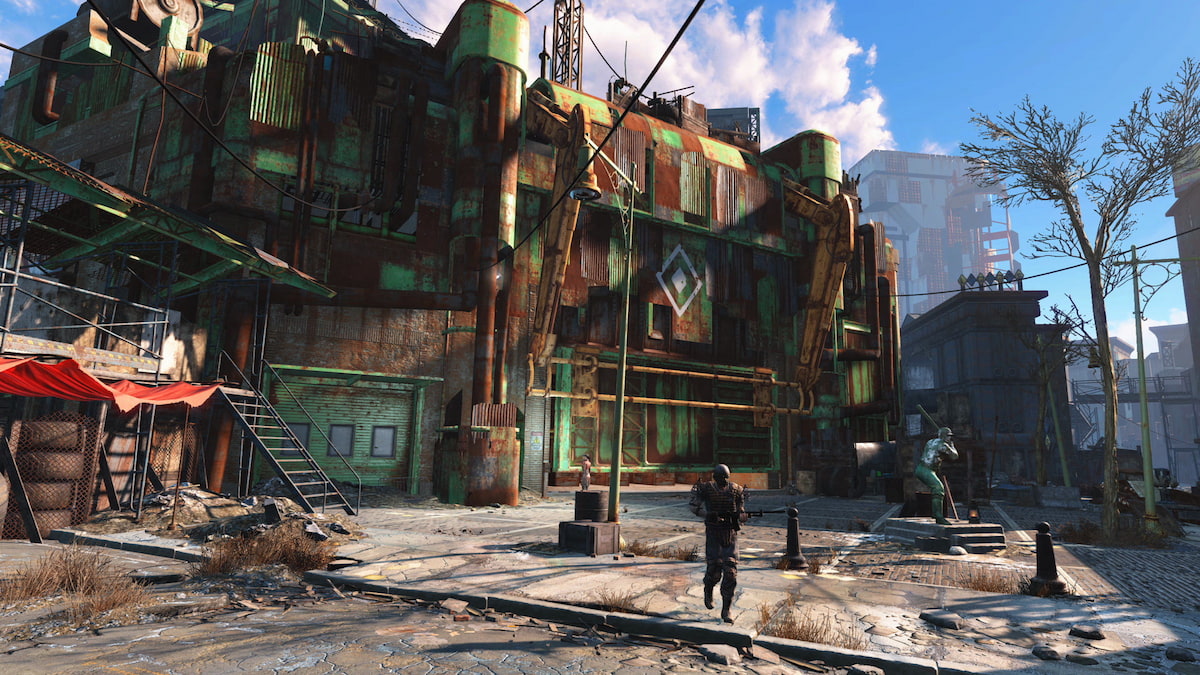
Building settlements is a huge part of the Fallout franchise. To make the Commonwealth a friendlier place and really upgrade your settlements, you’re going to need a network of supply lines. Learn all about this amazing feature with our Fallout 4 supply line tips.
Settlement Supply Lines – Tips & Tricks

If you’re new to Fallout 4‘s settlements system, you might be wondering what exactly supply lines do and what they’re good for.
Establishing a supply line between two settlements instantly allows you to access any items stored in the workshop inventory from both locations. This doesn’t apply to all things – strangely enough, the resources for crafting are pooled, but the actual items cannot be found in the inventory selection. We’ll go into more detail on that later.
Chaining supply lines together, visible on your PipBoy map, will extend the network, pooling together any items from the combined workshop inventories. That includes resources and scrap collected by settlers.
Settlements are unlocked by completing Minuteman faction quests. After earning the settlement, it’s always a good idea to establish a supply line. You can send settlers to any settlement in your network, or you can send them all to one central point.
Personally, I often use Sanctuary Hills as a hub to connect all supply lines, but any settlement (including the more centralized Castle) will work.
How to Establish a Supply Line in Fallout 4
To create Supply Lines, you’ll need to unlock the Local Leader tier 1 perk, which requires CHA Level 6. While in workshop mode on your settlement, you’ll notice a new command at the bottom of the menu – Supply Line. Move your cursor over a Settler and press the button prompt to assign them to a supply line. A menu will appear asking where you would like to send the settler.
More Provisioner Info
A Provisioner is a settler assigned to a supply line job. Like any other job in your settlement, the NPC will automatically begin completing their task. Provisioners do not stay in the settlement, instead they travel to their assigned location. The settlement from which they were assigned will remain their home settlement. They can only travel from their origin point to another settlement.
Provisioners travel the wasteland with a pack brahmin similar to travelling vendors. While travelling, they will not come under attack while you’re away. If you happen to be near a provisioner under attack, it’s probably a good idea to help, but I’ve never seen one die in combat.
Although provisioners travel their assigned route, the supply line will instantaneously connect. There’s no need to wait – after a supply line is established, you’ll be able to start crafting in workshop mode.
Supply Lines Tips & Tricks
A single settlement shares all inventory and resources between crafting stations – the workshop, food crafting station, chem crafting station, weapon crafting station, and every other type of crafting station use the same pool of resources. This makes it much easier to build defensive turrets at far-off or new settlements.
Related: All Vaults in Fallout 4, Listed
Once established, travel to a settlement in your supply line network and assign a settler to establish a supply line to your new settlement. Now, you can travel to the new settlement and begin crafting.
Only random “Settler” NPCs can be assigned to supply lines. Named NPCs must remain at their home settlement. That means you’ll need to send extra “Settler” type NPCs from unconnected settlements to connected settlements, then assign them to supply lines. Build a Recruitment Radio Tower, hook it up to power, and wait for new settlers to arrive.
Supply Line Limitations
While incredibly useful, supply lines don’t do everything. There are many limitations and unknown information when working with supply lines.
Fallout 4 does not explain or provide clear information when it comes to surplus food or water. How much you will gain or how it is shared between settlement inventories is currently unknown.
Placing food or water in a supply line might not improve food or water happiness in settlements in the same network. Build crops and water resources at each settlement to make sure they are happy.
Weapons, armor, or ammo — any items you might want to actually remove from a workshop inventory — are not shared on the supply line network. You’ll have to travel to the original settlement station where you stored the items to retrieve them.
What’s the Best Supply Line Setup in Fallout 4?
The most effective way to manage supply lines across all settlements is to employ a hub-and-spoke model with a central hub, like The Castle.
You can use this settlement to establish direct lines to each of the other settlements. This strategy minimizes the travel distance for each provisioner, significantly reducing their exposure to dangers in the wasteland and enhancing the efficiency of resource distribution.
To maintain a streamlined and efficient network, I make sure that each settlement has at least one provisioner directly connected to the hub. This approach has proven to be highly effective in keeping my settlements well-equipped and functional.
And those are tips and tricks for the supply line in Fallout 4.
Fallout 4 is available now.
The above article was updated on 5/16/2024 by Davi Braid to clarify information about Fallout 4.


Last Updated On: Dec 5, 2024 3:21 pm CET