
Like all the game’s other chapters, Ghostrunners 2 Chapter 3, “Setting the Stage,” features a lot of collectibles, and if you’re looking for how to find them, here’s our guide.
How to Get All of Ghostrunner 2 Chapter 3’s Collectibles
Before we get going, you should know that there are a total of 10 collectibles scattered across Ghostrunner 2 Chapter 3. You’ll want to keep your eyes peeled for seven Memory Shards, one hidden sword and two audio logs. I’ll be going through these in the order they appear in the level since there are instances that will prevent back tracking, meaning that if you want to hunt down all the collectibles in one go you should pick them up in the recommend order. Otherwise, you’ll need to start the chapter from the start.
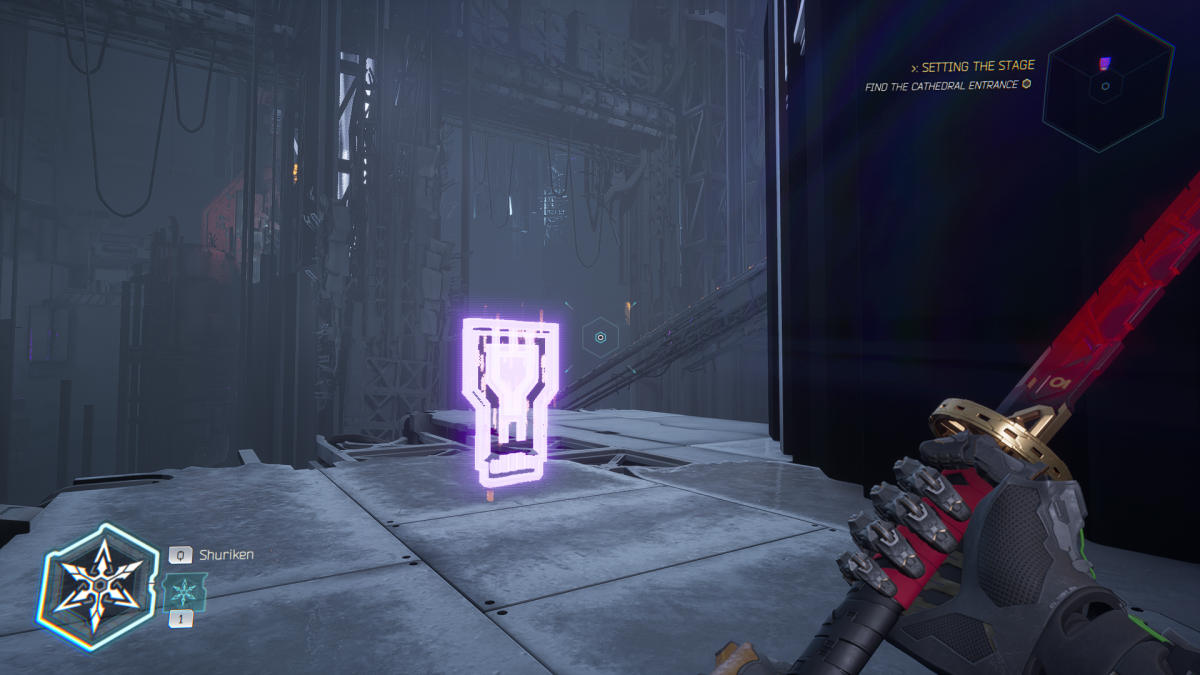
Memory Shard #1
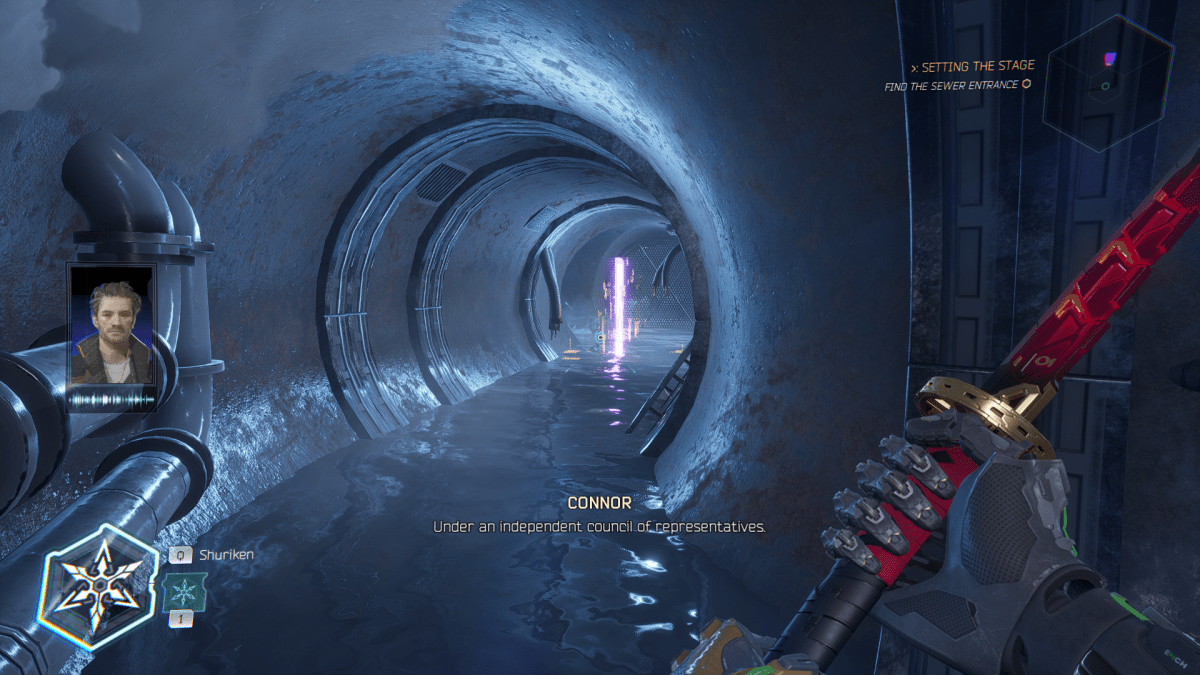
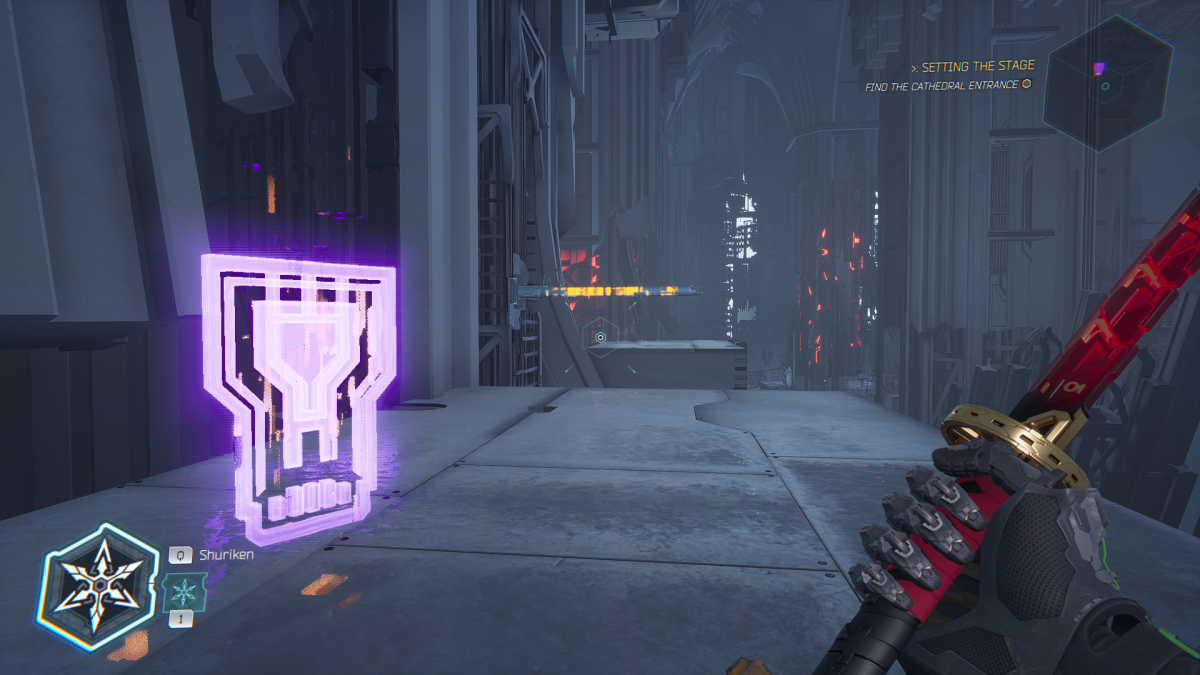
Just after the start of “Setting the Stage,” you’ll be told about the power of shurikens and how they can be used to send electrical pulses to certain machines to give them a boost of power. Having used it to open up the ventilation system, proceed into the tunnels and follow the path until you reach the switch that powers down the fan blocking your route. With the blades at a standstill, slide through the fan and follow the tunnel normally until you reach a broken grate. Smash it open and you’ll be rewarded with your first Memory Shard. These items allow Jack to upgrade his motherboard, opening up more possibilities for skill placement and upgraded abilities,
Related: Ghostrunner 2 Release Date Reveal Makes October Even Busier
Note that I don’t think it’s actually possible to miss this Memory Shard. Given that it stand directly in the middle of the only path forward, it serves as a tutorial for how these collectibles can make Jack more powerful if you spend the time gathering them all.
Audio Log #1
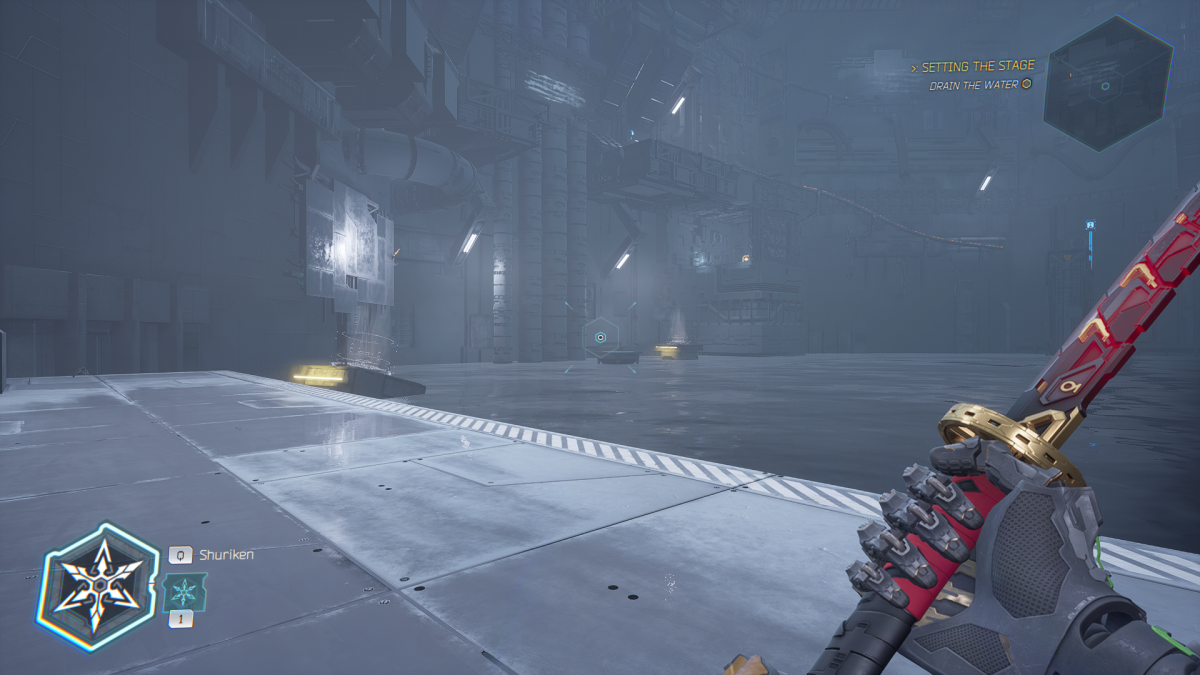
Once you reach the bottom of the section in Chapter 3 of Ghostrunner 2 that requires Jack to use his speed and shurikens to lower the water level blocking his progress, don’t head through the massive door with the green “OPEN” hologram on its front. It’s tempting, I know, but we’ve got to track down an audio log. From the aforementioned door, look to the right to see an air vent that can launch Jack forward. Once you’re in the air, use your focus to steer yourself onto the platform that’s just before another fan that’s blasting air vertically. It can be difficult to stick the landing, so use a dash to really nail in the landing.
From there, all you need to do is leap onto the vertical fan and ride the air upwards into the alcove that contains your audio log. Listen to it and enjoy or shove it your back pocket and head back the way you came.
Memory Shard #2
Now that you’ve ditched the streets for something that feels more regal than one might expect to find in a cyberpunk world, you can find your next memory shard shortly after dropping down into the… for want of a better word, tomb. After touching down from the slide, follow the path to your right, using the gap jammer (aka grappling hook) to lift yourself onto the massive pillar that stands in your way. Following along the right path, swinging across two horizontal bars and wall running before eventually landing on a platform that leads right or left. Turn right to see your next Memory Shard waiting to be picked up.
Memory Shard #3
Shortly after Jack and Zoe have a conversation about how the former allowed The Architect to guide him (whatever that means), you end up on a platform that requires you to jump and onto a grind rail. We’ll come back to that but for now turn around use the wall you just knocked down to run back to the platform with a bunch of scaffolding on the edge. From this angle, you should see that you can actually move past this small blockage on the left. Hop the gap and follow this path and you’ll see your Memory Shard. Just another small jump and you’ll have it in your possession. Best part is that this sections loops back to the grind rail you need to use to progress forward!
Memory Shard #4
As your approach the first platform that houses an explosive barrel and two enemies, know that the next Memory Shard is close. Use a shuriken to detonate the barrel (killing your foes) and then move over to the upper-left side of the platform. Simply walk off the edge, and you’ll land on a secret outcrop alongside your prize. Pick it up and use the nearby grind rail to continue onwards.
Related: Ghostrunner – Zero Punctuation
If you’ve collected all the Memory Shards up to this point, then you should have also gained a motherboard upgrade which will provide Jack with his first Ultimate Ability. The first one you discover is simply called “Flux” and emits a precision laser capable of cutting any enemy in two. Kinda like that weapon Tony Stark uses in Iron Man 2 but less… spinny.
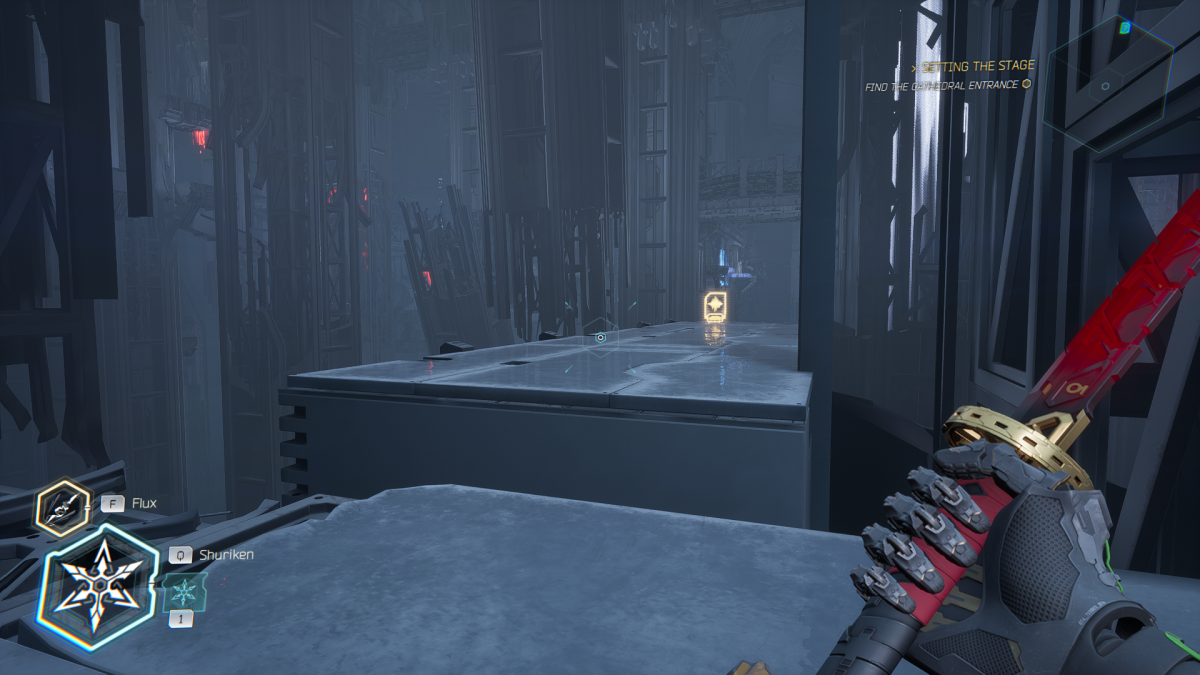
Audio Log #2
Shortly after picking up Memory Shard #4 in Chapter 3 of Ghostrunner 2, you’ll be able to use the grind rail to land on a beam that also contains a fan. Use it vertically jump upwards and land on piece of metal where another fan is set up to launch you to the opposing platform. Rather than leaping into its gusts, move forward and hook a right to find another Audio Log waiting just for you.
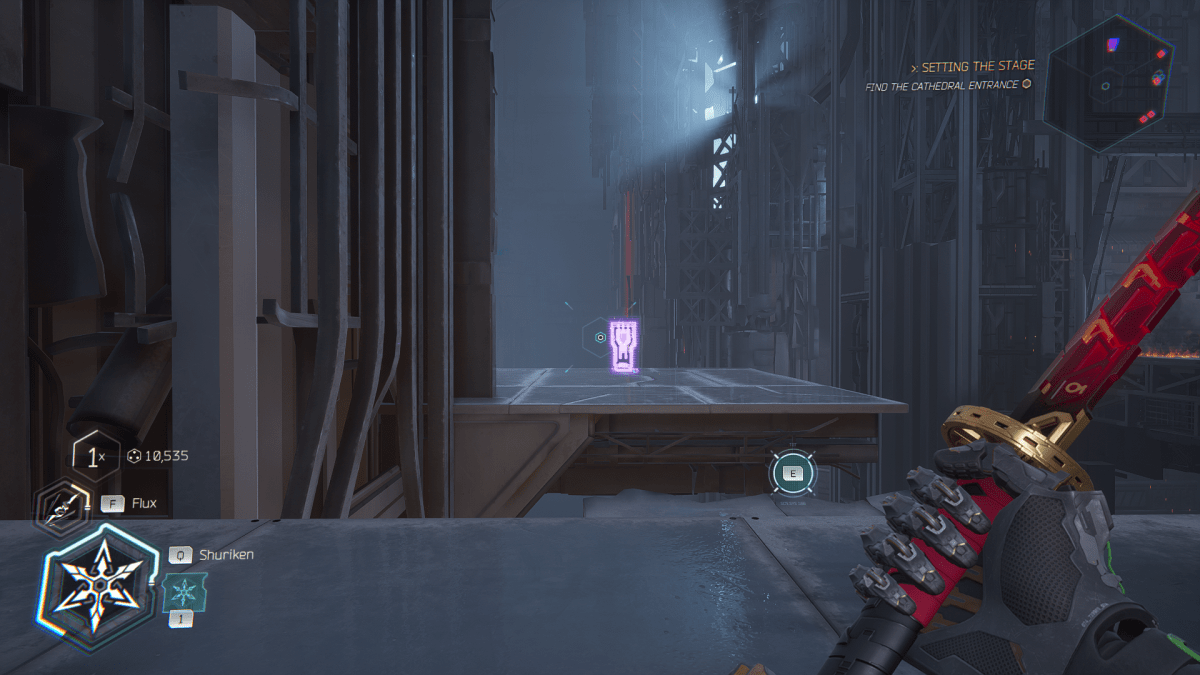
Memory Shard #5
After eliminating all the foes in what feels like the first arena battle of Chapter 3 in Ghostrunner 2, you’ll want to start hunting for the mission’s penultimate Memory Shard. You’ll know you’re in the right place when you leap off a grind rail and arrive in an area that’s split into three separate platforms; the one you land on has a gunman on the left and a swordsman on the right. The two further away sections have an explosive barrel each and with the amount of enemies gathered around them, it’s difficult to not be tempted…
Once all your foes are dead, look for an electric switch above the back-left platform. Hit it with a shuriken and it’ll activate a vertical fan that’ll blast you upwards. The Memory Shard you’re after is on the outcropping to your right.
Memory Shard #6
Probably the easiest Memory Shard to find in “Setting the Stage,” from Memory Shard #5 just use the grind rail on your left to skate on over and pick it up. Simple stuff.
NOTE: Before moving on from this point, you can drop back down into the arena below to find the time trial challenge of “Setting the Stage.” It involves throwing shurikens at a number of moving targets and nets you a good amount of data and two Memory Shards if you hit them all. It’s not technically a collectible but I figured it’d be good to mention anyway.

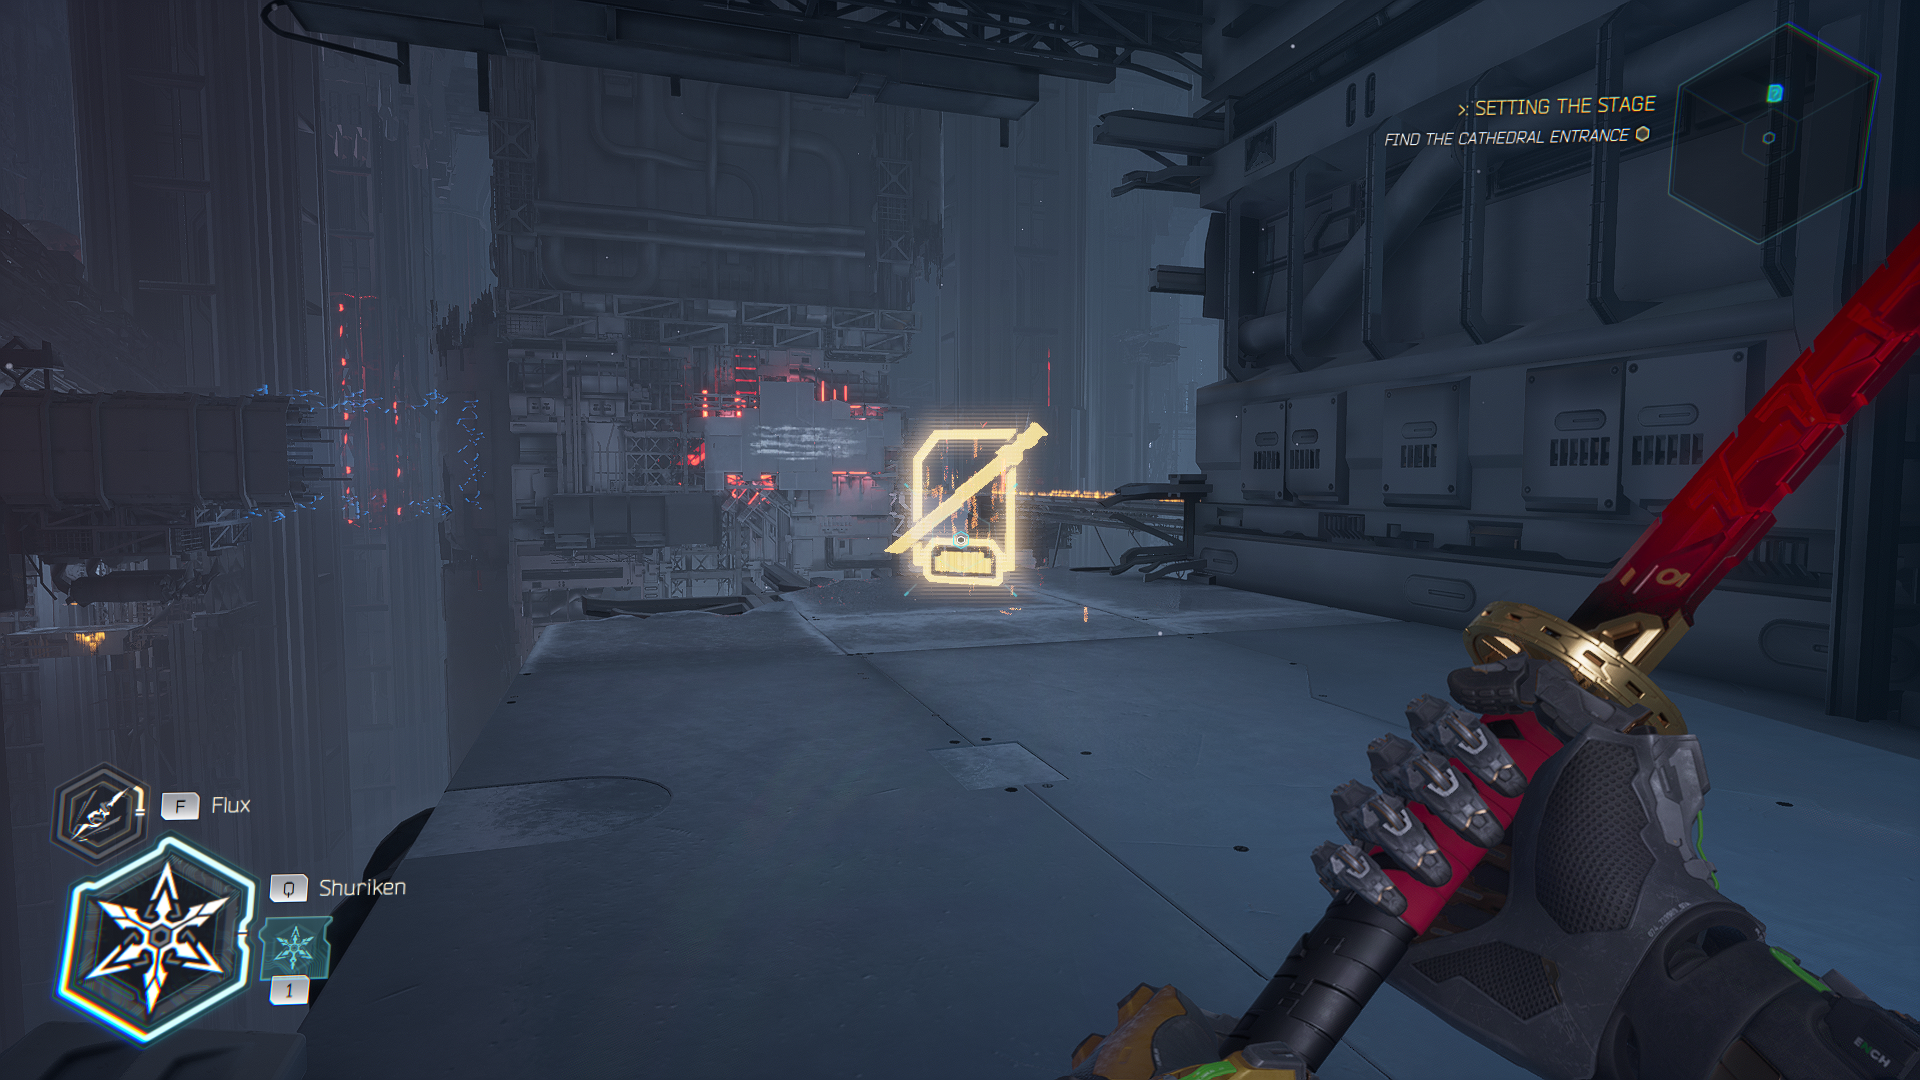
Hidden Sword
You’ll want to keep a look out for this collectible when you clear the section that sees you launch Jack with a fan into a broke corner of a pillar. In the hollow, you’ll see four enemies and an explosive barrel so you know what to do. Once they’re all dead, flip the switch nestled in front of the massive fan and immediately turn around to see that a different fan is now active. Launch back to where you came from and move to the fan on the left, crossing the gap and killing off the three enemies waiting for you.
Related: Ghostrunner Is a Tight 3D Platformer and an Iffy Cyberninja Simulator
Once they’re dead, using the gap jammer to pull Jack up some vertical platforms and leap one of the two grind rails you find. Slide over to the enemy firing at your across the way, cut him down, and then immediately get back on the rail. Grind it until you come within range of a horizontal wall on which you can jump. Run along it and you’ll come face-to-face with your new sword.
Memory Shard #7
The final Memory Shard of this mission, you can pick this one up just before the final arena battle. In the section just before, you’ll swing from two horizontal beams, land into a wall run and use a shuriken to break a pillar supporting another runnable wall. After that mini gauntlet, use the gap jammer to pull yourself up a level and then immediately turn around. Memory Shard #7 will be waiting for you.
And that wraps up this particular collectible hunt! You should have enough Memory Shards at this point to install some major upgrades that can reduce your stamina usage, so subsequent collect-a-thons should at least be a little easier.
If you’re looking for more, check out how to get all the hidden swords in Ghostrunner 2 Chapter 1.


Published: Oct 25, 2023 11:04 am