After the twisty, branching paths of Dartmoor’s mission, 47 lands in something rather more straightforward in Berlin in Hitman 3. You’re tasked with eliminating five ICA agents, and while the compound houses far more than just five, a handful of them have special kills associated with them. Here’s how to get Apex Predator special kills in Hitman 3 the easiest way, looking at Crane Trauma, How the Turntables, and 47th Trick in the Book.
Crane Trauma — Eliminate Agent Thames by Setting Up a Crane Accident

Agent Thames is the first ICA agent with a special kill challenge, and it’s a pretty easy one to complete. Once inside the compound fence, head left. Crouch low, and stay hidden behind the steel barriers until you reach the safety of the bushes. There’s a power box nearby, but you don’t have the fuse yet.
Wait until the path is clear clear, and, still crouched, run across the road and behind the large metal container there. There’s a yellow dumpster on the other side of the container where you’ll find a fuse. Use 47’s instincts if you can’t see it right away. Fuse in hand, sneak back to the bushes.
By this time, Tremaine should have walked near the dumpster to gripe at the guards there. Pop the fuse in the box and climb to the crane controls. Wait until Tremaine is under the concrete tube, and then release it on him. That’s that for your first Hitman 3 Apex Predator special kill.
How the Turntables – How to Kill Montgomery and Banner
How the Turntables is a trickier challenge. Make your way into the club (You’ll need a bartender or guard disguise.) and keep heading downstairs until you get to the big floor show venue. Go backstage, unlocking the door with a crowbar if need be, and you’ll find the DJ booth to the right. Don’t go in there yet. First, knock the nearby DJ out and hide the body, naturally making sure no one sees you.
Head out the nearby door and go upstairs. Agent Banner and a number of enforcers are near the stairwell. You can quickly do what needs to be done or just ambush a technician or guard and use their outfit to blend in. Either way, on the other side of the catwalk where Banner is lounging is a power box and note warning you about the light show’s danger. Read the note and turn the power on. It’ll likely cause a scene, but that’s okay.
Before leaving, you’ll want to create a distraction of some kind on the catwalk near Banner to lure Montgomery over. Run back downstairs, grab the DJ disguise from the chest near the DJ room, go in, and take over at the sound booth. Get the show started by hyping it up, then overload the show — and that takes care of Banner and Montgomery.
Banner never leaves, and it’s possible Montgomery will go around to the catwalk on his regular routine. However, the distraction worked for me and was faster, as was committing a crime on camera at the other end of the catwalk.
That’s another Apex Predator special kill wrapped up in Hitman 3.
47th Trick in the Book — Eliminate Agent Tremaine with His Own Rifle

This last challenge is easy to pull off and hard to set up. Your target is Agent Tremaine, safely ensconced in the upper floors of a warehouse behind the juice bar. Before you go there, though, head back to the floor show in the club. You’ll find a juice bar pass in the small area behind the dance floor bar. Grab that and go back to the regular bar.
Keep heading back in the bar area, beyond the portable toilet zone, and disguised as a bartender (the pink outfit), go behind the juice bar. If you haven’t taken out the nearby agent already, you can serve at the bar and poison his drink here, then follow him to the toilets and do the deed.
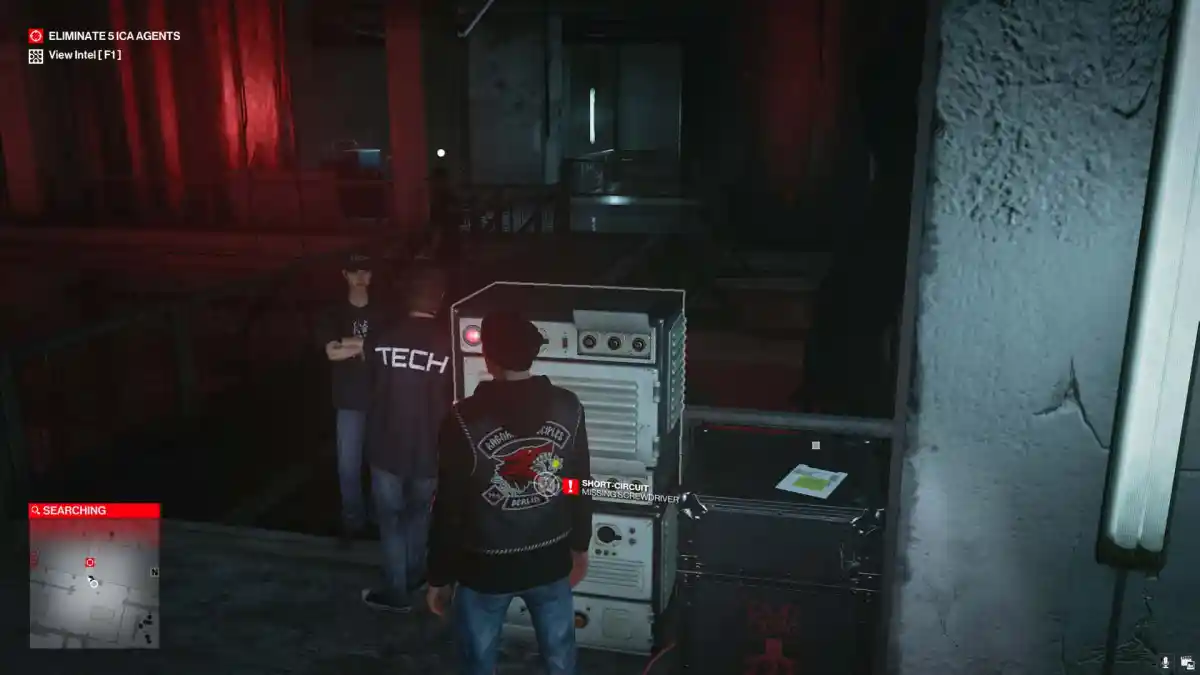
Back on track, you’ll notice a garage area behind the juice bar. That’s where you need to go, but the guards there are separate from the venue guards, which means a new disguise is in order. You’ll likely encounter some resistance on your way in, but try and lure the closest guard out to snatch a new disguise. If you can, quietly knock the nearby bartenders out to make this part easier.
Properly disguised as a guard, climb through the warehouse to find Tremaine. Again, use 47’s instincts to keep an eye on him if you get lost. Walk up behind him, acquire his rifle like you would any other weapon, and fire the fatal shot at Tremaine using the rifle. There’s your third Apex Predator special kill in Hitman 3.
Rule of 3 — Eliminate 3 agents from the radio tower using a sniper rifle
You can’t complete Rule of 3 without the rifle, meaning you need to steal Tremaine’s and go back to the radio tower. Once that’s done, ignore the clearly suspicious nature of green laser light and step through the beam. Since the camera remained intact, the ICA folks know who broke into the tower and are on their way to get you. Cue the sniper rifle’s entrance.
With Berlin out of the way, it’s time to move on to Chongqing, a much bigger and more complex zone.
Check out our other Hitman 3 guides:
- Hitman 3 Beginner’s Tips and Tricks Guide
- Hitman 3: On Top of the World Special Kills Guide
- Hitman 3: Death in the Family Special Kills Guide
- Hitman 3 Chongqing Special Kills Guide