Boss fights are always a big event in Soulslike games, and it’s no different in Another Crab’s Treasure. Here are all the main opponents Kril can encounter and beat during his undersea journey in search of his lost shell.
Recommended Videos
All Bosses in Another Crab’s Treasure Listed
There are 18 bosses in Another Crab’s Treasure, some of which are optional to fight. While you don’t need to fight all of them, there are always some interesting rewards for beating these extra challenges. We also encounter minibosses, but some become regular enemies down the line.
Obviously, the following list contains spoilers, so read at your own risk!
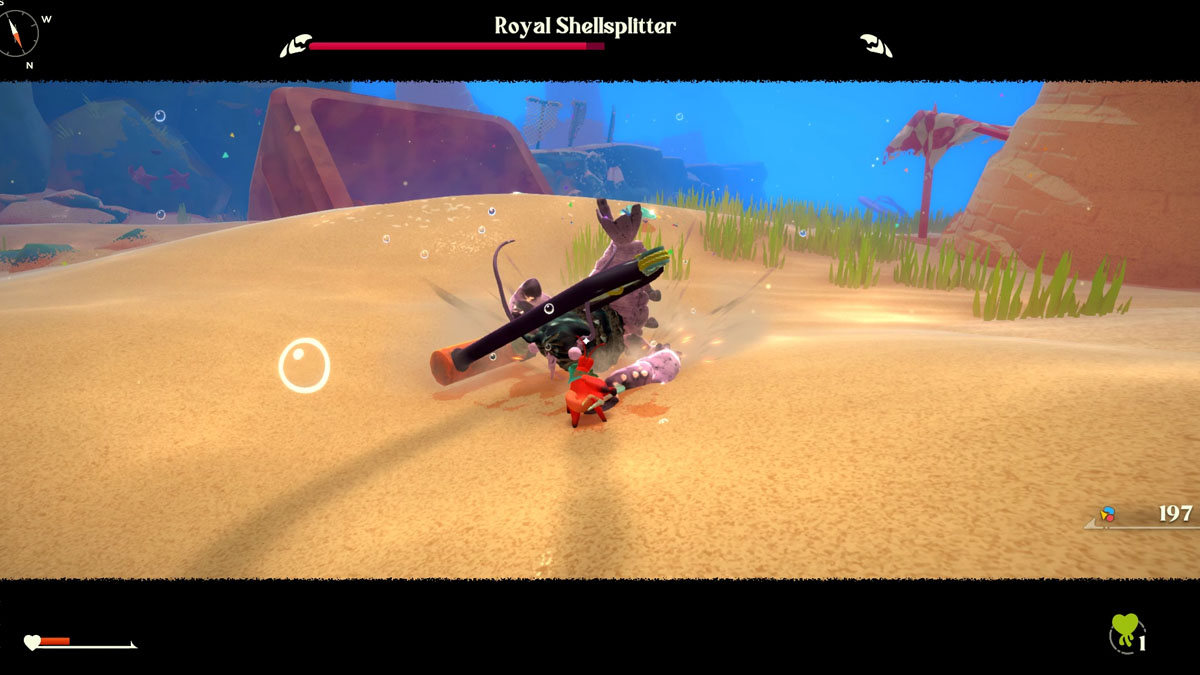
1 – Royal Shellsplitter
Screenshot by The Escapist
Optional?
Yes
Location
The Shallows (East, next to the entrance)
Extra info
You can fight it without finding the first shell, but that’s not recommended.
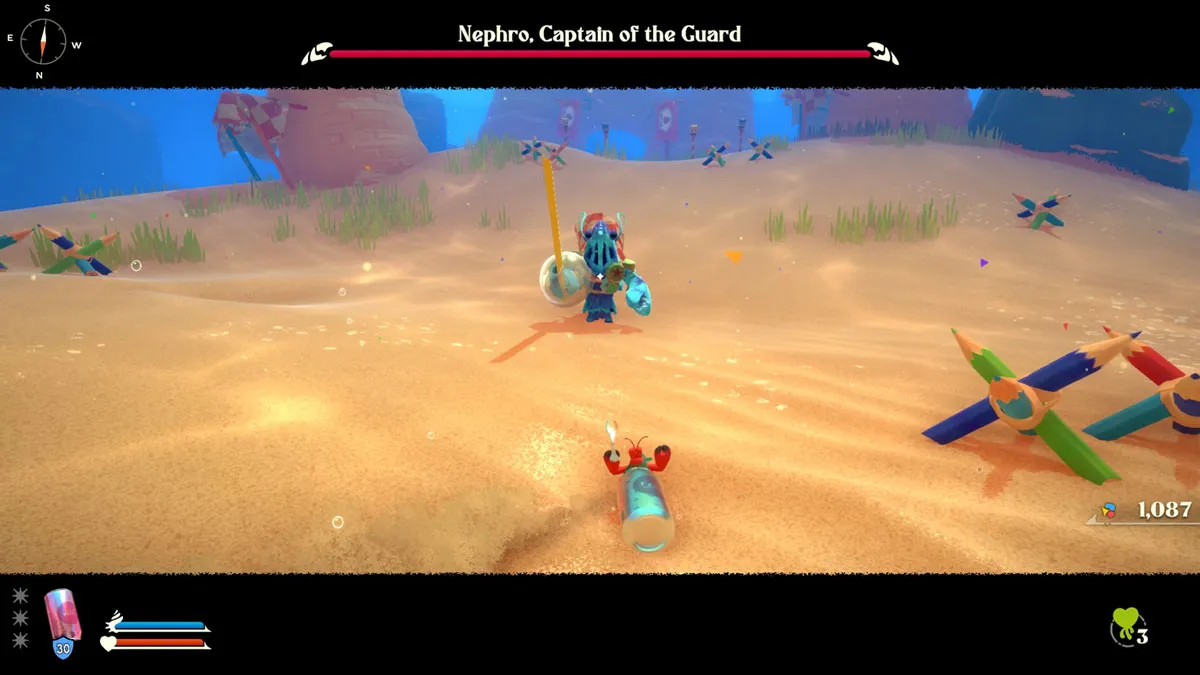
2 – Nephro, Captain of the Guard
Screenshot by The Escapist
Optional?
No
Location
The Shallows (next to the castle)
Extra info
First mandatory boss.
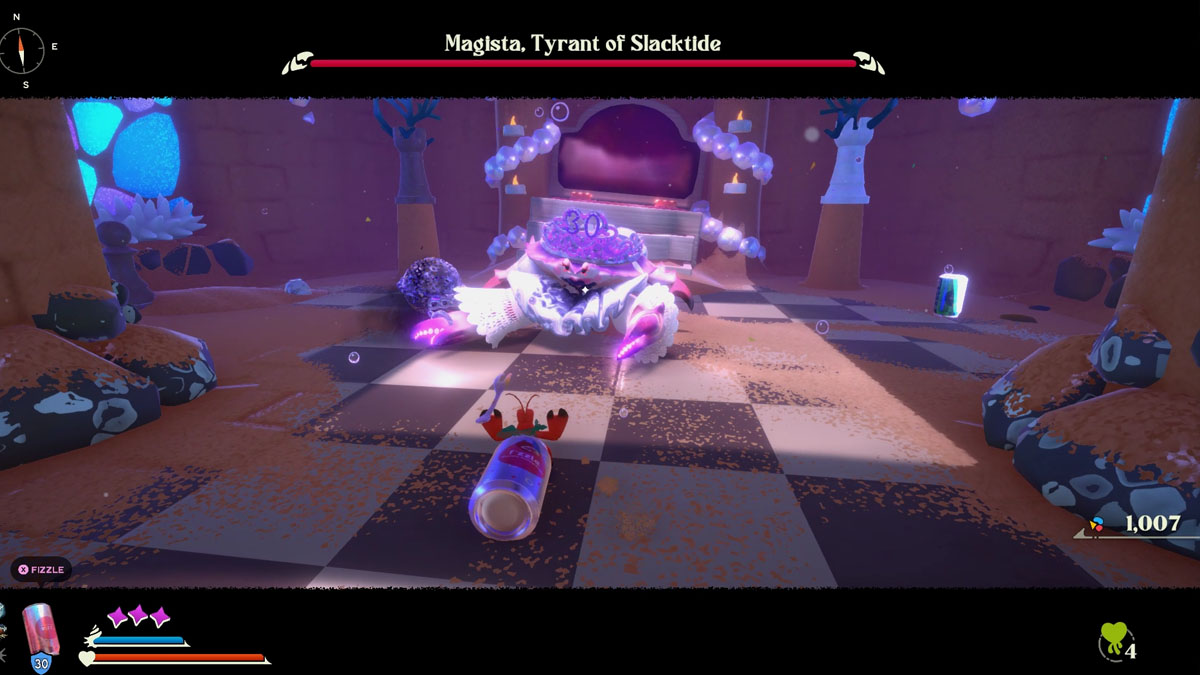
3 – Magista, Tyrant of Slacktide
Screenshot by The Escapist
Optional?
No
Location
Slacktide (in her throne room)
Extra info
Unlocks the Royal Wave Adaptation.
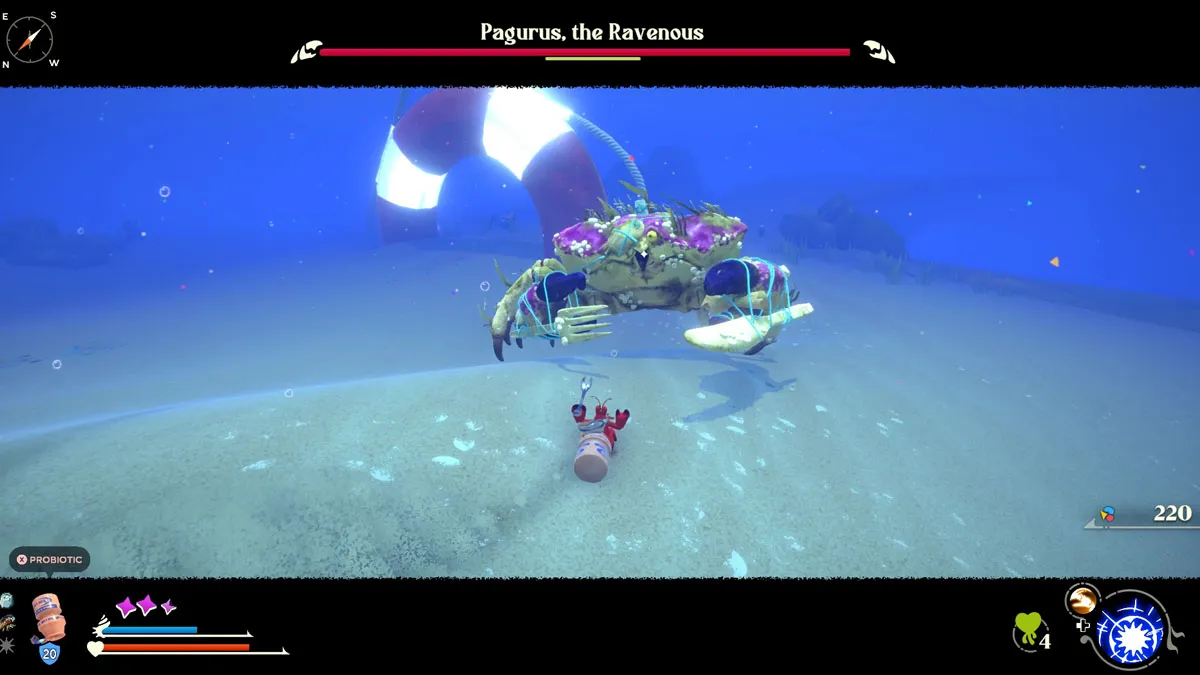
4 – Pagurus, the Ravenous
Screenshot by The Escapist
Optional?
No
Location
The Sands Between (entrance)
Extra info
You can run away from it, but it always comes back chasing you until you properly dispose of it. Gives you a piece of the map.
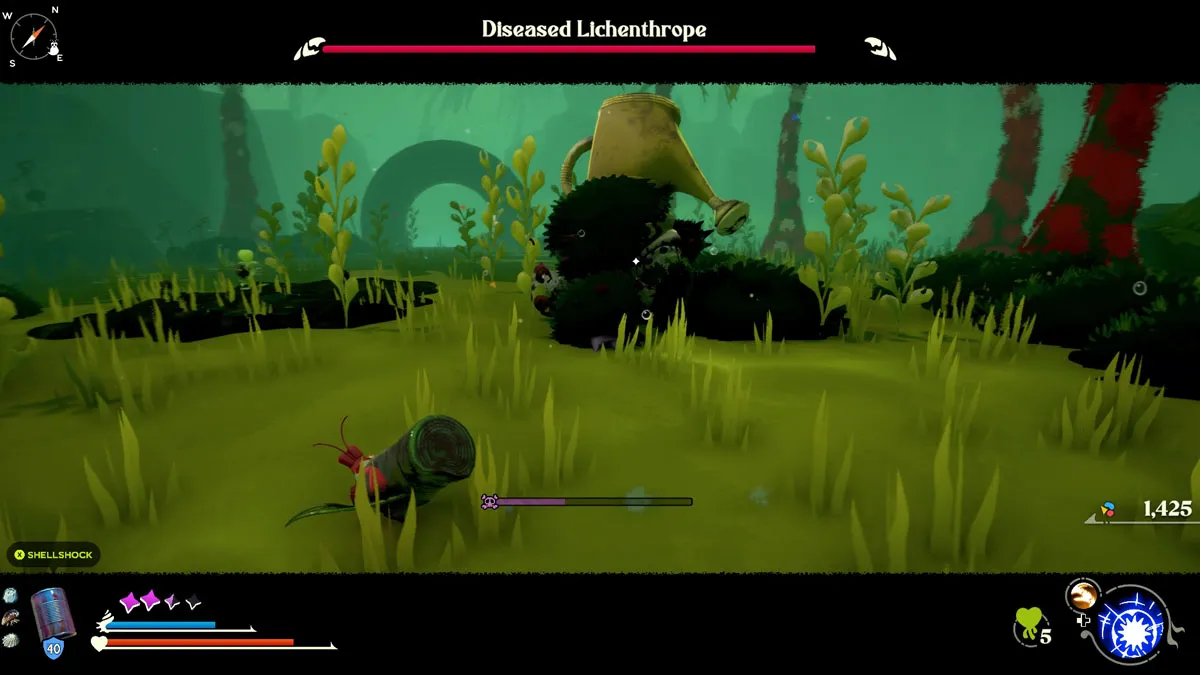
5 – Diseased Lichenthrope
Screenshot by The Escapist
Optional?
No
Location
Expired Grove (Grove Entrance)
Extra info
Fought on the way to the map piece.
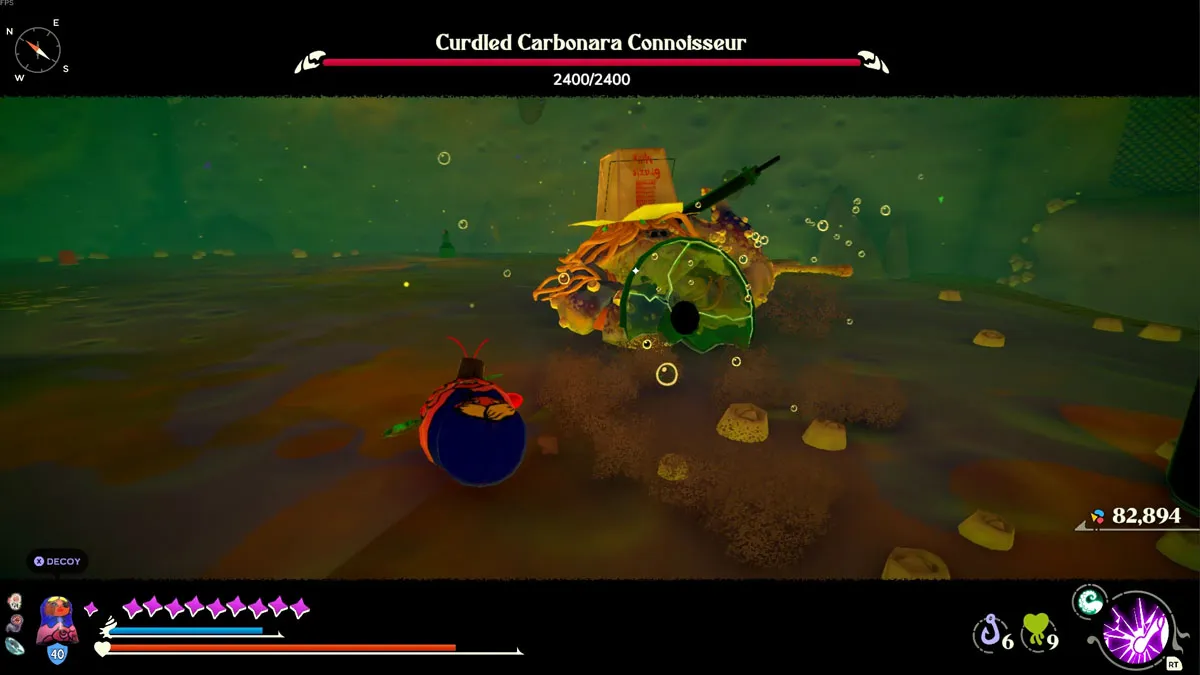
6 – Curled Carbonara Connesseur
Screenshot by The Escapist
Optional?
Yes
Location
Expired Grove (Rainbow River)
Extra info
Found behind a waterfall. Go through the stray bottles, then jump down to fight the boss.
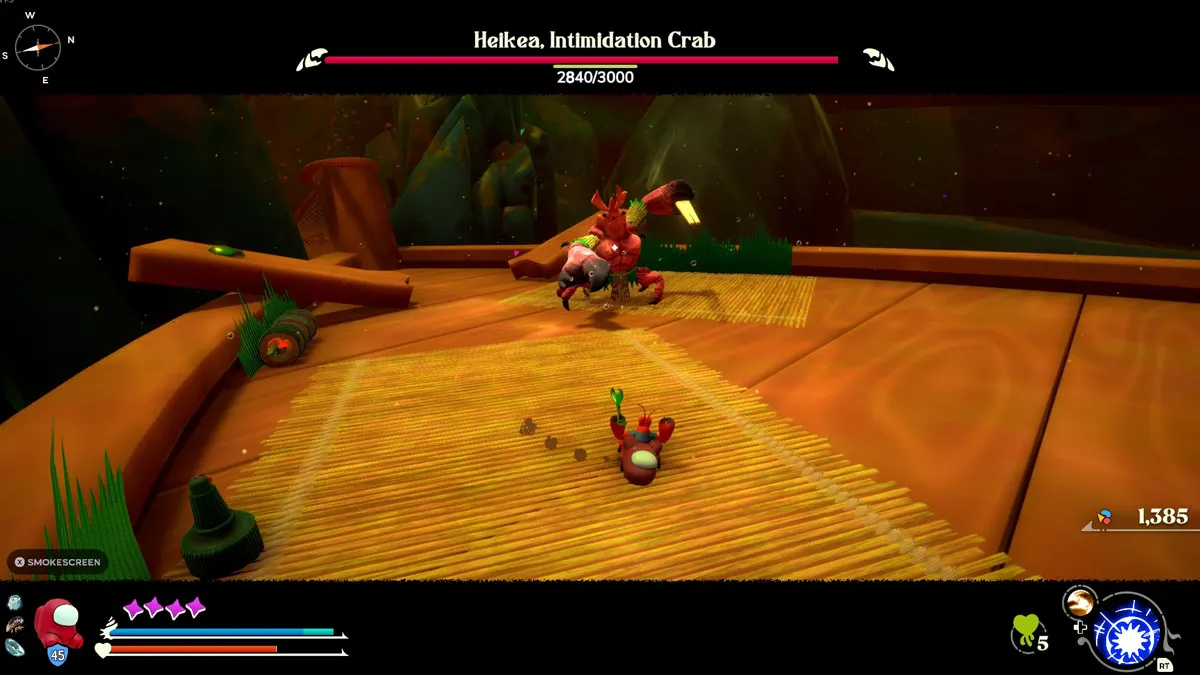
7 – Heikea, Intimidation Crab
Screenshot by The Escapist
Optional?
No
Location
Expired Grove (Village Gates)
Extra info
Gives out a piece of the map.
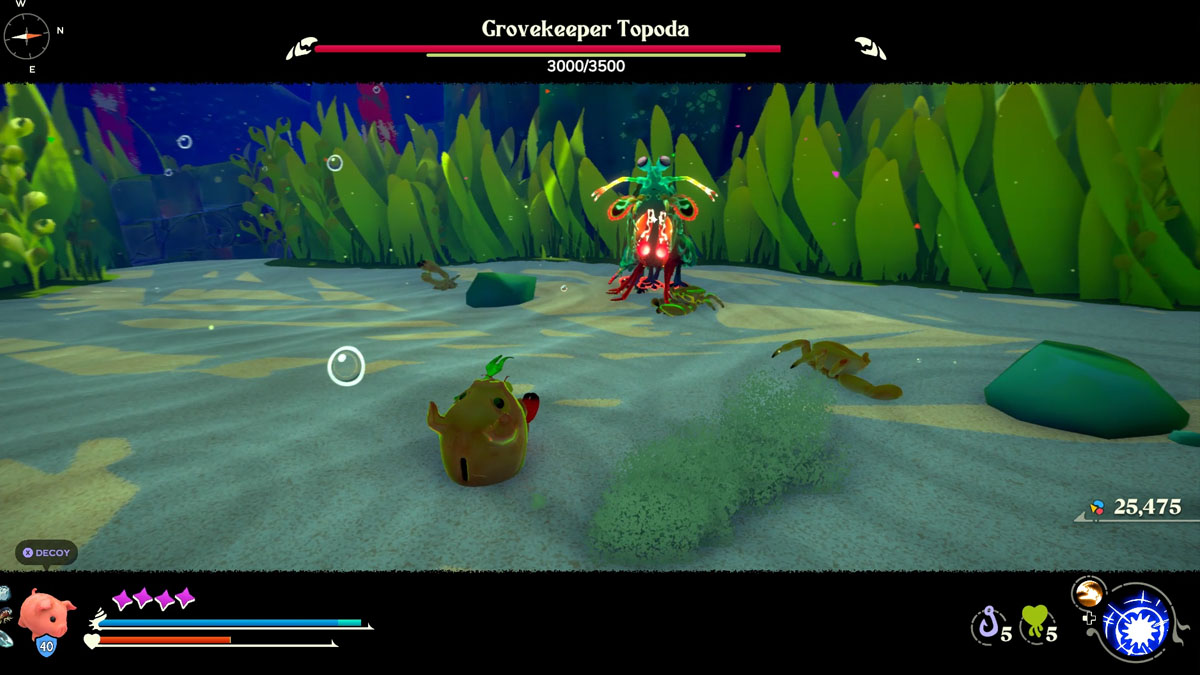
8 – Grovekeeper Topoda
Screenshot by The Escapist
Optional?
Yes
Location
Expired Grove (Topoda’s Garden)
Extra info
Unlocks the Mantis Punch Adaptation. Also lets you level up your Adaptations.
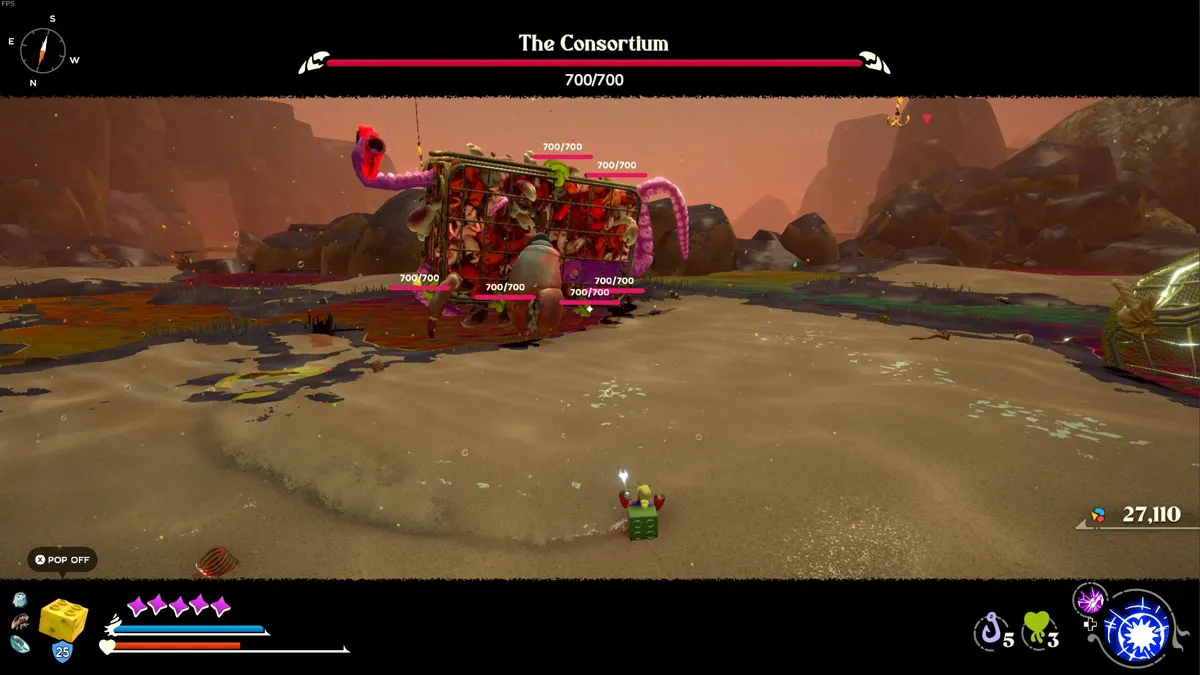
Break an Umami block next to the Oil Drum teleport in the Expired Grove, then follow the way through the hooks until you can reach the shortcut hook at the start of the Grove. Follow the new way you just found to encounter The Consortium. Gives you the Tactical Tentacle Adaptation.
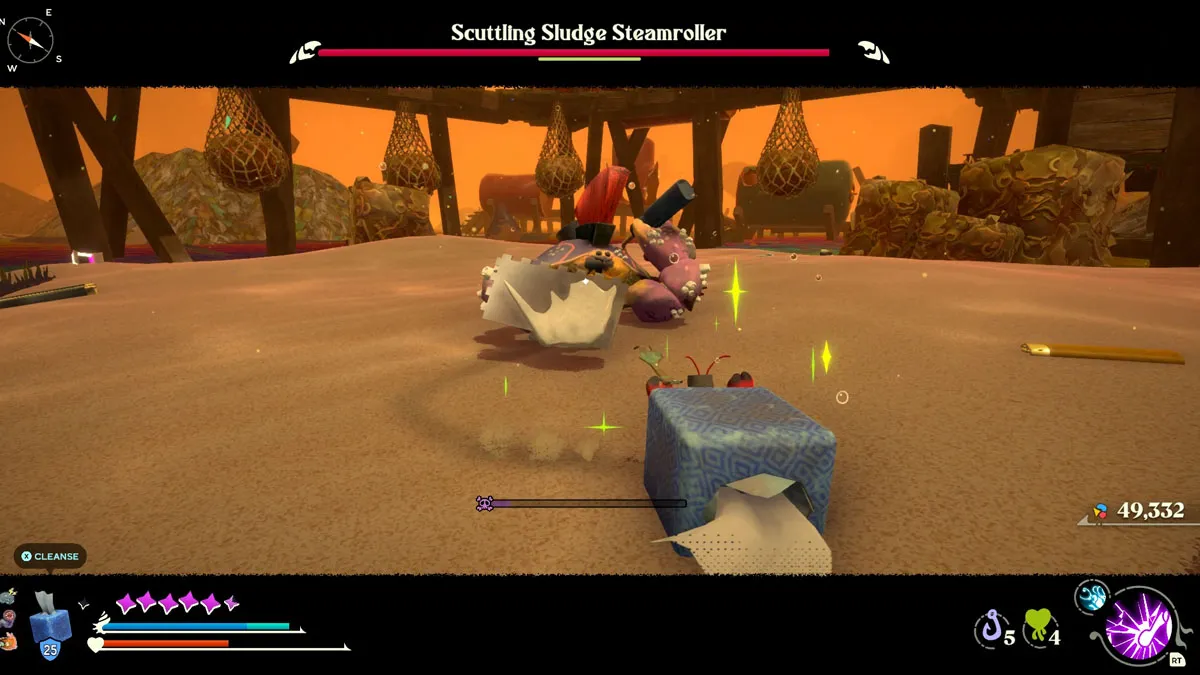
10 – Scuttling Sludge Steamroller
Screenshot by The Escapist
Optional?
Yes
Location
Flotsam Vale (Shipping Port)
Extra info
Found at the center of the platforms next to Shipping Port, right below where the mailbox is.
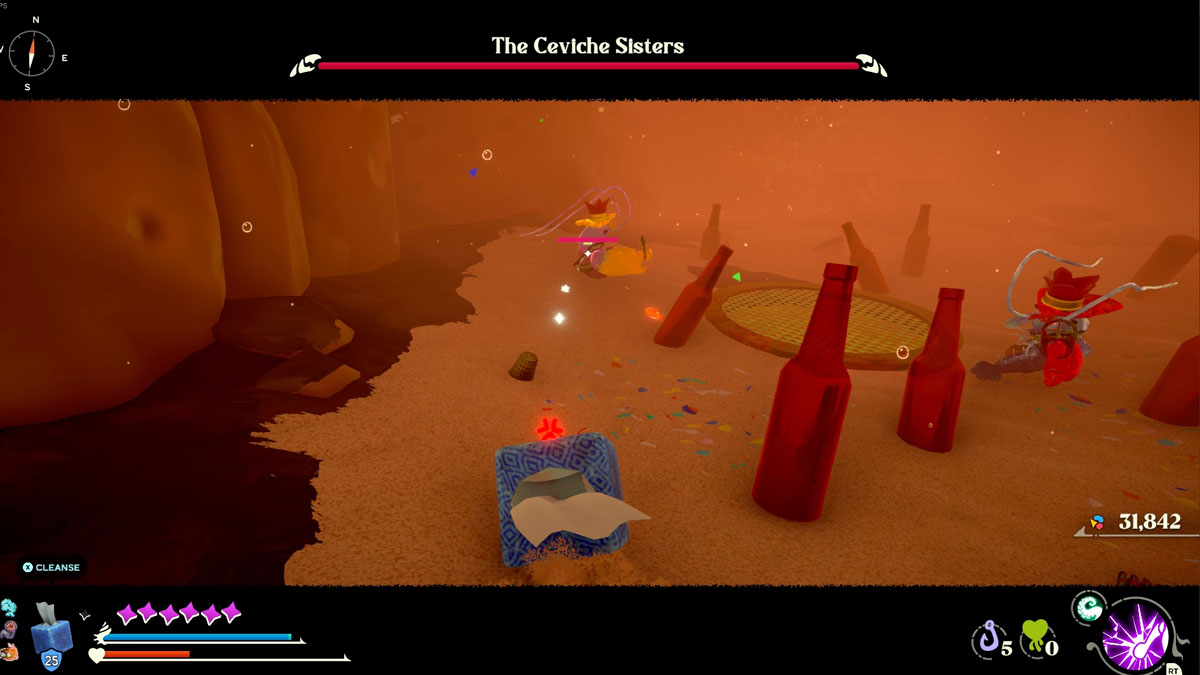
11 – Ceviche Sisters
Screenshot by The Escapist
Optional?
No
Location
Flotsam Vale (Next to Shipping Port)
Extra Info
Guards the final map piece. Gives you the Bubble Bullet Adaptation.
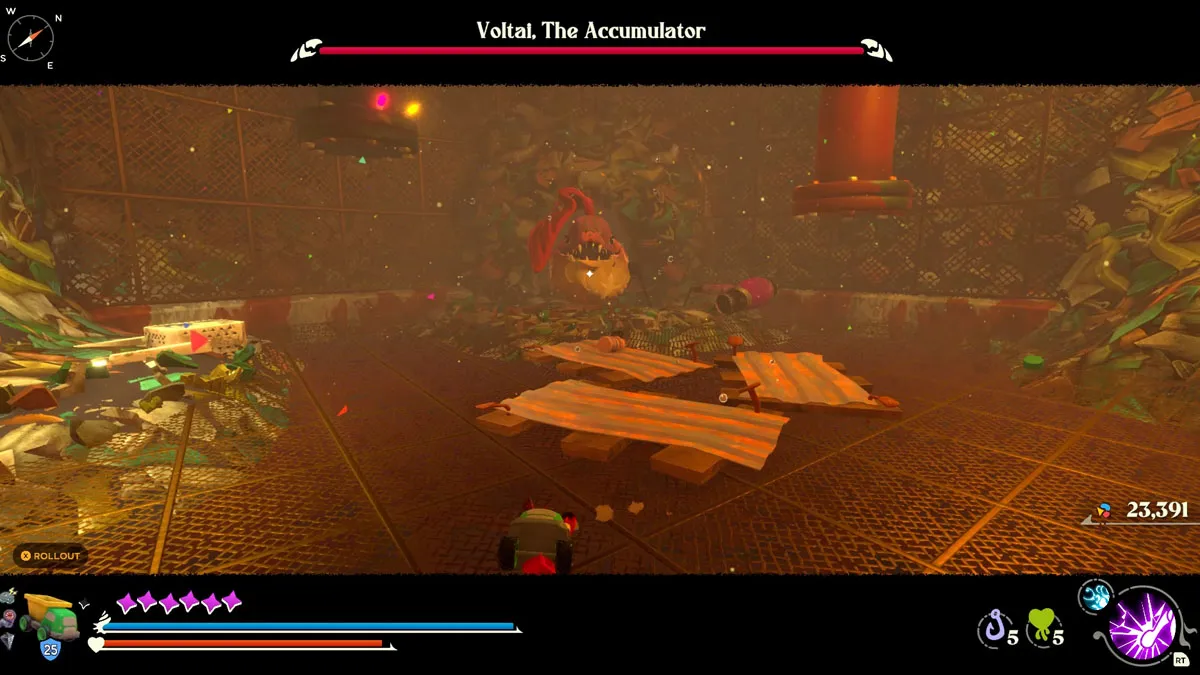
12 – Voltai, the Accumulator
Screenshot by The Escapist
Optional?
No
Location
Flotsam Vale (Mag-Rail Platform)
Extra info
Fought at the end of the factory. Gives you the Eelectrocute Adaptation.
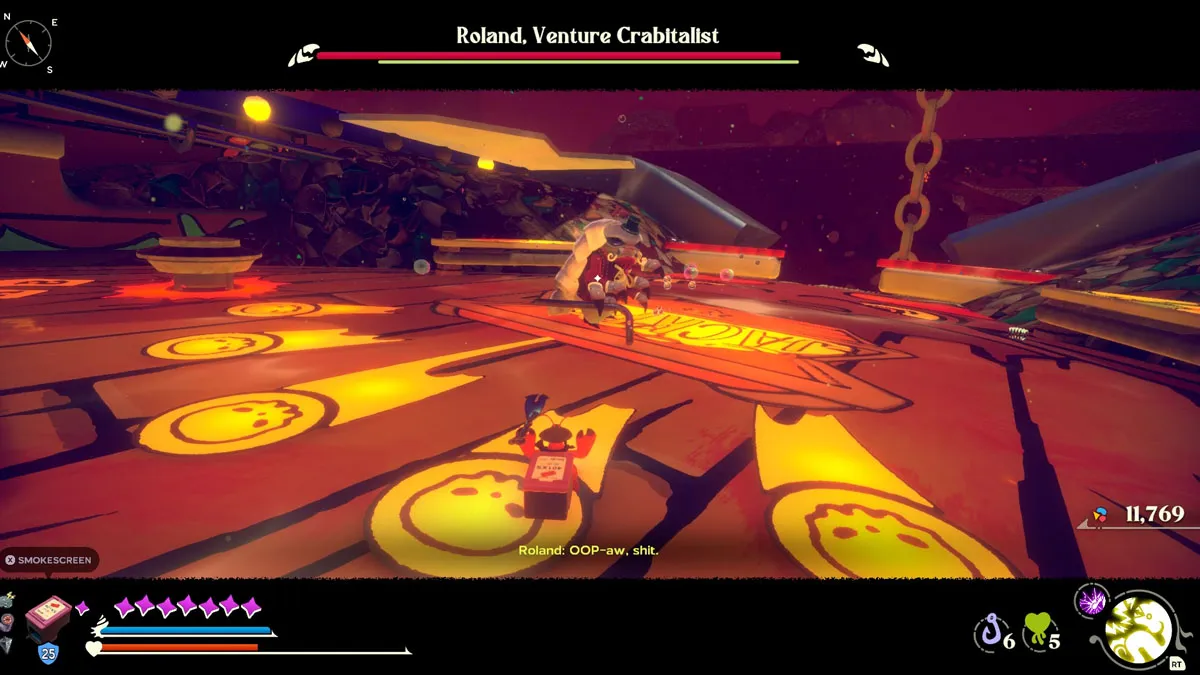
13 – Roland, Venture Crabitalist
Screenshot by The Escapist
Optional?
No
Location
The Mouth of the Drain
Extra info
Fought as part of the story.
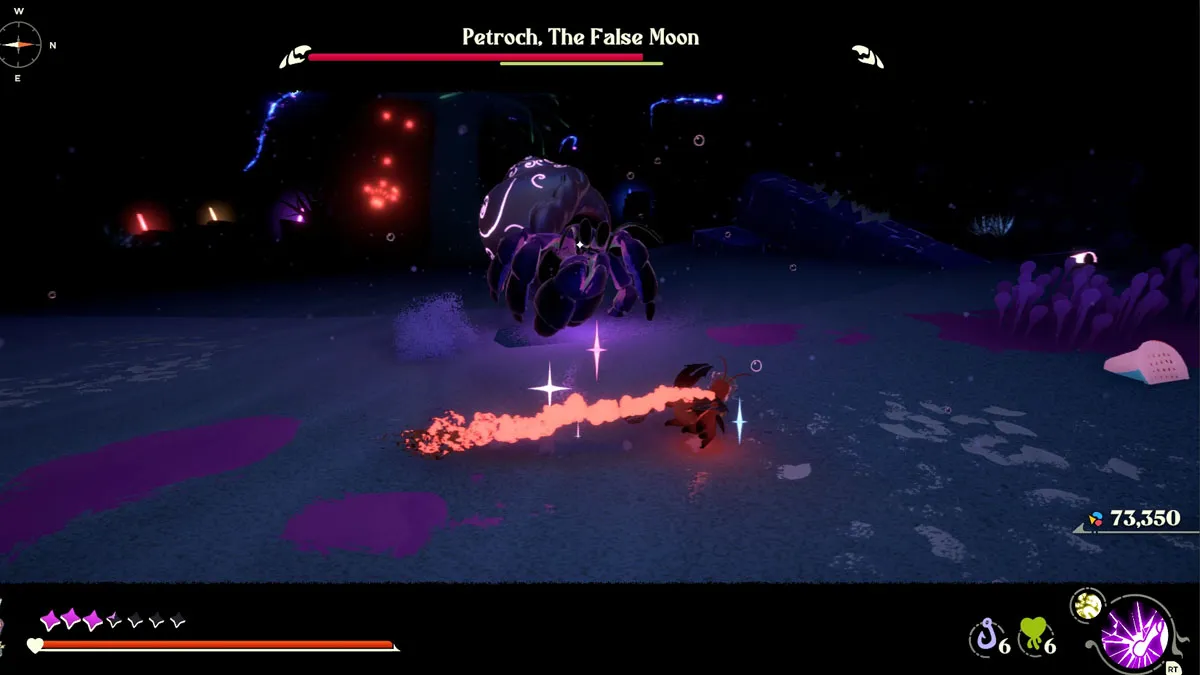
14 – Petroch, the False Moon
Screenshot by The Escapist
Optional?
No
Location
The Unfathom
Extra info
Fight it to retrieve access to teleports. Gives the Snail Sanctum Adaptation.
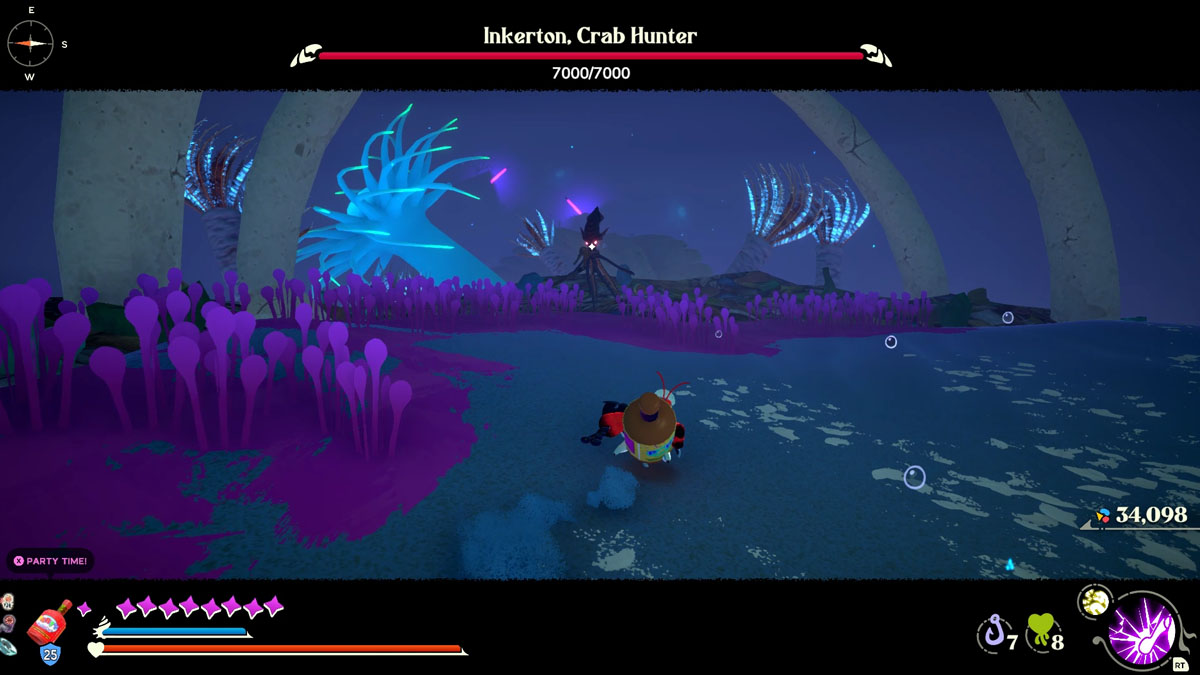
15 – Inkerton, Crab Hunter
Screenshot by The Escapist
Optional?
No
Location
The Unfathom (Sleeping Giant)
Extra Info
Fought as part of the story. You fight it early when first entering the Flotsam Vale, but can’t beat him there.
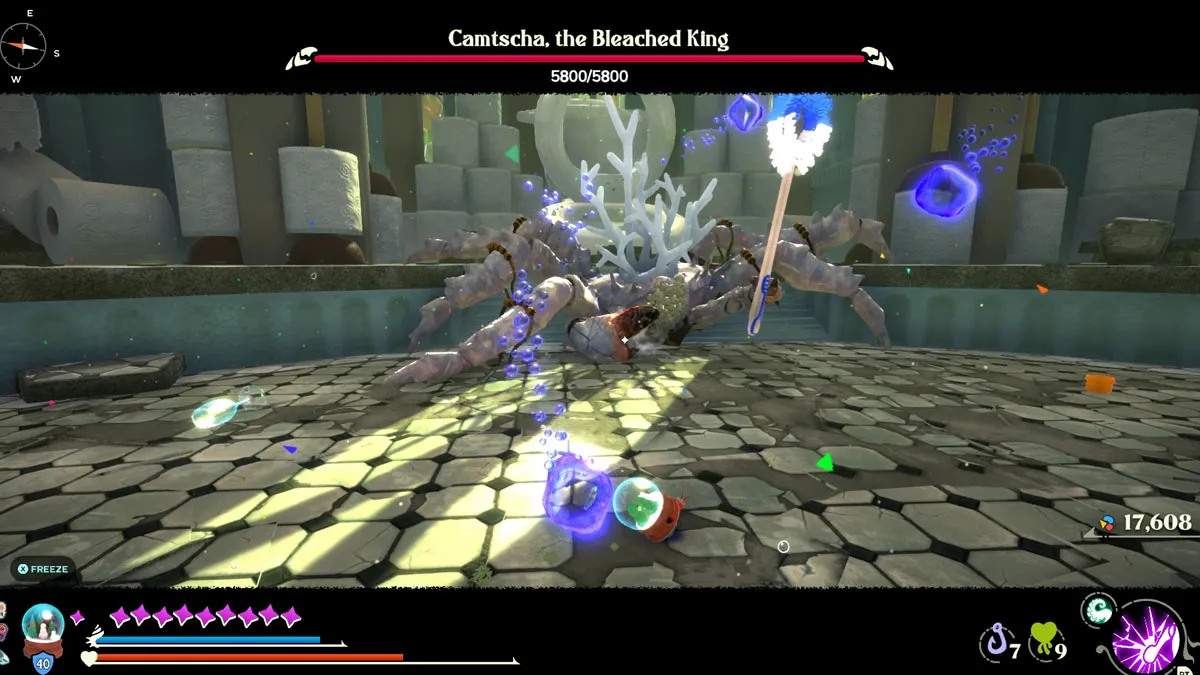
16 – Camtscha, the Bleached King
Screenshot by The Escapist
Optional?
No
Location
The Old Ocean (Cracked Throne)
Extra info
Turns into Camtscha, Reborn after beating the first phase.
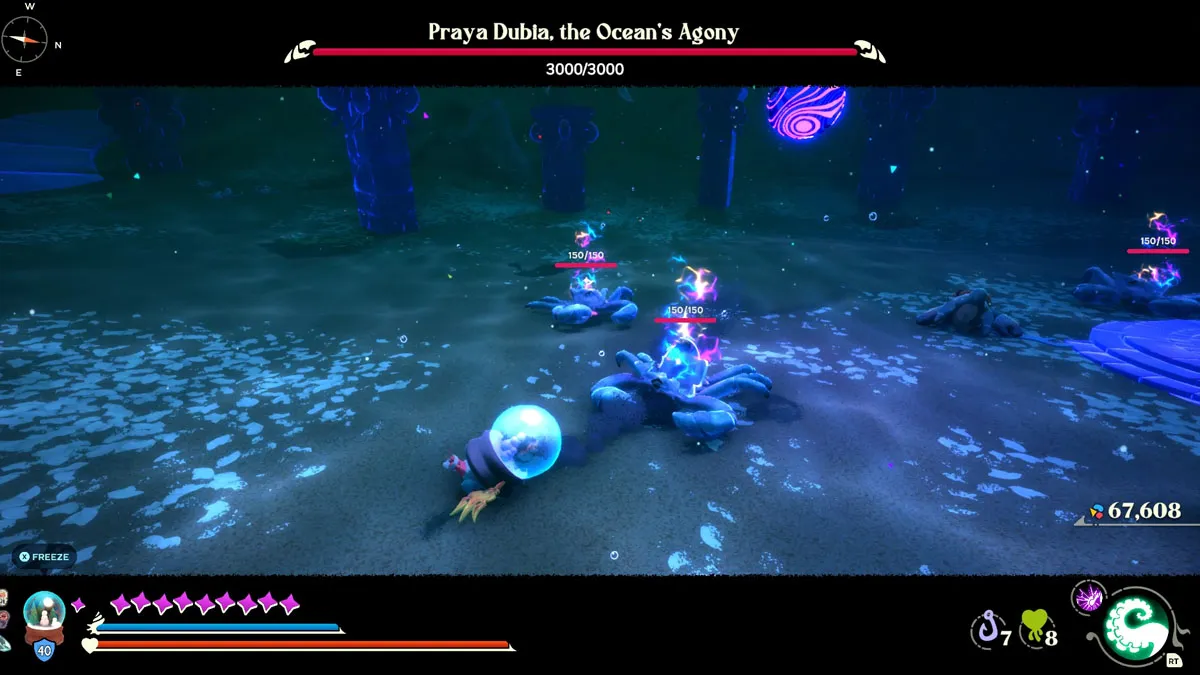
17 – Praya Dubia, the Ocean’s Agony
Screenshot by The Escapist
Optional?
No
Location
The Old Ocean (At Whorl’s End)
Extra info
Becomes Praya Dubia, the Final Scream after beating it. This “battle” consists of just dodging Praya’s attacks as it wears its own life out.
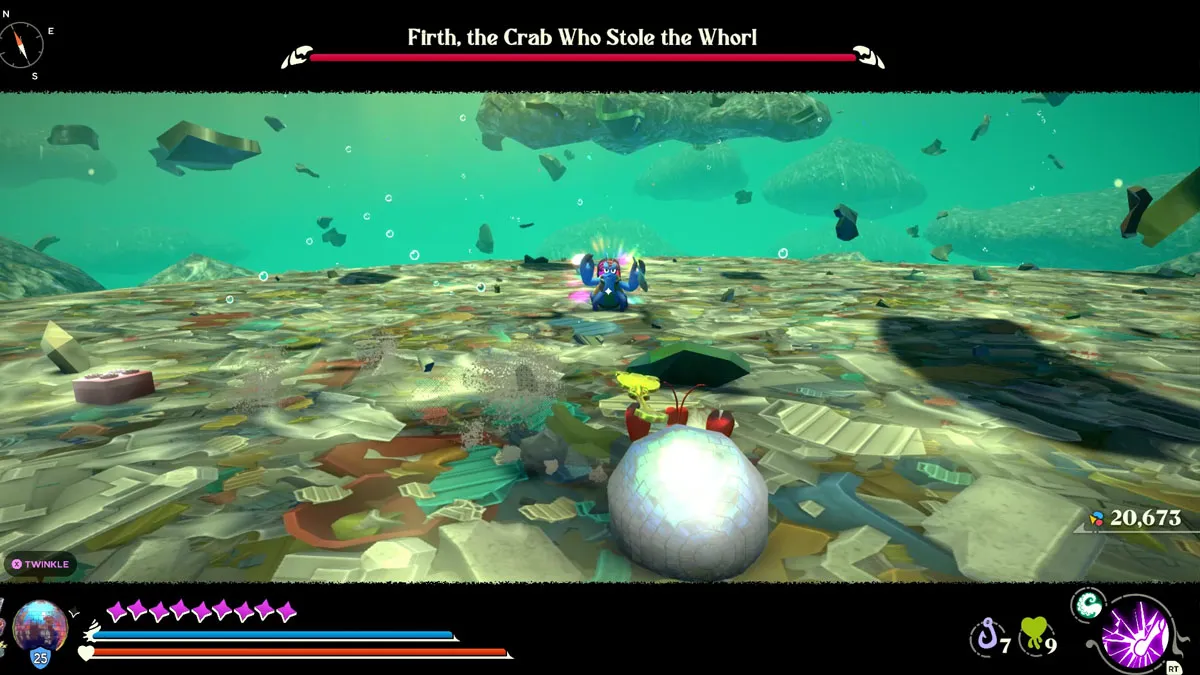
18 – Firth, the Crab Who Stole the Whorl
Screenshot by The Escapist
Optional?
No
Location
Trash Island
Extra info
Final battle. Has a second phase in Firth, Avatar of Waste.
These are all the bosses you’ll find during your Another Crab’s Treasure playthrough. Not the most daunting lineup ever, but one of the quirkiest (and tastiest, if you’re into sea food). Make sure to keep your fork in good shape for beating these nasty sea fellows.
Patrick is a Staff Writer for The Escapist and has also contributed to Prima Games. Interested in writing about games ever since he left college, he intends to keep this passion burning as long as he can. Diligently ignores his ever-growing backlog to keep raiding in Final Fantasy XIV, exploring in Genshin Impact or replaying some of his favorite RPGs from time to time. Loves tackling hard challenges in games, but his cats are still the hardest bosses he could ask for.