Ghostrunner 2 Chapter 5, “Behind the Curtain” features a ton of collectibles for players to pick up, and they’re not always easy to find, as such, here’s a guide on where to get them all.
Where to Get Every Collectible in Ghostrunner 2 Chapter 5
In Ghostrunner 2 Chapter 5, you can expect to unearth a total of 14 collectibles. These are comprised of nine Memory Shards, two Hidden Swords, an Artifact and an Audio Log. That’s a lot to hunt down and generally, they’re much better hidden than in previous levels. So, presented in the order I found them during my playthrough, here’s how to locate every collectible in Ghostrunner 2 Chapter 5.
Related: Ghostrunner – Zero Punctuation
Memory Shard #1
The first collectible in Ghostrunner 2 Chapter 5 can be found just after your first encounter with the weird cyber-priest guy. You know the one, he lashes out with two ropes of red energy that are a nightmare to dodge when you haven’t quite figured out out to defeat him. Anyway, once you cut him in twain, move through the massive doors ahead of you immediately look to the right. Your Memory Shard will be waiting for you, truthfully doing a poor job of hiding.

Memory Shard #2
When you get to the section that requires you to hit a switch with a shuriken to turn off an electrical wall, you know you’re in the right place. Once you leap off the previously-electrified wall, land on the platform in front of you and immediately turn around. You’ll see this Memory Shard tucked away in an alcove above your current position. Use the wall you just jumped from and dash onto the phasing wall to make it into this nook and claim your prize. This is a sneaky one but if you thought this was tricky to locate, then you’ve got even more surprises waiting for you.
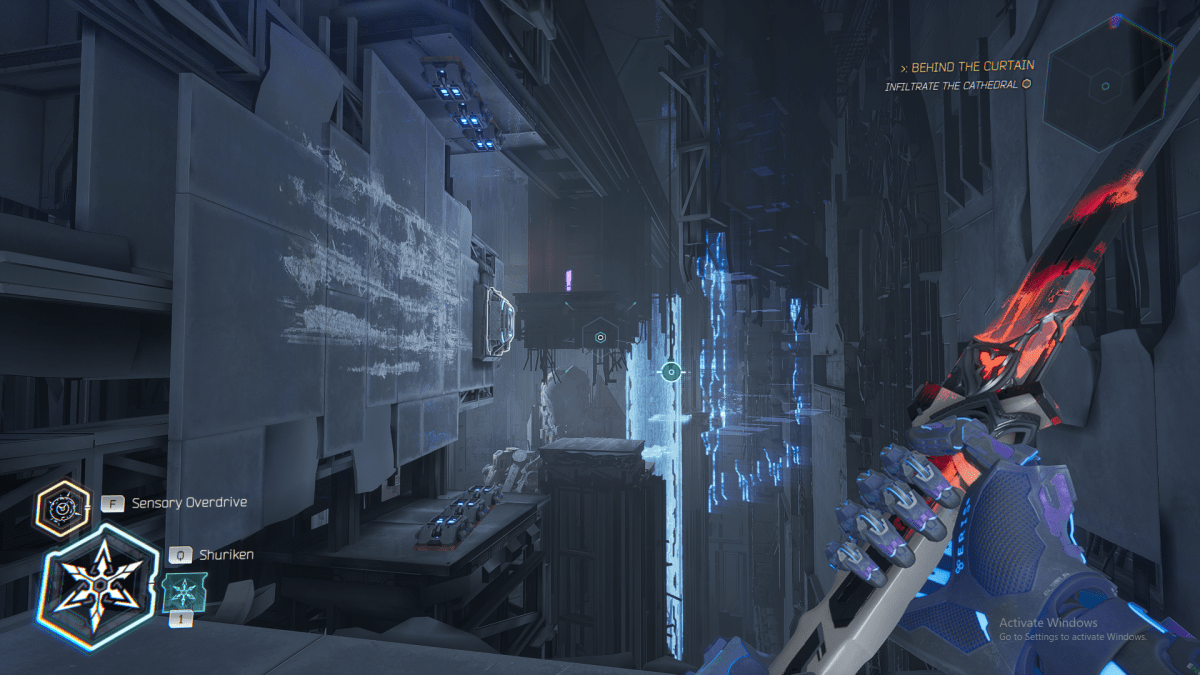
Memory Shard #3
After flinging yourself across the massive, empty halls of the church you’ll eventually make it to a platform that has a small collection of what look like candles on the right and three horizontal poles that extend and retract on the left. Swing across these and you’ll land on a crumbling pathway. Turn around and you’ll see this Memory Shard just begging to be collected. Seriously, he also missed the memory about hiding.
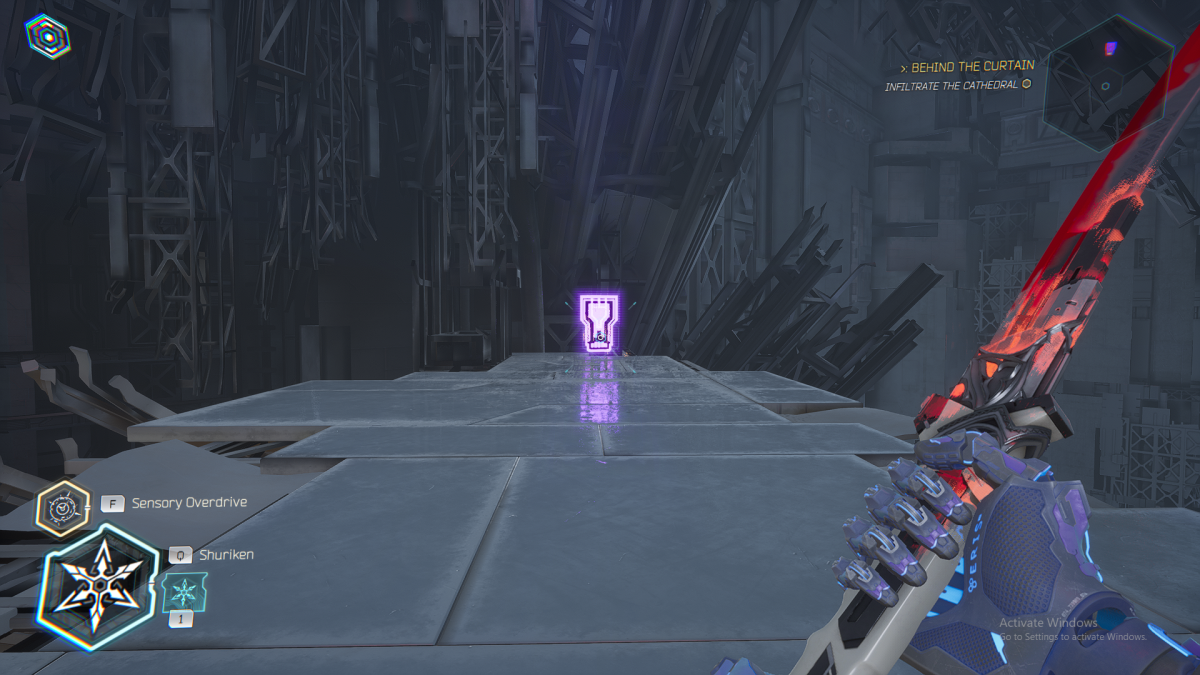
Audio Log
Shortly after you first encounter the first beam of light that can activate and deactivate bridges, move into the next room and look to the right. You’ll see a launch pad and a hardlight wall fading in and out of existence. Time your jumps correctly and you’ll land in side-room. At the one end, you’ll see your Audio Log but it’s protected by a bunch of electricity. There aren’t any buttons to hit with your shuriken but there is an opening to the left with a bunch of hardlight walls phasing on an off again.
You’ll need to wall run your way around the bend and into the protected room. It’s not too difficult and the walls are close enough that you shouldn’t have to worry about dashing your way between them. Once you make it to the end, you can pick up the Audio Log which is basically just a prayer from a cyber cultist. How fun…
Memory Shard #4
After clearing out the room with all the enemies standing on the hardlight bridge, you can find this Memory Shard by sliding down the ramp that serves as an exit. If you want more specific directions, it’s the room where you can drop a bunch of guys by deactivating a bridge.
Related: How to Make Constant Failure Fun in Video Games
It’s worth noting that it’s entirely possible to miss this Memory Shard collectible in Ghostrunner 2 Chapter 5 as you slide down the ramp on which its floating. If that happens to you, you can mantle you way back onto the ramp and slowly trudge up it again. Certainly humiliating.
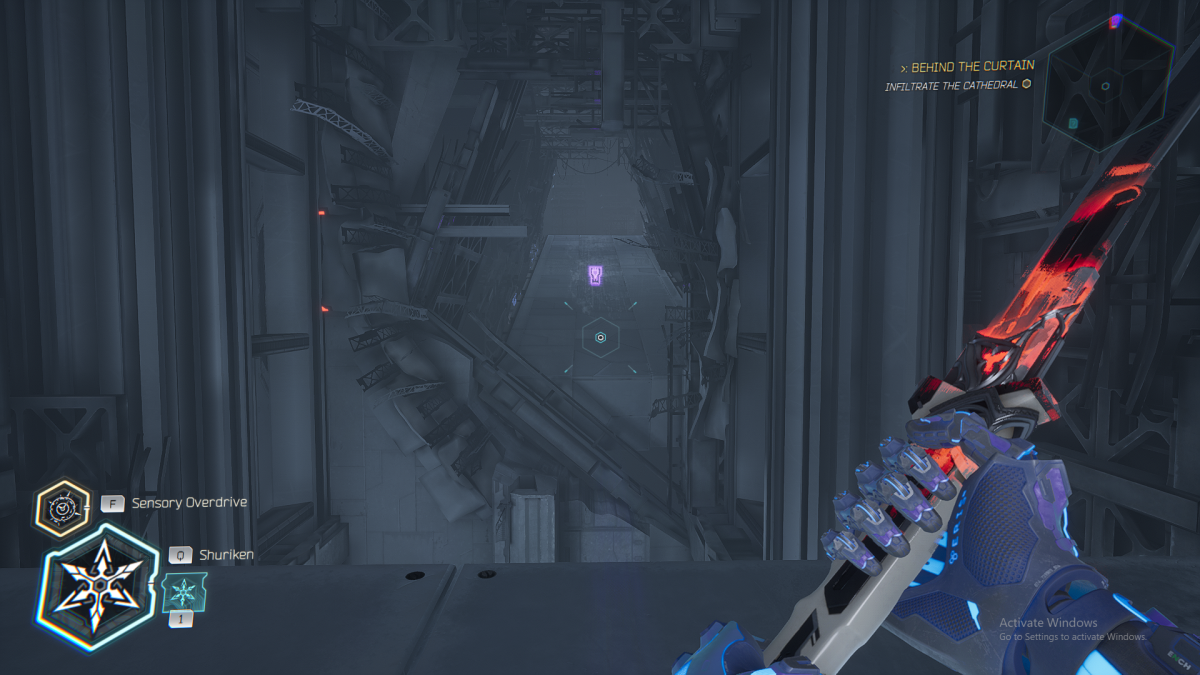
Artifact
After picking up the Shadow Skill and returning to the room where Kira first mentioned the ability to split in two, you can use your decoy ability to stop the beam of light running through the middle of the room to shut down the hardlight block protecting this collectible. Picking it up, you’ll be told that it’s some kind of ceremonial headpiece called the Mask of the Arcane Sacrificer. Creepy…
Memory Shard #5
Shortly after the room wherein you found the Artifact, you’ll need to use your gap jammer to grapple up to a ledge that contains a light beam. Obviously, you’ll want to block that in a bit but right now, duck to the right and you should see a wall with the golden fractures you’re no doubt already quite used to.
Leap off the edge and dash into the cracks to break through, revealing a secret room that contains your Memory Shard.
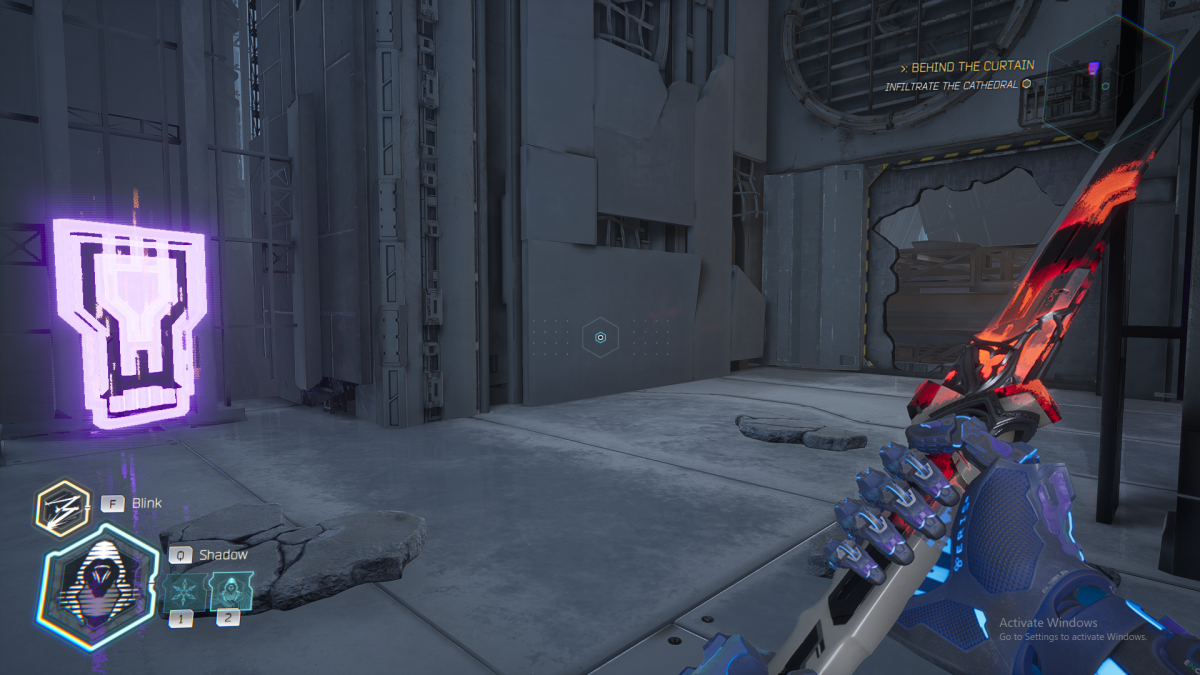
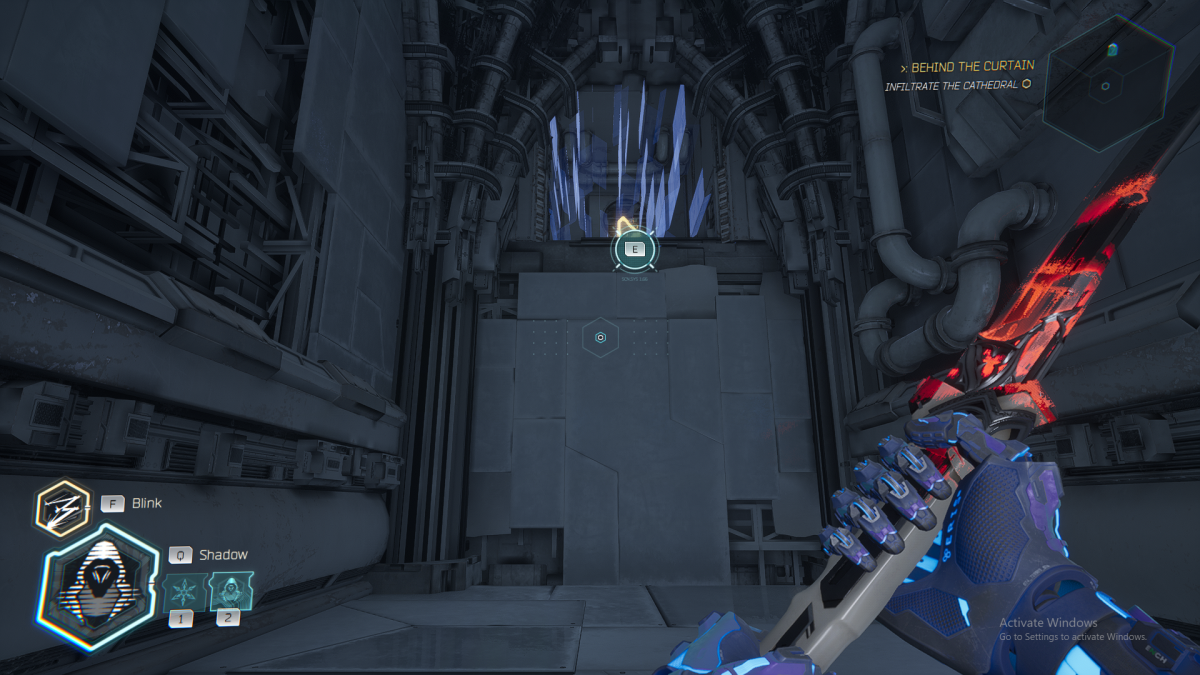
Hidden Sword #1
When you get to the room that requires you launch yourself back and forth, both dropping a decoy and using a shuriken to deactivate the door forward, you’re in the right place. Firstly, you need to know that the light beams don’t just control the door, the also have an impact on the barriers behind you.
Continue through the room as normal. Black out the light beams and hit the switches with the shurikens. Once that’s done, immediately turn back way you came to notice that a hardlight wall blocking off a hole has dissipated. Head through it and you’ll see the Collectible floating above you in a nook that’s similarly protected. Move into the room on the right and interact with the terminal to deactivate the electricity blocking the exit.
Head back to the platforms with the switches. Launch yourself towards the beam of light on the right and drop a decoy mid-air to block it off. With that complete, head back to the small alcove and you’ll notice that barrier in front of the nook is no more. Claim your Hidden Sword and continue on you way.
Hidden Sword #2
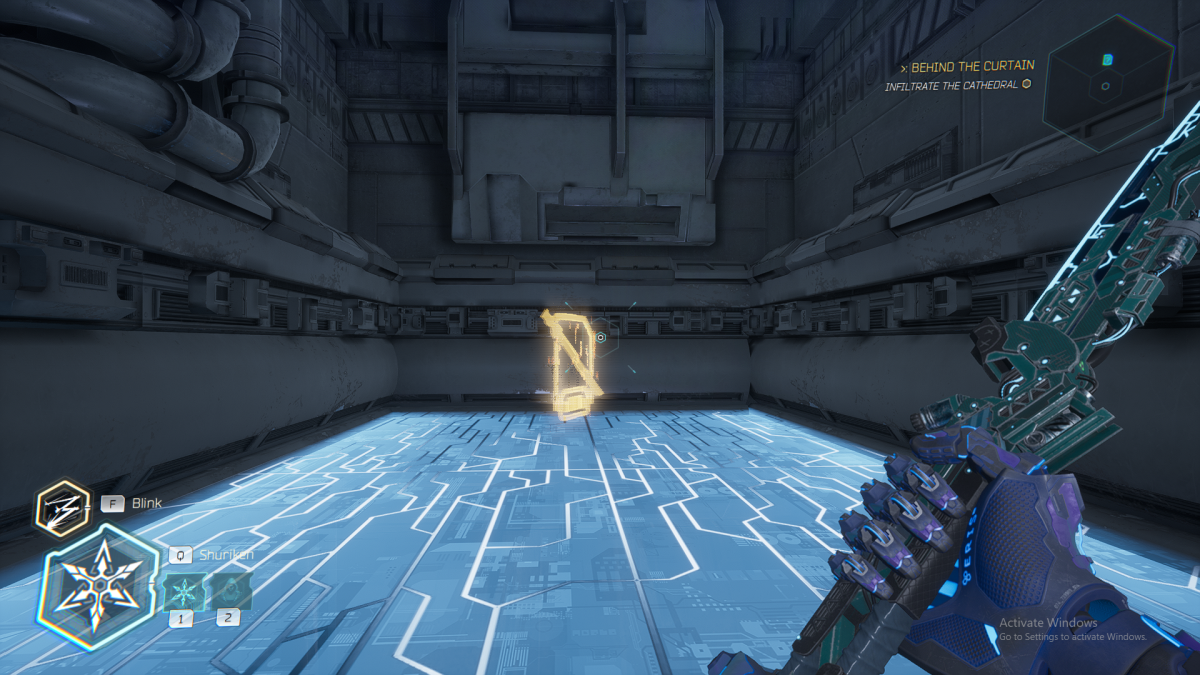
After clearing the lengthy corridor that contains the bi-pedal mech, the shinobi and the cyber cultist, you’ll enter into a room that allows you to progress straight or right. Head to the right and you’ll find yourself in a platforming puzzle. Drop a decoy in the beam that crosses the entrance and then switch to the shuriken.
Related: Is Steampunk Better Than Cyberpunk? – Slightly Civil War
Grapple up to the vertical wall, jumping onto the second wall that has the beam going across it. While you’re blocking the light out, throw a shuriken at the switch to deactivate the electrical barrier. Then a jump down onto the hardlight platform and claim your new sword.
Memory Shard #6
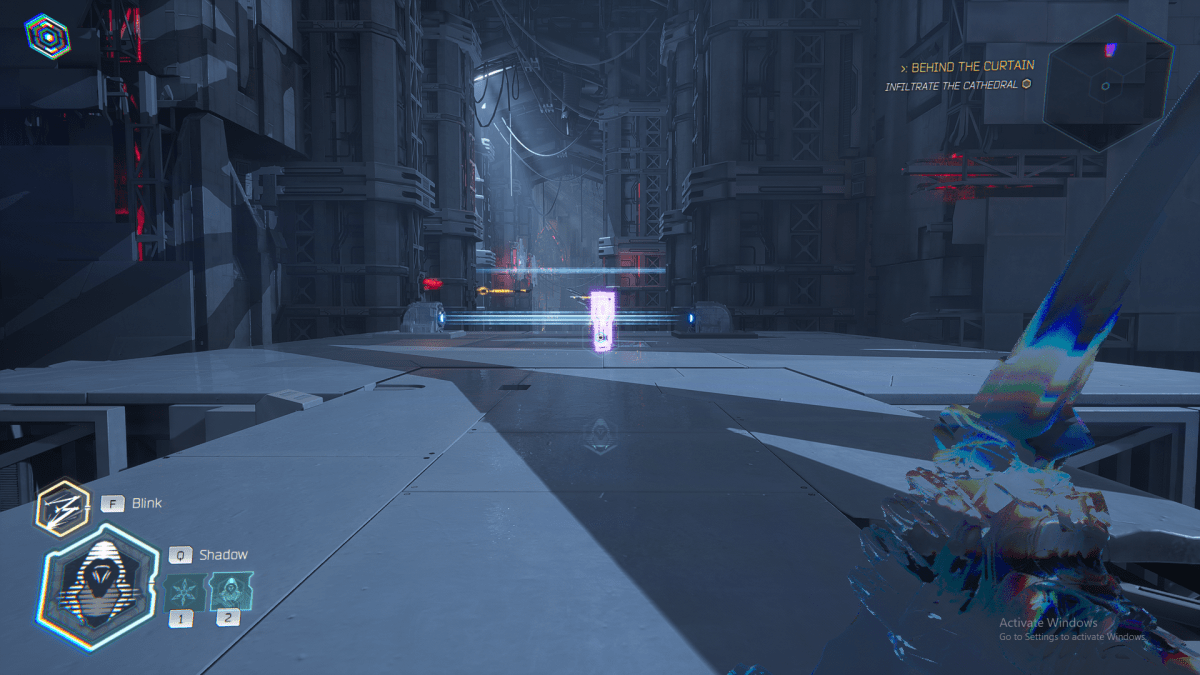
After sliding down the ramp with red lasers at its base, you can find this Memory Shard collectible in Ghostrunner 2 Chapter 5 simply floating on the platform to your right. A very easy pick-up.
Memory Shard #7
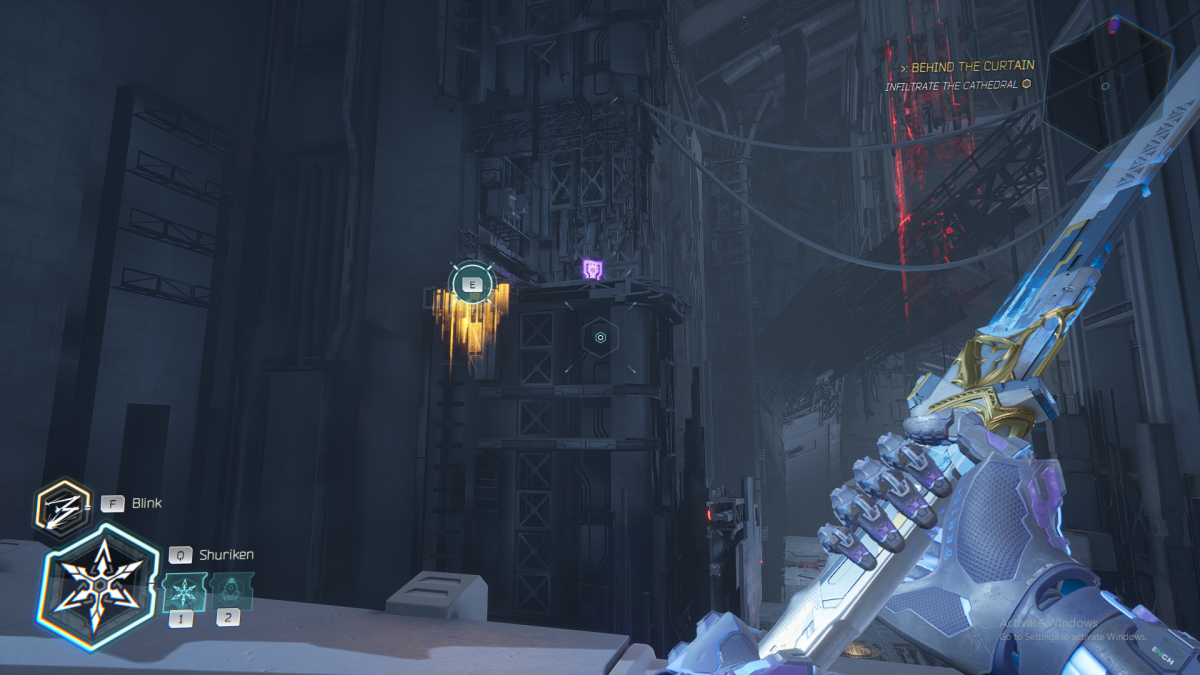
After the section that requires you to shuriken a switch to turn on a launch pad but BEFORE the grindrail that leads to the final arena battle of the chapter, you can find this Memory Shard tucked away in an alcove on the platform you’re standing on. As you touch down from the launchpad, look to the right and behind you to see it hiding away from prying eyes.
Time Trial
While not a collectible, you can find Ghostrunner 2 Chapter 5’s time trail challenge on the upper left platform of the final arena fight. It’s a pretty difficult one that tasks players with killing 18 enemies in under 35 seconds if you want the gold medal. As always, the rewards are pretty good if you pull it off, netting you thousands of Data and two Memory Shards.
Here’s a hint that I wish someone had told me earlier: The floating drones hanging out in the air? They count as enemies.
Memory Shard #8
After the final arena battle, you’ll enter into a massive atrium that’s seemingly leading up to a massive boss fight. Don’t worry about that yet (that’s next chapter’s problem) but for now, you can pick up the eight Memory Shard on the right side of the room, tucked behind one of the pillars. It’s difficult to miss.
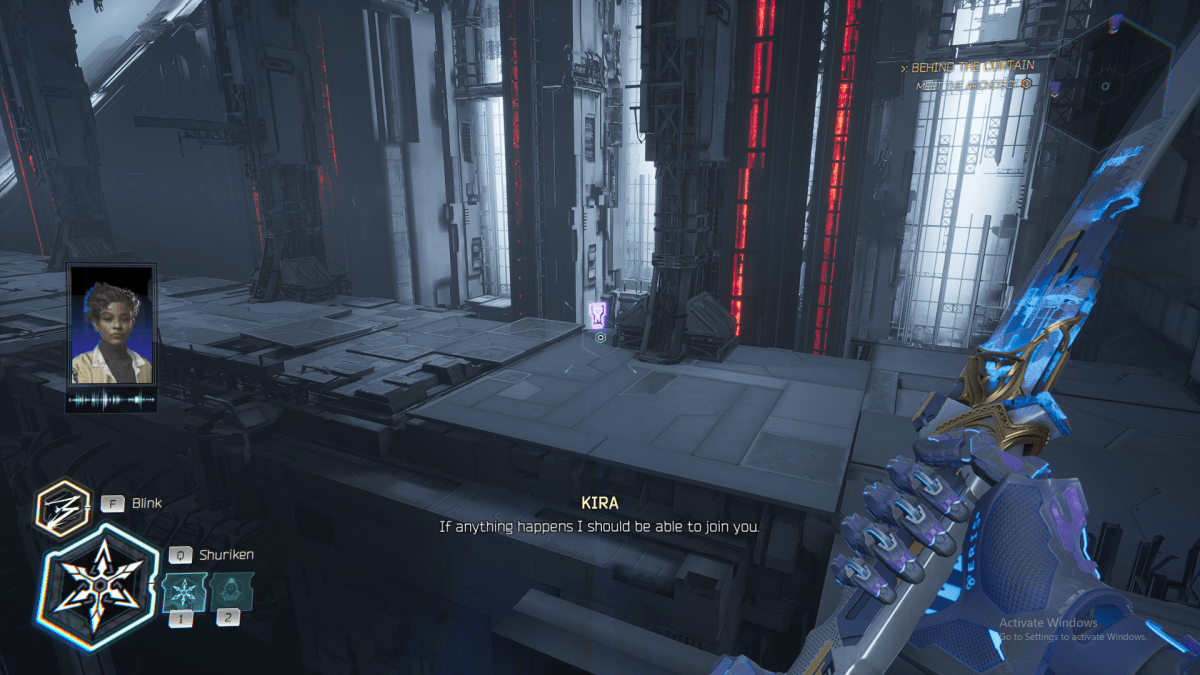
Memory Shard #9
The final collectible in “Behind the Curtain” tasks players with taking a leap of faith. In the same atrium area where you found Memory Shard #8, you should head to the left hand side of the room, in the middle of the platform, and just jump off. You should see a launch pad below you, so enter Focus and pivot your fall so you head under the platform from what you leapt. You’ll find this Memory Shard tucked away here, its secret exposed to the world.
And that’s where to find every collectible in Ghostrunner 2 Chapter 5.
If you’re looking for more, check out where to find every collectible in Ghostrunner 2 Chapter 4.




Published: Oct 25, 2023 03:46 pm