This is it, the last full stage before you take the fight to Mitra, the Big Bad Boss himself. Let’s make sure we find everything we need it before you put a ribbon on this game. Here’s how to find every collectible in Ghostrunner 2 Chapter 17, “Too Close to the Sun.”
Where to Get Every Collectible in Ghostrunner 2 Chapter 17
Even though Ghostrunner 2 is nearing its end, more mechanics get added into the game’s tasty platforming soup. The final addition to Jack’s arsenal is wing suit that lets him glide over long distances and catch updrafts to effectively fly through certain parts of the level. Given its introduction, know that many of the collectibles in Ghostrunner 2, Chapter 17, “Too Close to the Sun,” will require you to spread those proverbial wings and fly. Just know that the wing suit is designed to accentuate Jack’s movement, not give him more momentum, so you can’t really use it to soar. Most instances of its use will see you diving to pick up speed before pulling up to turn velocity into altitude.
Related: How to Make Constant Failure Fun in Video Games
In total, Ghostrunner 2 Chapter 17 features eight collectibles consisting of five Memory Shards, one Hidden Sword and two Artifacts. So, for the last time in Ghostrunner 2, let’s refill our energy bar and dive into these pick ups.
Memory Shard #1
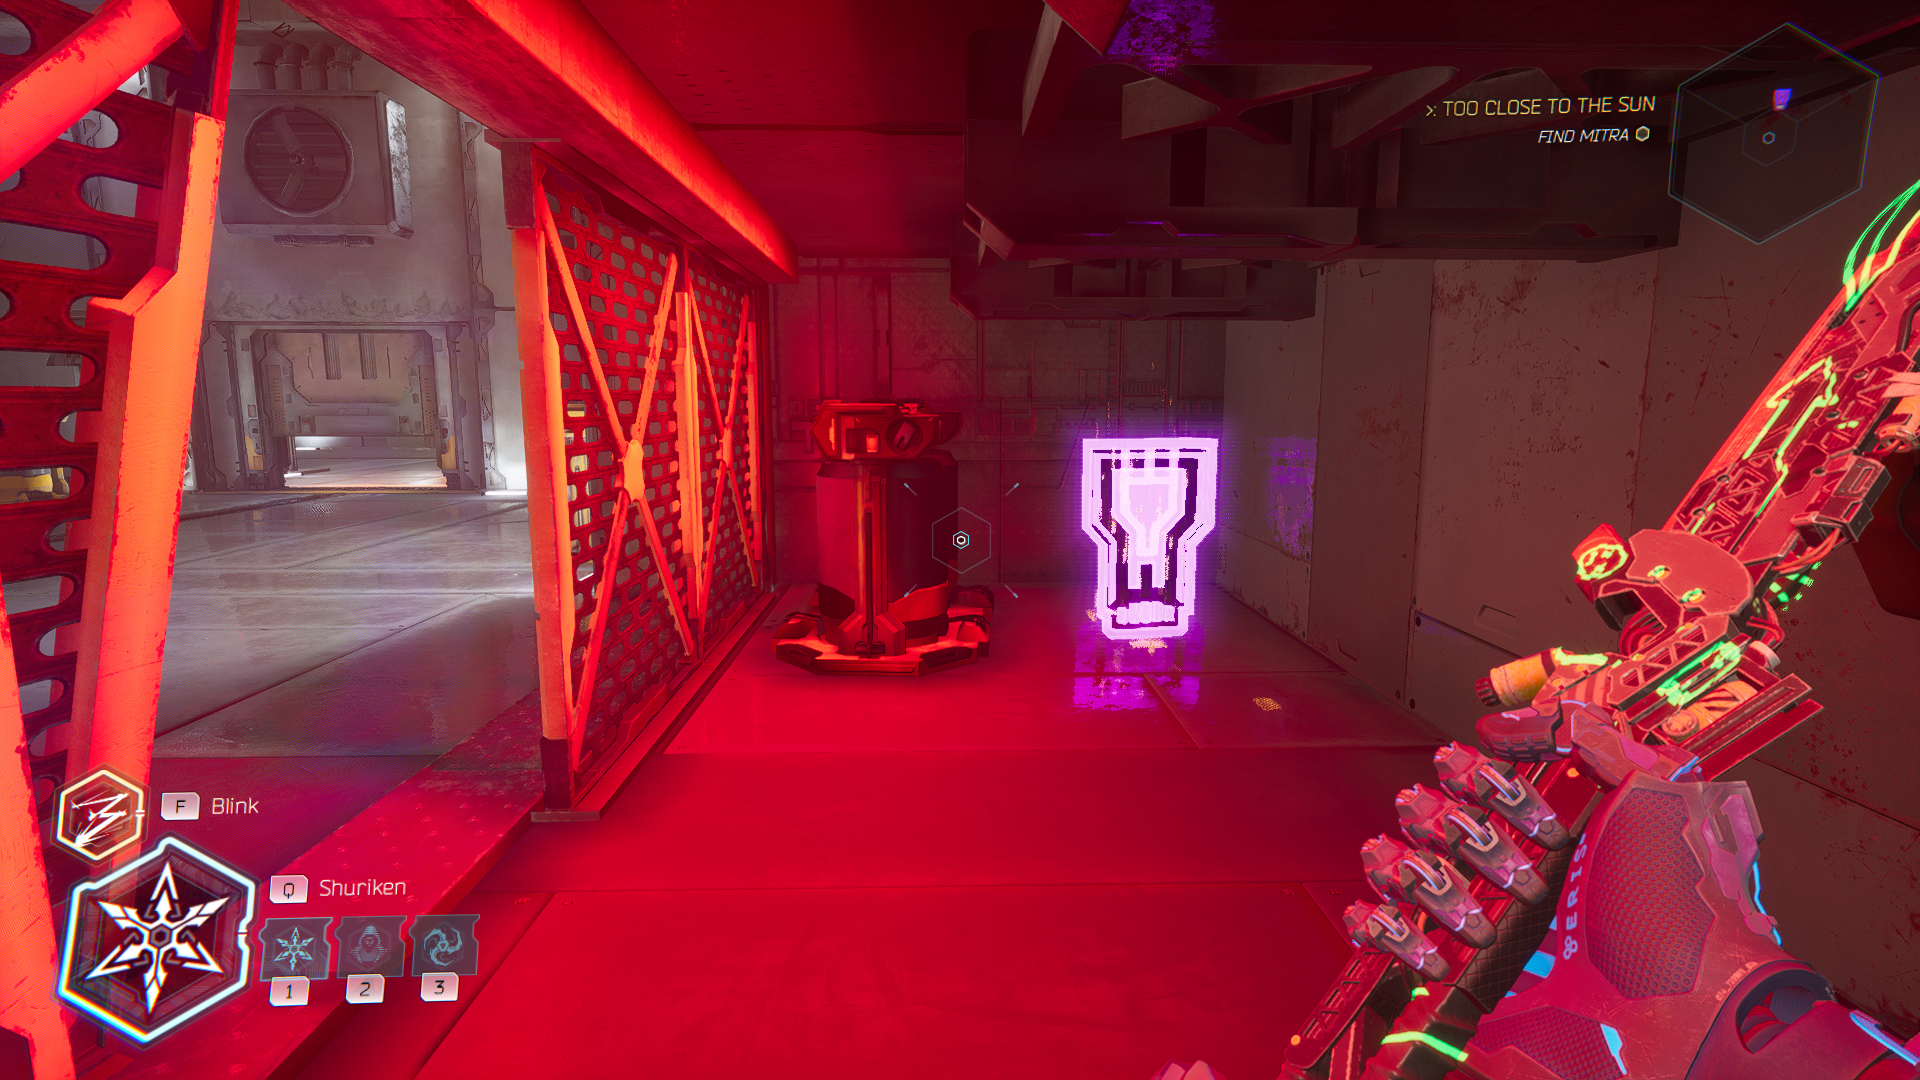
As you get off the elevator that takes you to the beginning of this level, make a right turn and enter the room with a doorway on the other end and a red ventilation grate on the left. Duck inside the opening in the middle and you’ll see this Memory Shard waiting every so patiently for you.
Artifact #2
Once you acquired the Wing Suit, you’ll need to use it to dip and dive a bit before you stumble upon Chapter 17’s first arena battle. It’s a tame fight that’s only really complicated by the massive gaps between the platforms. Fortunately, there are a bunch of massive fans blasting vertically that Jack can use to increase his altitude in a pinch.
Once all the enemies are dead, you’ll want to position yourself on the platform that was protected by the single Zombie Cyborg Gunman. Turn and face the place from where you entered this location. You’ll see a conveniently placed fan that, if you fly over it, will shoot you upwards to a different platform. It can be tricky to stick the landing without just careening into the bottom of the structure so if that happens just turn around and take another run at it.
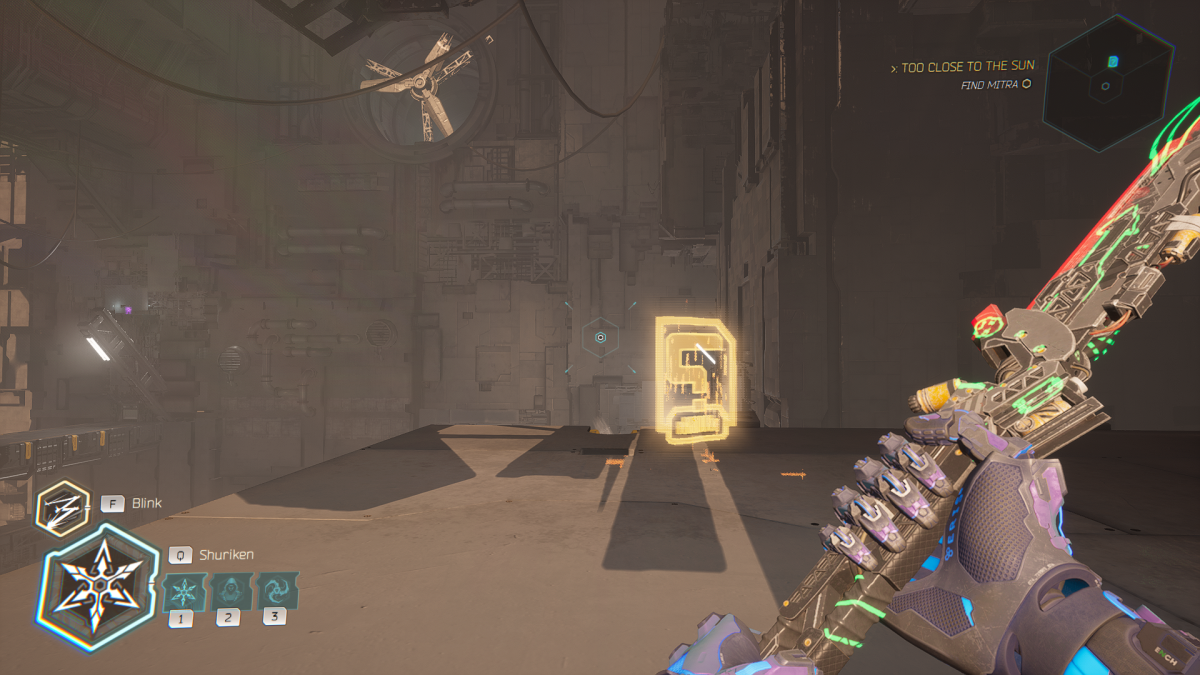
When you’re safely on top, look back at the direction you came and you’ll see an outcrop that’s even higher above you! Use the fan once again to float up and steer Jack downwards until you’re staring at your desired Artifact. It’s an old-school grappling hook! Not much use to you now but good to mount on a wall for decoration.
Memory Shard #2
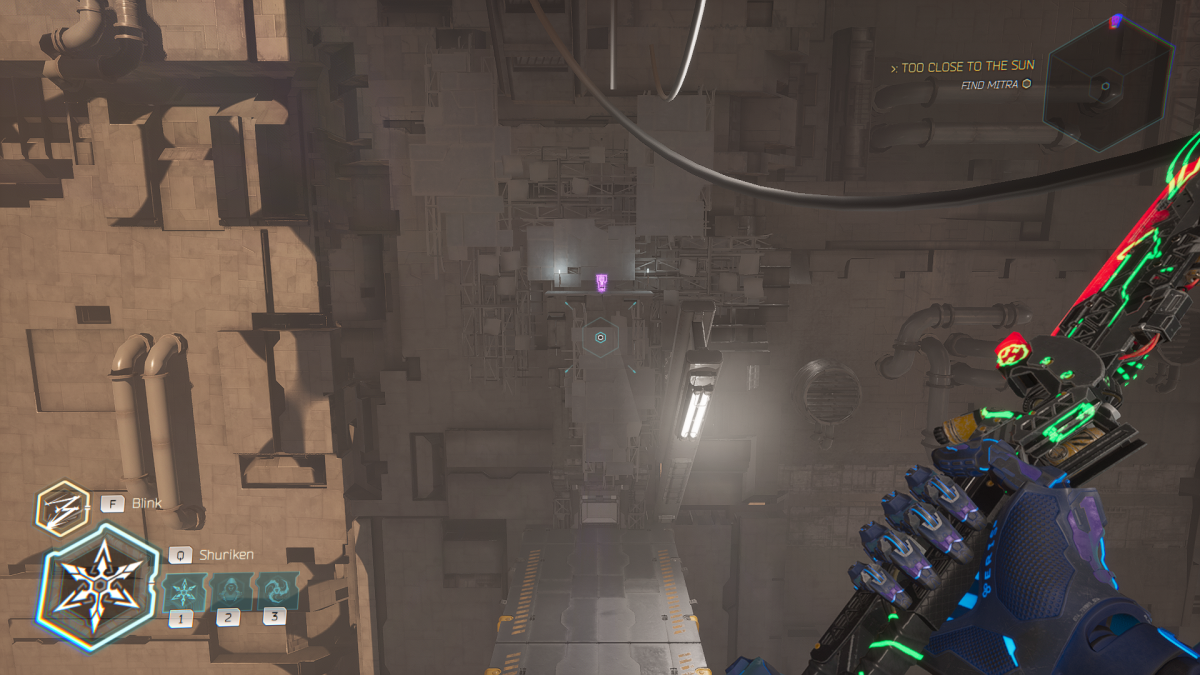
From Artifact #1 in Ghostrunner 2 Chapter 17, fly back onto the platform you just came from and look to your left. You should see this Memory Shard floating on a platform to the right. Jump on the diagonal fan to launch Jack forward and use the wing suit to safely glide him towards the narrow stretch of construction just below the collectible.
When you’ve landed, look to the left and up. You’ll see a small sliver of wall that can be turned into a grapple point with your shurikens. Do just that and use the gap jammer to fling yourself up a level. Turn around, and the Shard will be so close yet so far. Leap off the edge, activate the wing suit and dive for a second before pulling up and using your momentum to reach the other side. Increase your memory and the be on your way.
Time Trial
Continue soaring along the path until you reach a massive fan that’s tucked away to the right side of the building we’re trying to scale. Glide in there and ride the air up, using the gap jammer on the hook in front of you before quickly activating focus and hitting the electrical switch with a shuriken to shut off the electrical barrier.
Related: Ghostrunner – Zero Punctuation
Jump through the next platforming section, using your shurikens to create more grappling points where necessary, before ultimately reaching a long platform that’s protected by three enemies: Two gunmen and a Hammer Bro. Once their dead, look on the left side of the landing and you’ll find this Time Trial. As expected, you’ll be tasked with making it through a series of rings by using the wing suit. It’s very fun when you pull it off but given the difficulty associated with platforming in first-person, it can also be very frustrating. If you grab a gold medal, you’ll walk away with 6,000 Data and two more Memory Shards.
Memory Shard #3
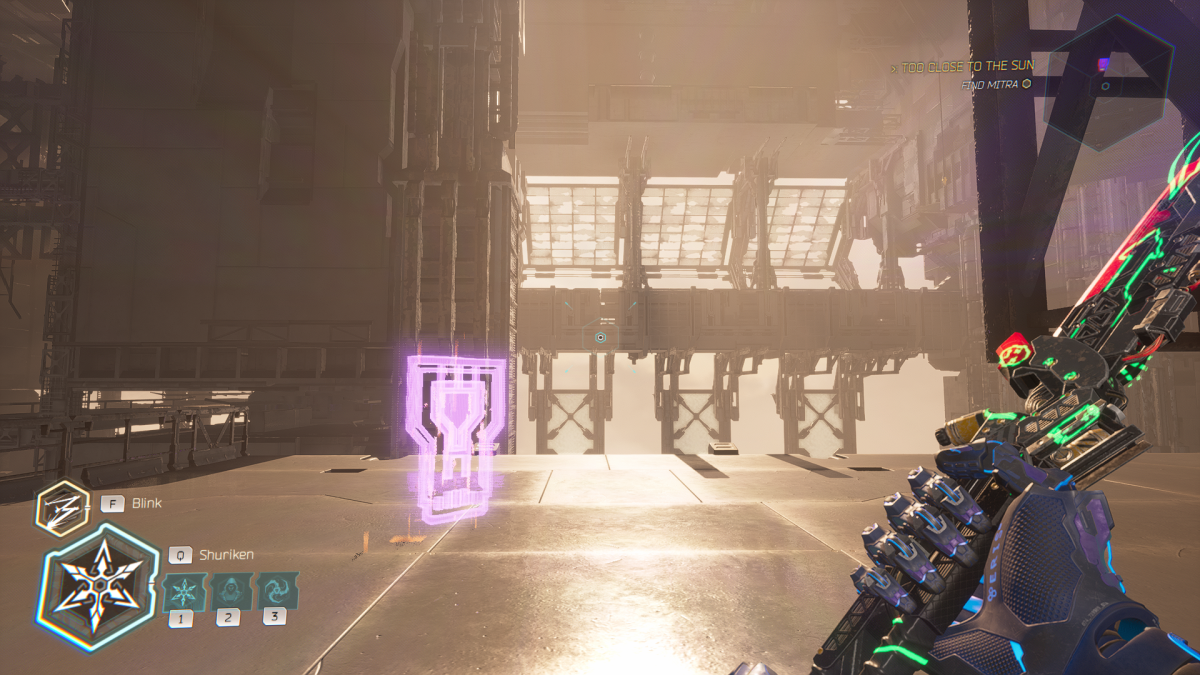
From the Time Trail terminal, turn around and hop the gap, using the fan at the end launch yourself upwards. When you touch down on this catwalk, turn around and you’ll see this Memory Shard floating on the other side of the crevice. Use the wing suit to fly over and grab it before gliding back down to the same fan and shooting back up to the platform from whence you came.
Memory Shard #4
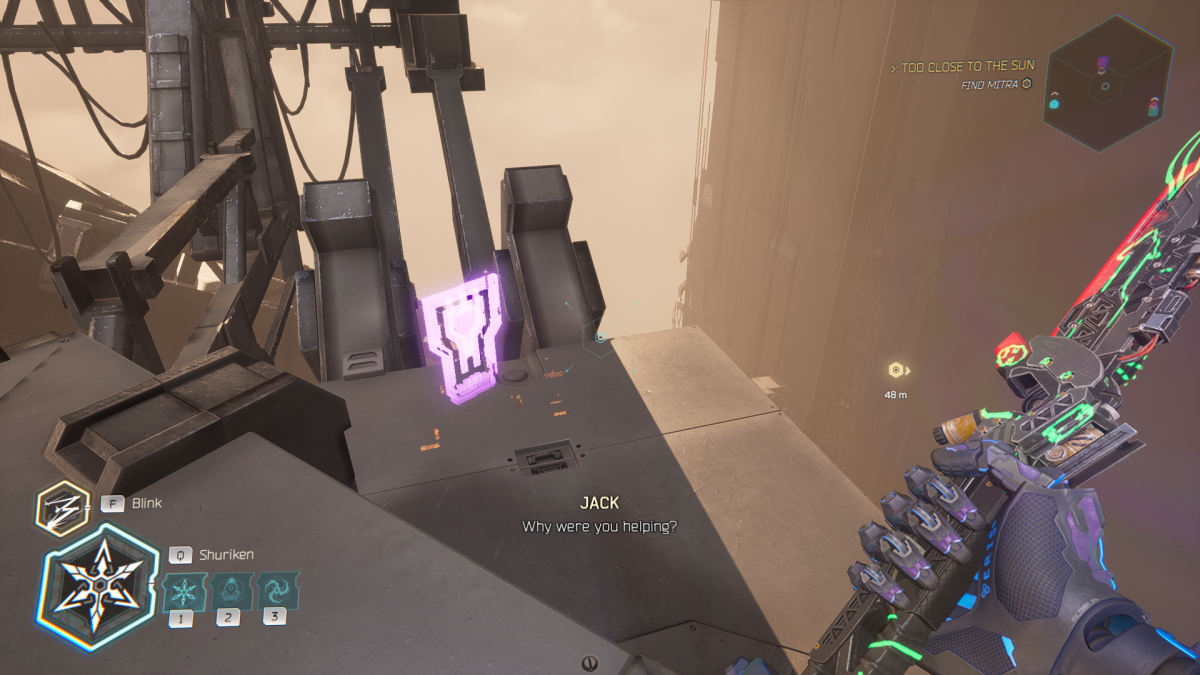
Once you arrive at the arena with a Laser Bro and a Gunman on the right and two Cyber Zombies and a Mech on the left, you know you’re in the right place. Glide about the place and cut up your enemies before stopping on the section where the aforementioned Mech and Cyber Zombies were patiently waiting for your presence.
On the right side, there’s a bunch of what look to be wall panels or girders. Jump over them and in the nook on the other side, you’ll find a Memory Shard.
Hidden Sword #1
Shortly after acquiring Memory Shard #4 in Ghostrunner 2 Chapter 17, leave the arena through the green “OPEN” door. You’ll step into a dark corridor with the telltale light of a Biter beaming down in the middle. Sneak closer to it, grab it with the gap jammer and yank it down to reveal a ledge fashioned out of the material that turns shurikens into grapple points.
Obviously, throw your stars into it and hoist yourself up into the alcove to find the Hidden Sword. The TESA_VAPOR74 is seemingly named for (and designed after) the Vaporwave aesthetic, what with its glowing neon purple and blue. Neat, but a little too “bubble gum” for my liking.
Artifact #2
As you drop down from the location that housed the Hidden Sword, you’ll be able to spy this Artifact behind a pile of collapsed debris. Don’t let Ghostrunner 2 fool you, you can’t access it now so instead, get back on the main path and use the giant fan to launch you on your way.
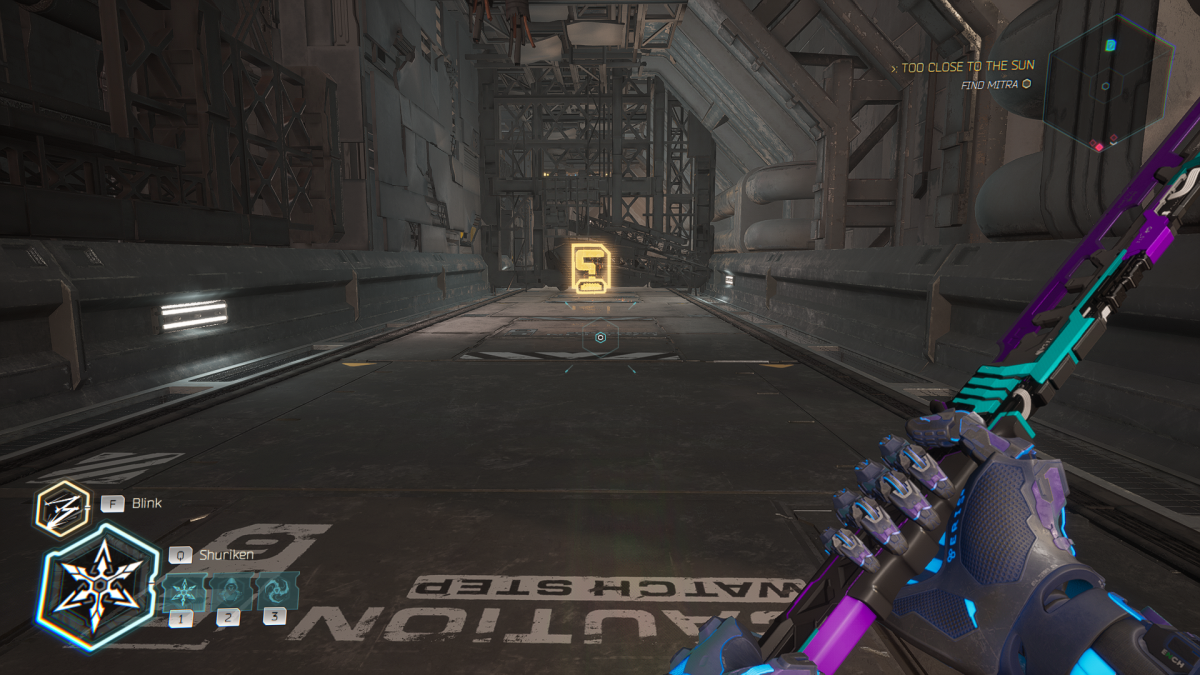
You’ll need to run through another complicated stretch of platforming that involves Spinners, electrical shuriken switches and plenty of grind rails. Once you get to the section where you need to slow a spinner at the end of the rail and activate the wingsuit to glide down to what looks to be an entrance below you, you’re getting warm. Hot, even.
Related: Is Steampunk Better Than Cyberpunk? – Slightly Civil War
Touch down on this platform and look to the right to see the Artifact waiting. They knew you’d come back some day! Oddly enough, it’s just some pills someone left lying about. It also happens to be the final Artifact in the game so enjoy the achievement!
Memory Shard #5
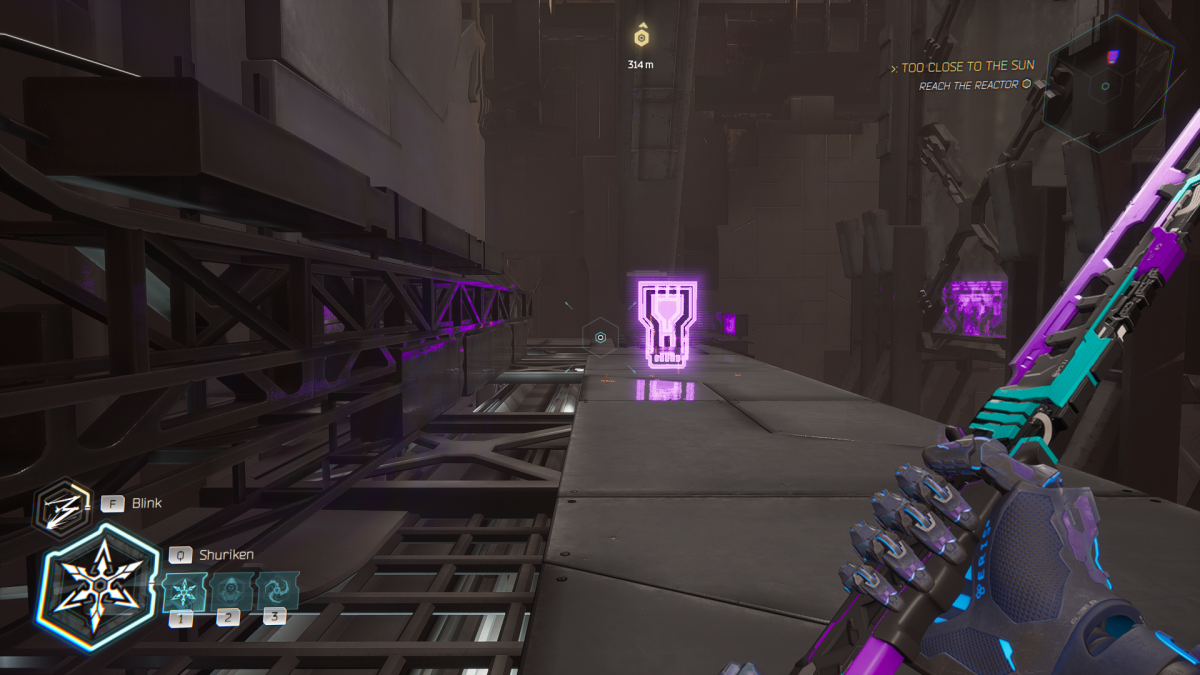
Towards the end of this level, you’ll come to a section that will require Jack to effectively use the gap jammer to pull himself up vertically, almost like an elevator. The shaft you’ll need to navigate up will be around the corner on the right side but before you reach, you can use the launch pad on the left to shoot yourself into the air.
At the peak of your jump, look to the right and you’ll see the Memory Shard waiting on a platform in the distance, just past grind rail in the tunnel you used to reach this point. Activate the wing suit, dive a little and the pull up to safely land. Claim your prize, the final collectible Memory Shard in Ghostrunner 2 (not counting the time trials.)
With that final Memory Shard, you’ve officially picked up every collectible in Ghostrunner 2 Chapter 17 and the game in general. Now, you have one challenge left: Slay Mitra, the leader of the Asura.

