
The Hitman 3 Mendoza stage, The Farewell, is the last one with a set of special assassination challenges. The setting is vast and complex, but getting your bearings is the biggest challenge. Luckily for you, we’ve done the bulk of the work already with our Hitman 3 Mendoza guide.
Notes of Hemlock — Serve Tamara Vidal a Poisoned Glass of Pinot Noir
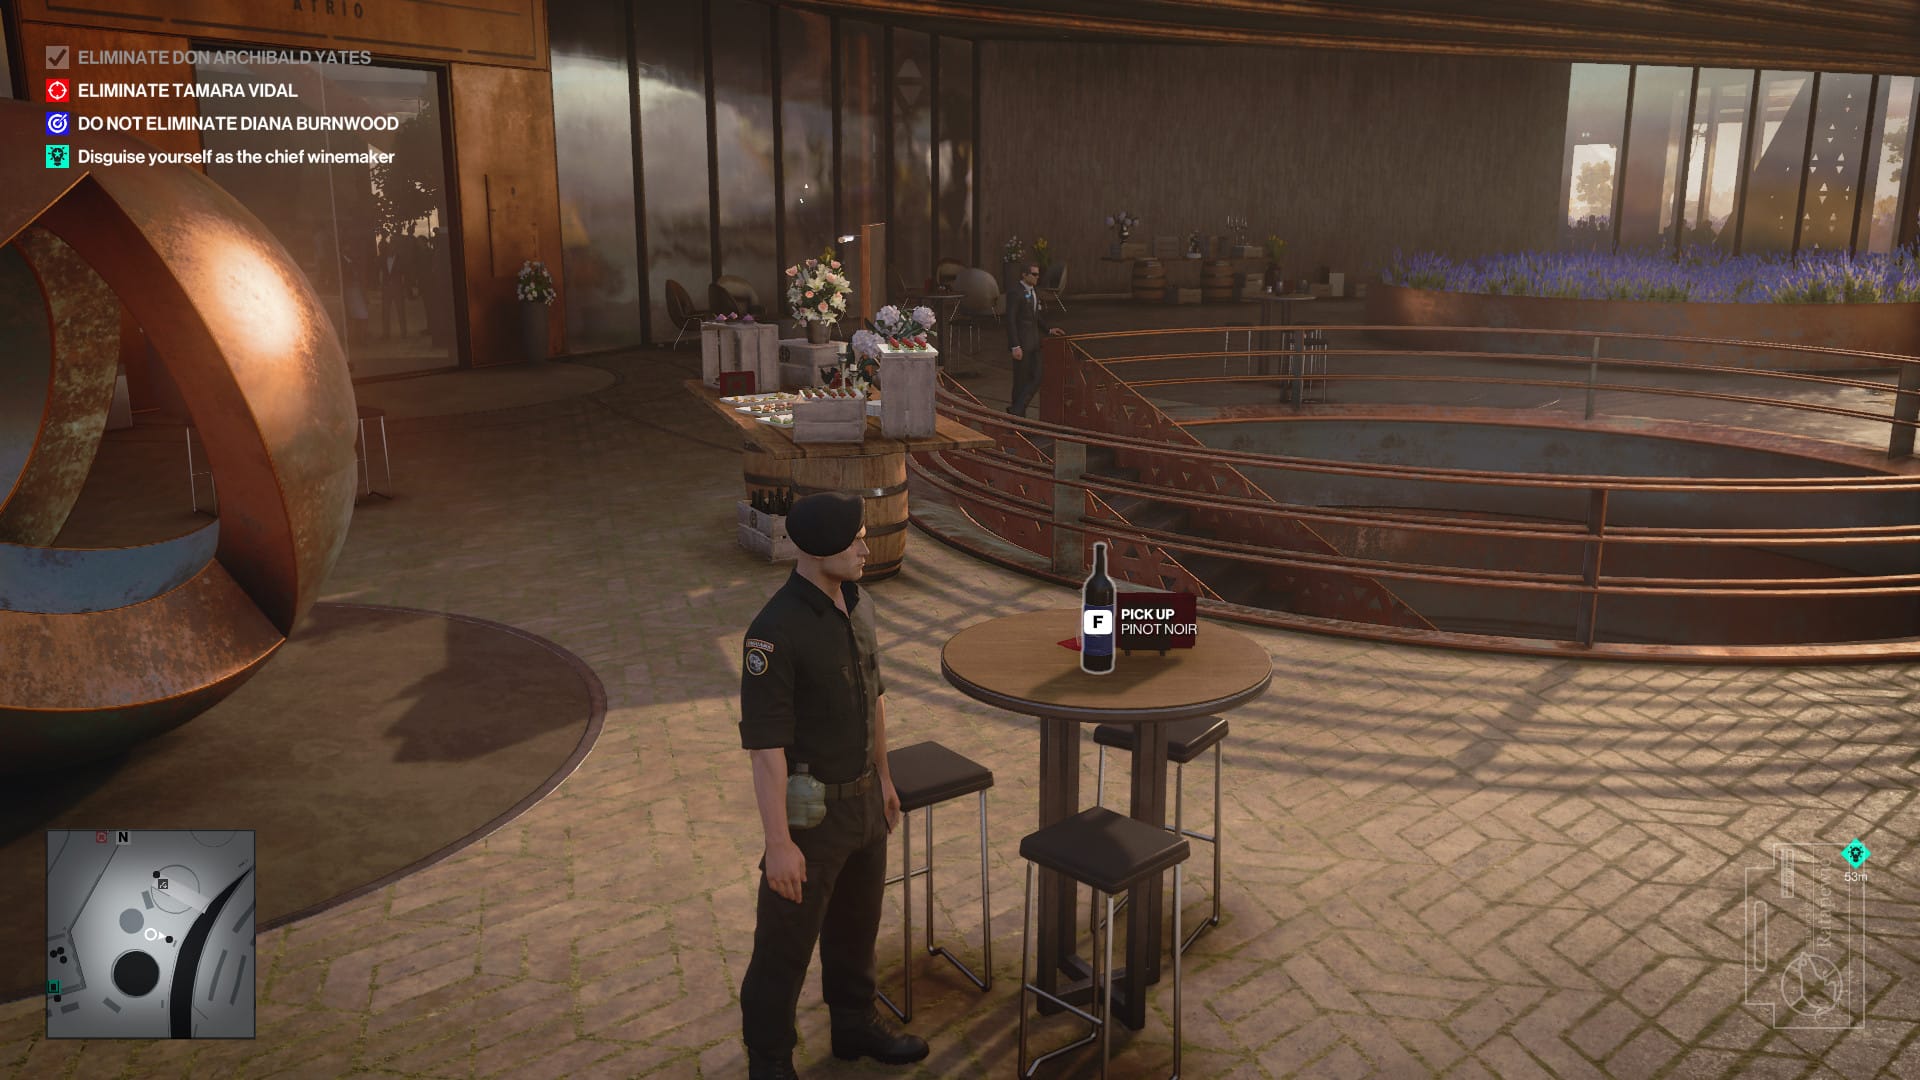
Notes of Hemlock is a fairly straightforward assassination during Hitman 3‘s Mendoza stage. As the description says, you need to serve Tamara Vidal a poisoned glass of Pinot Noir, and the biggest challenge is just finding the bottle. I only found one across the entire facility, and it was in the middle area where all the lavender beds are, near the stairwell as shown above.
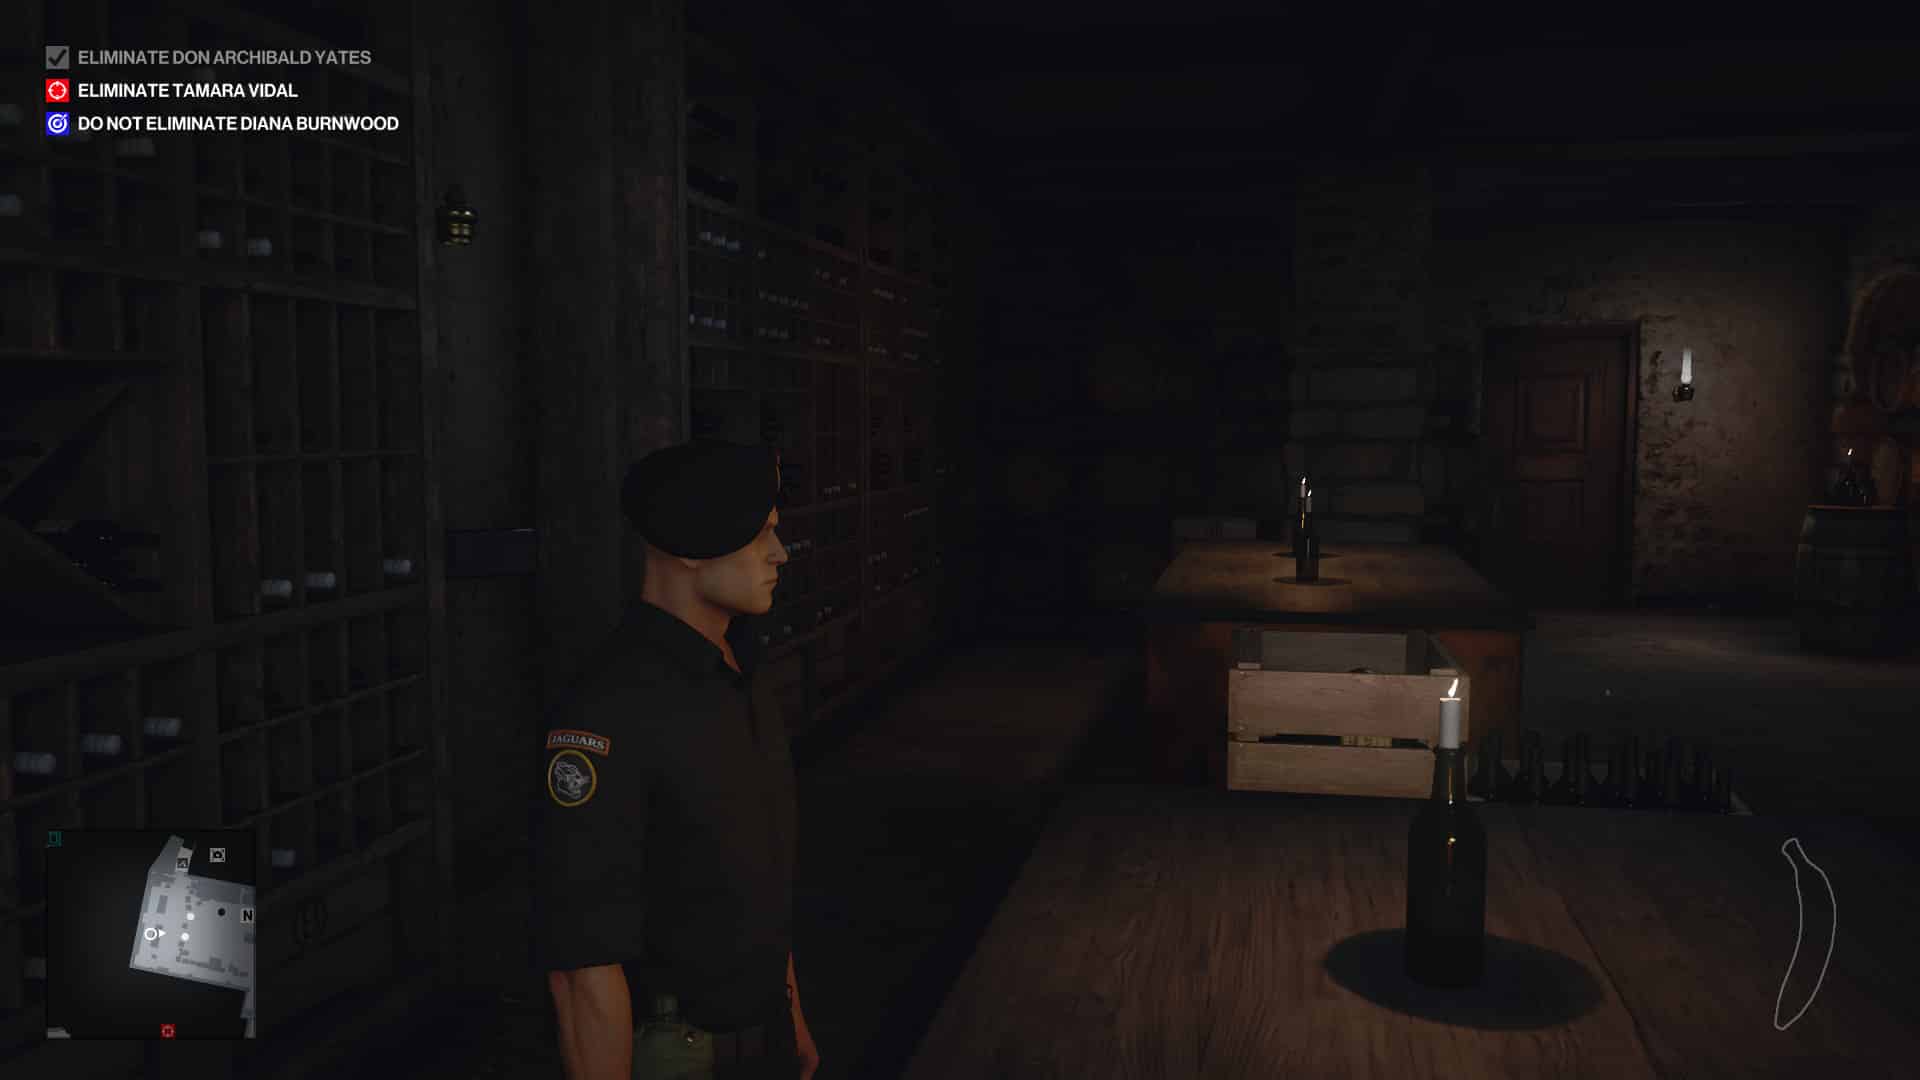
If you don’t have any lethal poison on hand, head to Yates’ villa. You’ll want to be disguised as one of the guards in black you see patrolling the house and grounds or just be super stealthy. Go upstairs and into the bathroom. There’s a vial of lethal poison on the table in there.
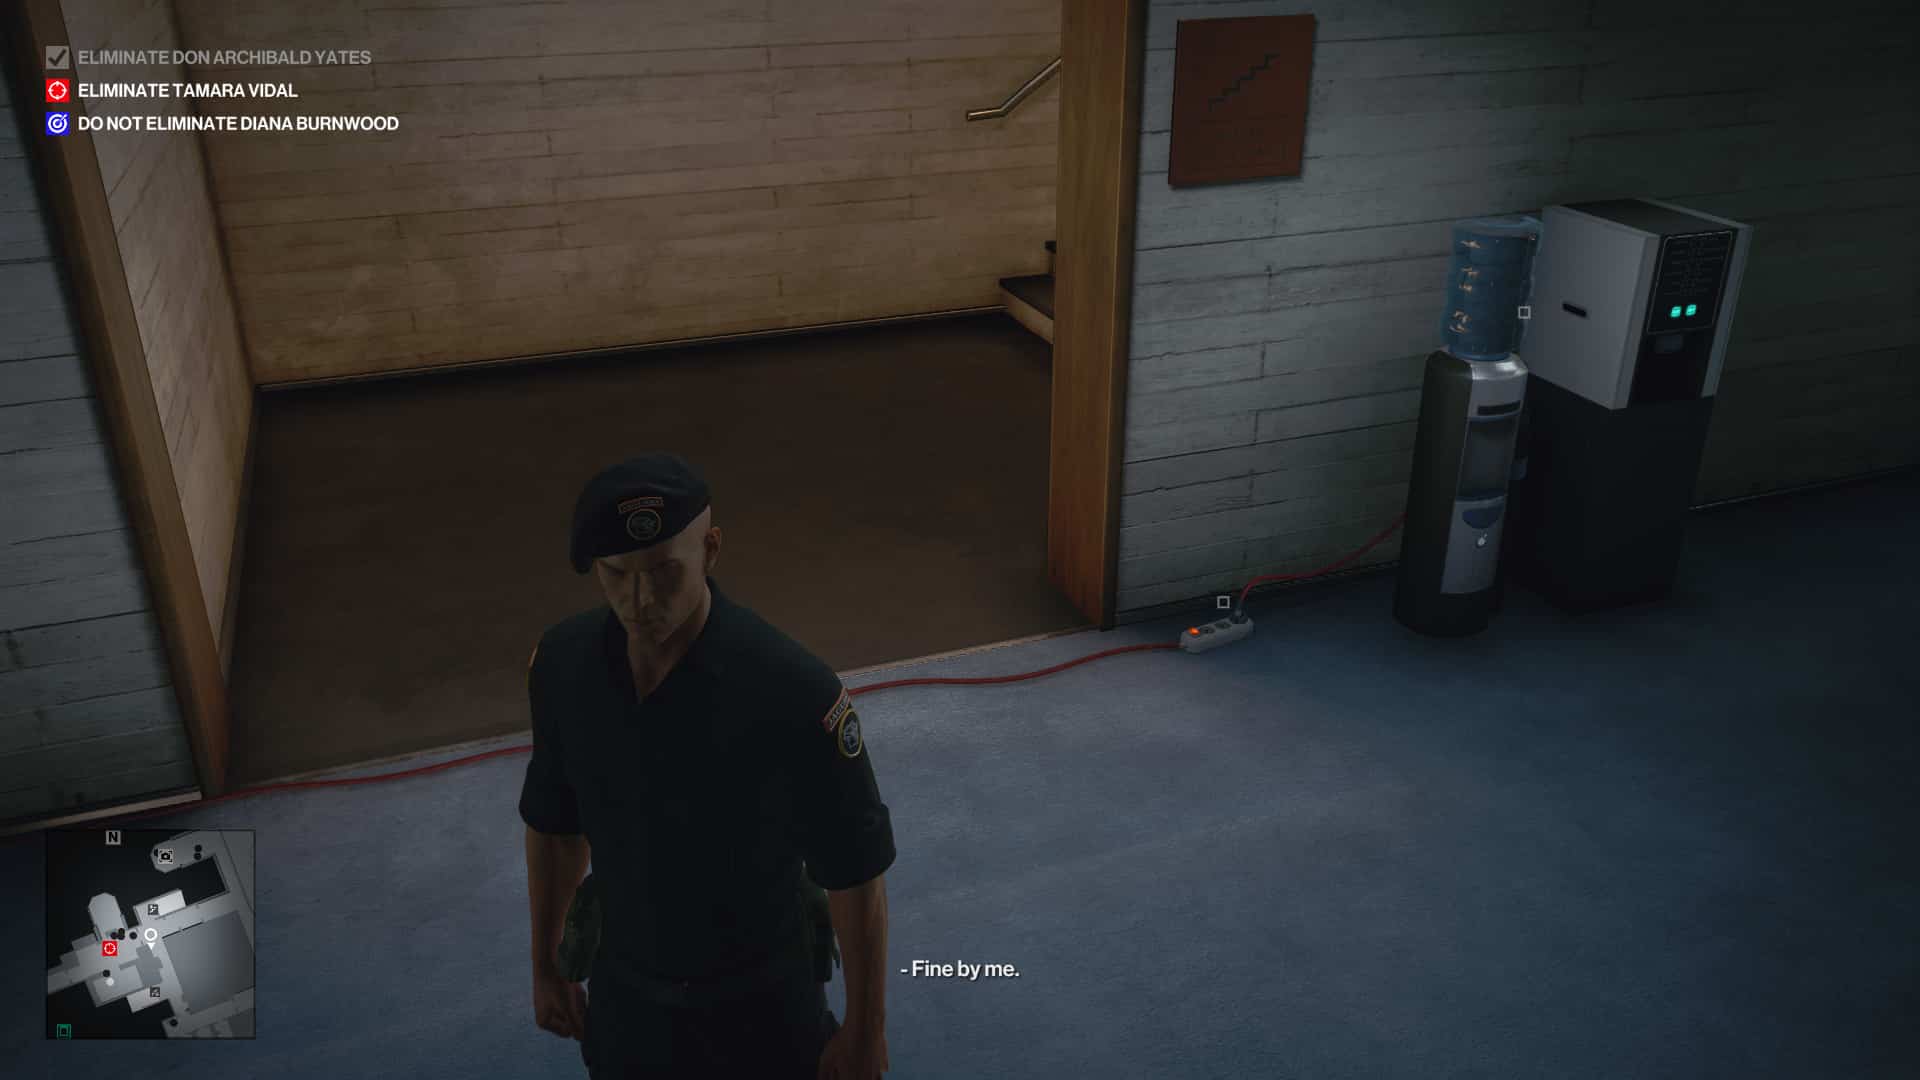
Make sure you’ve got a wait staff disguise on for the next step. There’s a simple way to get one in the indoor bar to the right of the reception area. Enter the supply closet, tamper with the fuse box, then hide in the cabinet until a waiter comes in. Once the door shuts, get out and subdue them.
Vidal mostly sticks to the same routine, circling around from the bar area near where you find the Pinot Noir back to the inside bar area, downstairs around the security suite, and back again.
Your best bet is serving at the outdoor area, poisoning the wine, and waiting for Vidal to approach so you can offer the wine to her.
Domestic Disturbance — Eliminate Don Archibald Yates by Matricide
The Domestic Disturbance challenge in Hitman 3‘s Mendoza mission takes 47 into the checkered past of the Yates couple. Head to Yates’ villa again. If Yates is your first target, it’s often easiest early on to just disguise yourself as the lawyer. Shove him into the flower bed as he’s looking at the tree, crouch down, and change.
Make sure you don’t have anything illegal on you, since you need to be frisked. If, for some reason, you want to take something illegal in, you can stand off to the side and throw the briefcase over their heads.
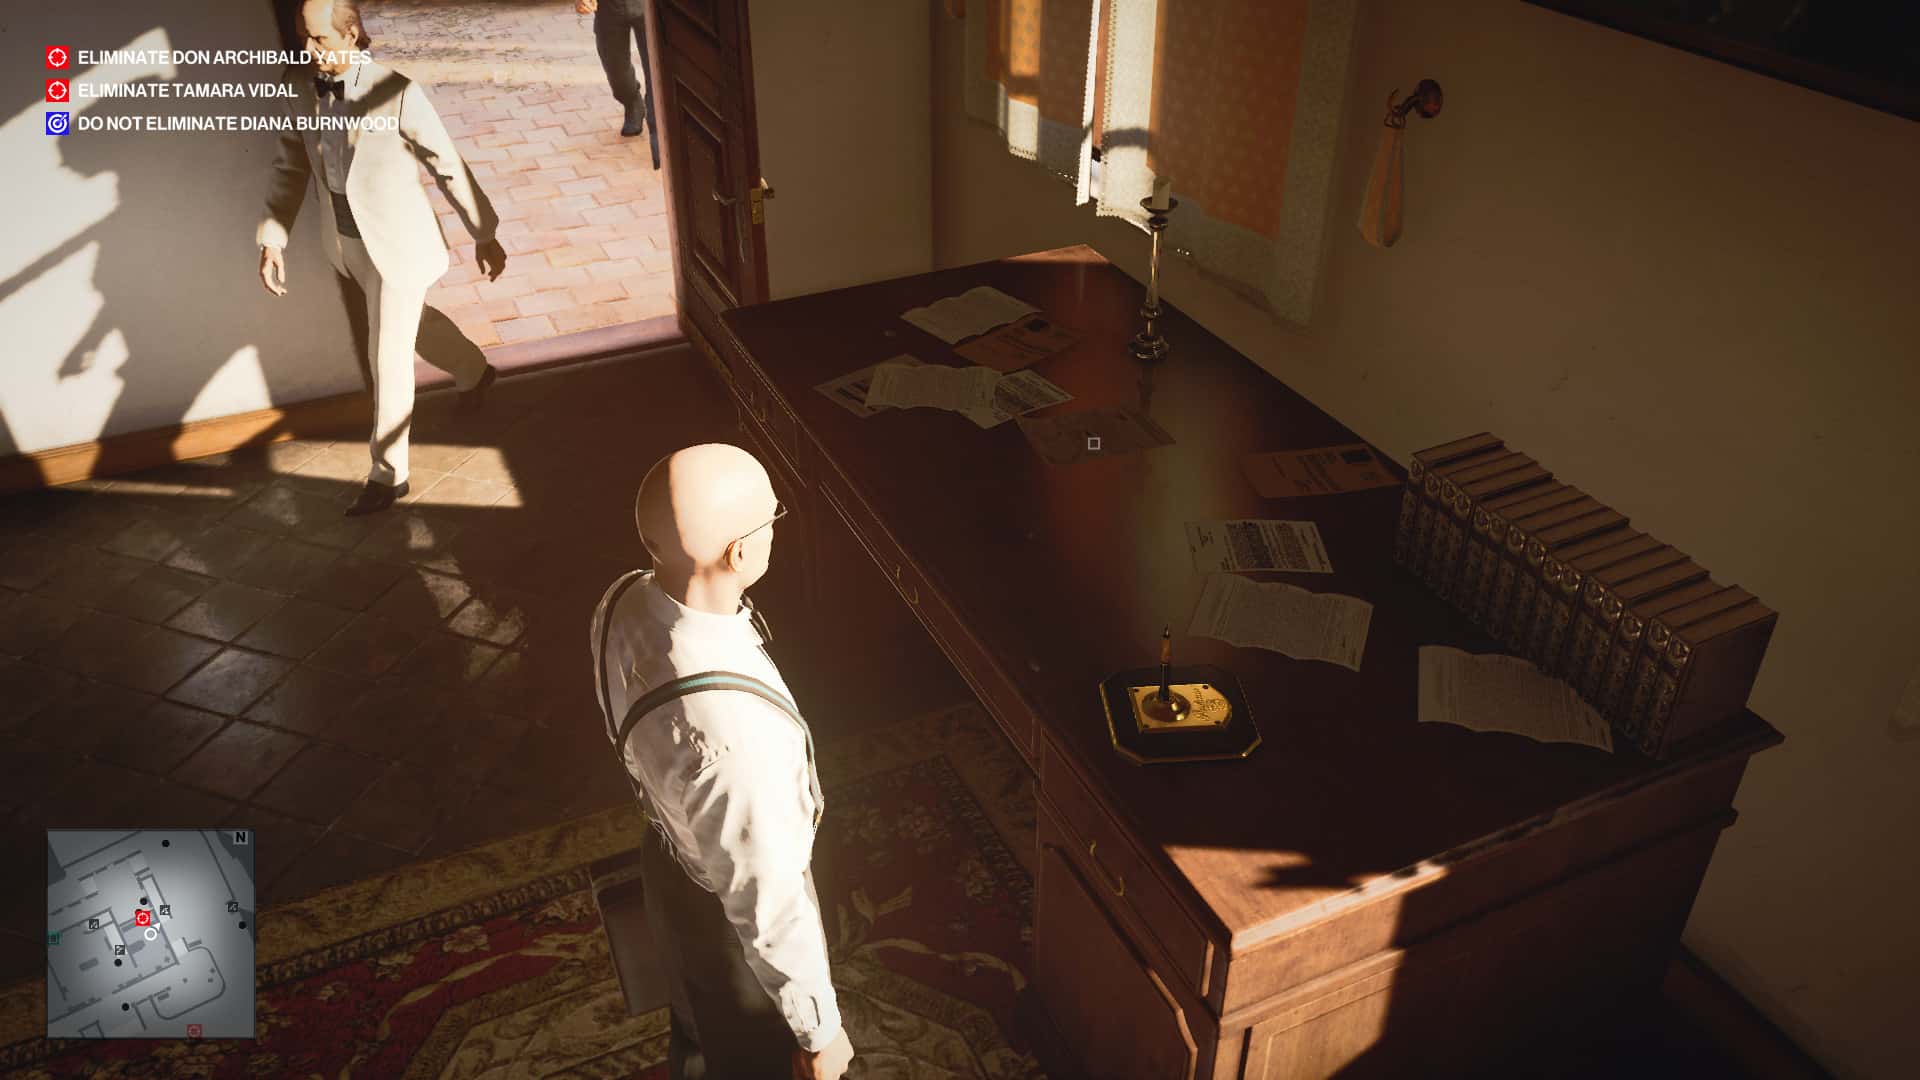
Once inside, go upstairs and grab the basement key from the bedroom table. You can take the calendar off the wall for some extra intel experience, though we’ll tell you the code that’s hidden in it anyway.
Now you’ll need a guard outfit. You can grab that off the guard that routinely patrols the house. Try to do it in a secure room, so you aren’t seen through the windows.
Go down to the basement and keep to the edges of the room to avoid the enforcers. At the back of the room is a safe, and the code is the year the couple married: 2006. Take the intel file from it, and give it to Yates’ wife. Then watch what happens.
Pencil Pusher — Eliminate Don Archibald Yates with a Pen
Hitman 3’s Pencil Pusher challenge sees you infiltrate the villa as the lawyer again. This time, don’t forget to grab the research file after you shove him into the flowerbed.
Once you’re in the grounds, find Yates and say you’re ready to speak with him. Wait in the guest room as directed and lay out the research file. Yates arrives, and the guards clear out as he looks over the file. Approach him from behind and use the button prompt to finish him off.
Get Rid of the Body — Eliminate Don Archibald Yates with a Garden Shredder
The Get Rid of the Body challenge during Hitman 3‘s Mendoza stage is also fairly simple, though it takes some planning. Unless you interact with him or cause some kind of distraction, Yates has a circuit that takes him all around the villa and grounds. Eventually, he’ll approach a stairwell to the right of the main entrance.
What you need to do is clear out the guards in the area before he arrives, ideally with silent takedowns if you want the Silent Assassin reward. Concealing yourself in the flowerbeds is vital here.
Then wait for Yates to come back around. Ideally, you’d be behind him to make dealing with his personal guard easier. Either way, knock Yates out and drag him over to the big yellow garden shredder. Dump him in and turn it on.
Firebrand — Eliminate Tamara Vidal by Electrocution
There’s actually a few different ways to eliminate Tamara Vidal by electrocution and clear the Firebrand challenge in Hitman 3‘s Mendoza mission. The outdoor bar area is home to several electrical hazards thanks to the lights and hoses all over the place.
You’ll need a screwdriver, which you can get from inside the wine facility if need be, and good timing. Track Vidal to see where she moves, when, and how long it takes, and plan out which lamp to sabotage. Pay special attention to where Diana is in relation to the lamp, since you need to keep her alive.
Make sure to save so you don’t waste mission time and in case of mistakes.
Go ahead and sabotage the chosen lamp, then wait for Vidal to approach. Quickly turn on the water before she gets too close, and that should do the trick.
Alternatively, if you feel more adventurous, you can set a trap in the security room. There’s a wire you can loosen and a water tank near the entrance. The guards will likely see you tampering, though, so deal with them if need be. You can poison the mug on the counter to incapacitate one of them.
Then it’s just a matter of timing it right with Vidal’s approach.
Pulp Friction — Eliminate Tamara Vidal with the Grape Crusher
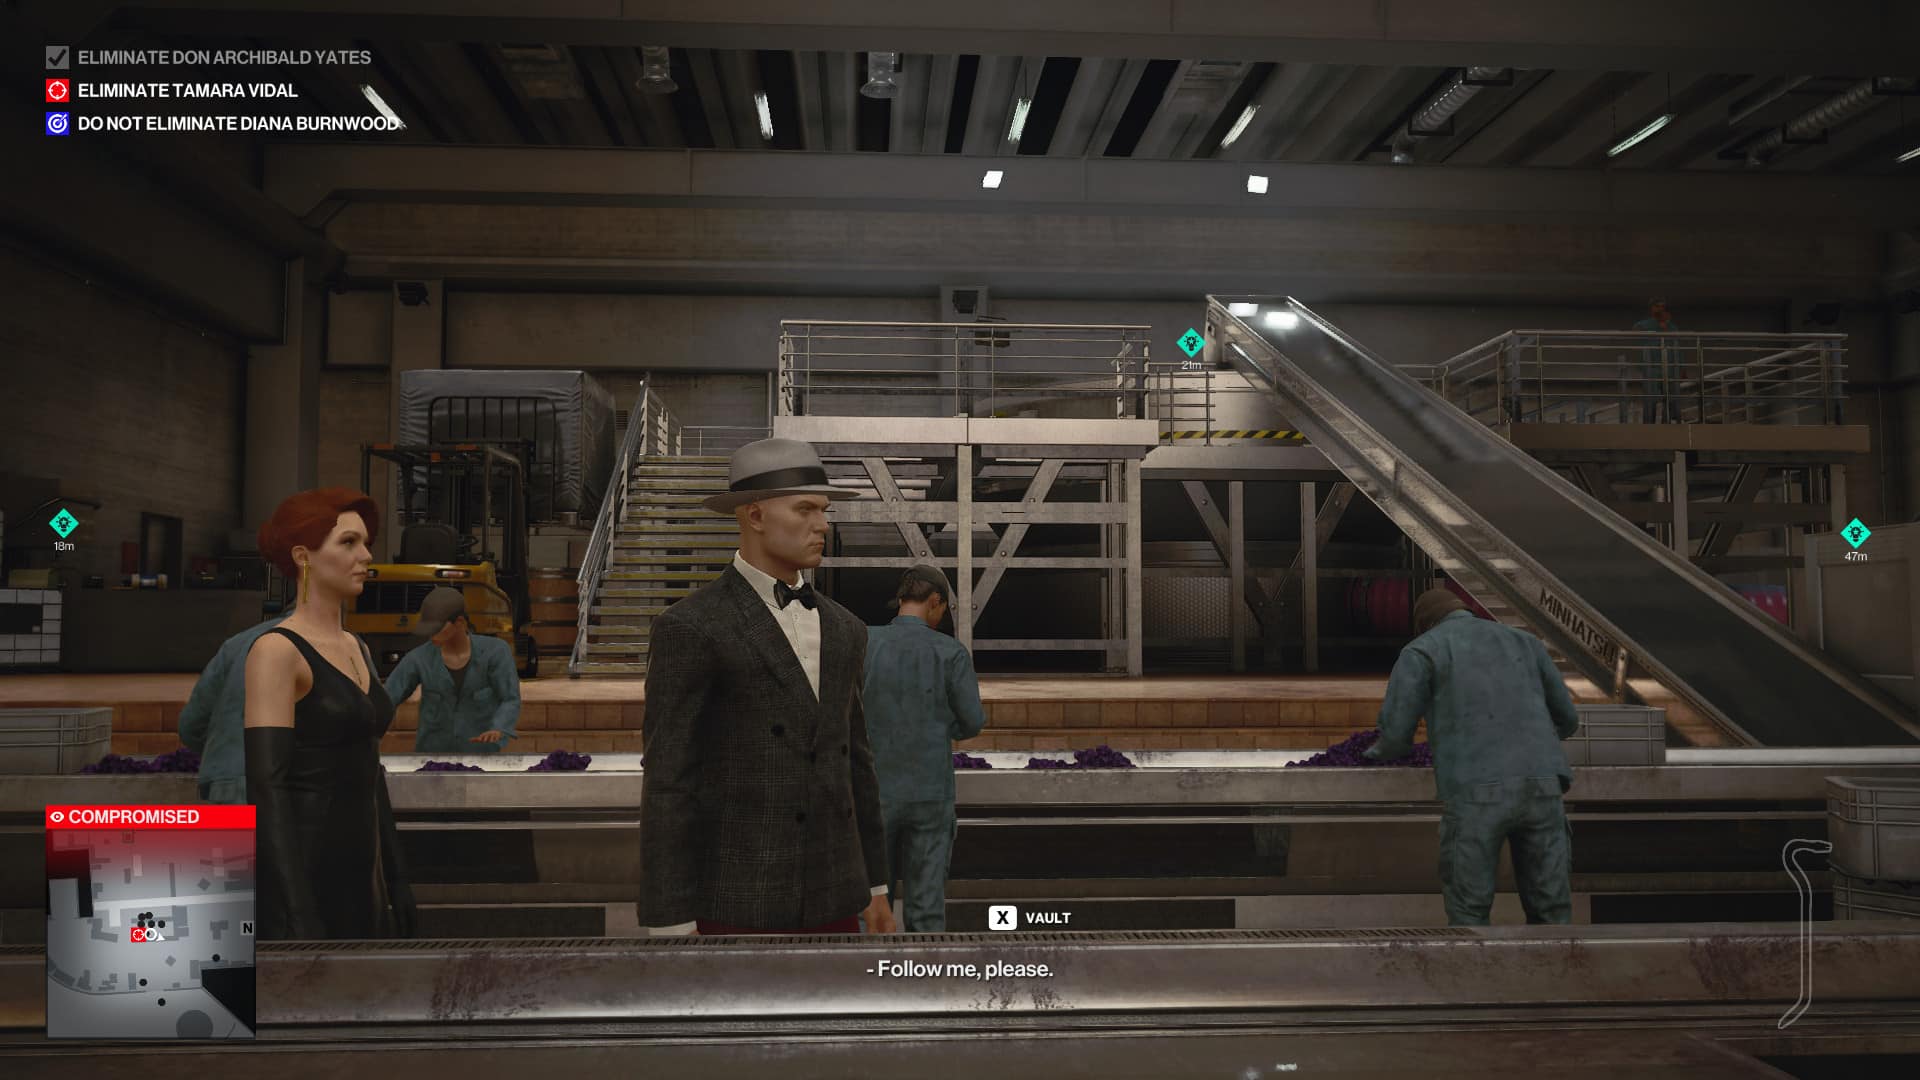
To eliminate Tamara Vidal with the grape crusher, you’ll want to follow the tour story mission. Eavesdrop on Corvo Black near the reception area and follow the story. Then talk to Black and disguise yourself as the wine expert.
It’s about equally difficult to ambush either of them, since both move in open areas, but the key for this and the next Mendoza assassination challenge is the wine taster disguise lets you control the tour more. It doesn’t matter whether he turns up later, so no need to worry with concealing the body. I had them actually speak to Vidal in the middle of the tour, and it didn’t affect anything.
Now start the tour. It’s pretty obvious what to do from here. Once you show off the grape crusher, shove Vidal in. If the other tour guest notices, you can punch them quickly and leave to avoid any unpleasantness.
Cold Hearted — Eliminate Tamara Vidal by Hypothermia
The only thing you do differently to eliminate Tamara Vidal by hypothermia is advancing the tour to the next stage. Before interacting with the freezer, run up to the workers’ locker room and grab the screwdriver there. Interact with the pad while Vidal is in the freezer. It’s quite difficult not to trap the other tour guest in the process, especially since they’re always near other people once the tour begins. It’s just easier to take the NPC kill here and move on.
Murder by Proxy — Eliminate Both Targets by Proxy
Strap in. The last, and vaguest, assassination challenge in Hitman 3‘s Mendoza stage takes a while to pull off and benefits from some extra planning. First, begin the tour story mission. You’ll need to disguise yourself as Black this time, then follow the story, do some stealth maneuvers to harvest grapes as a yard worker, put Black’s disguise back on, and go back to start the tour.
Patiently wait while the tour plays out. It ends in the barrel room, where you pick up a new set of story intel. Your next task is disguising yourself as the sommelier, but first you’ll need the winery tech dongle. Run back through the area with the grape crusher and head upstairs to the workers’ break room. The dongle is on the table there.
Back in the barrel room, drop down on either side of the glass doors and hack the vent. You’ll emerge near the sommelier, but if you want to do this quietly, you’ll need to use instinct mode to time your entrance just right. However you do it, take the sommelier’s outfit and push both bodies down the vent.
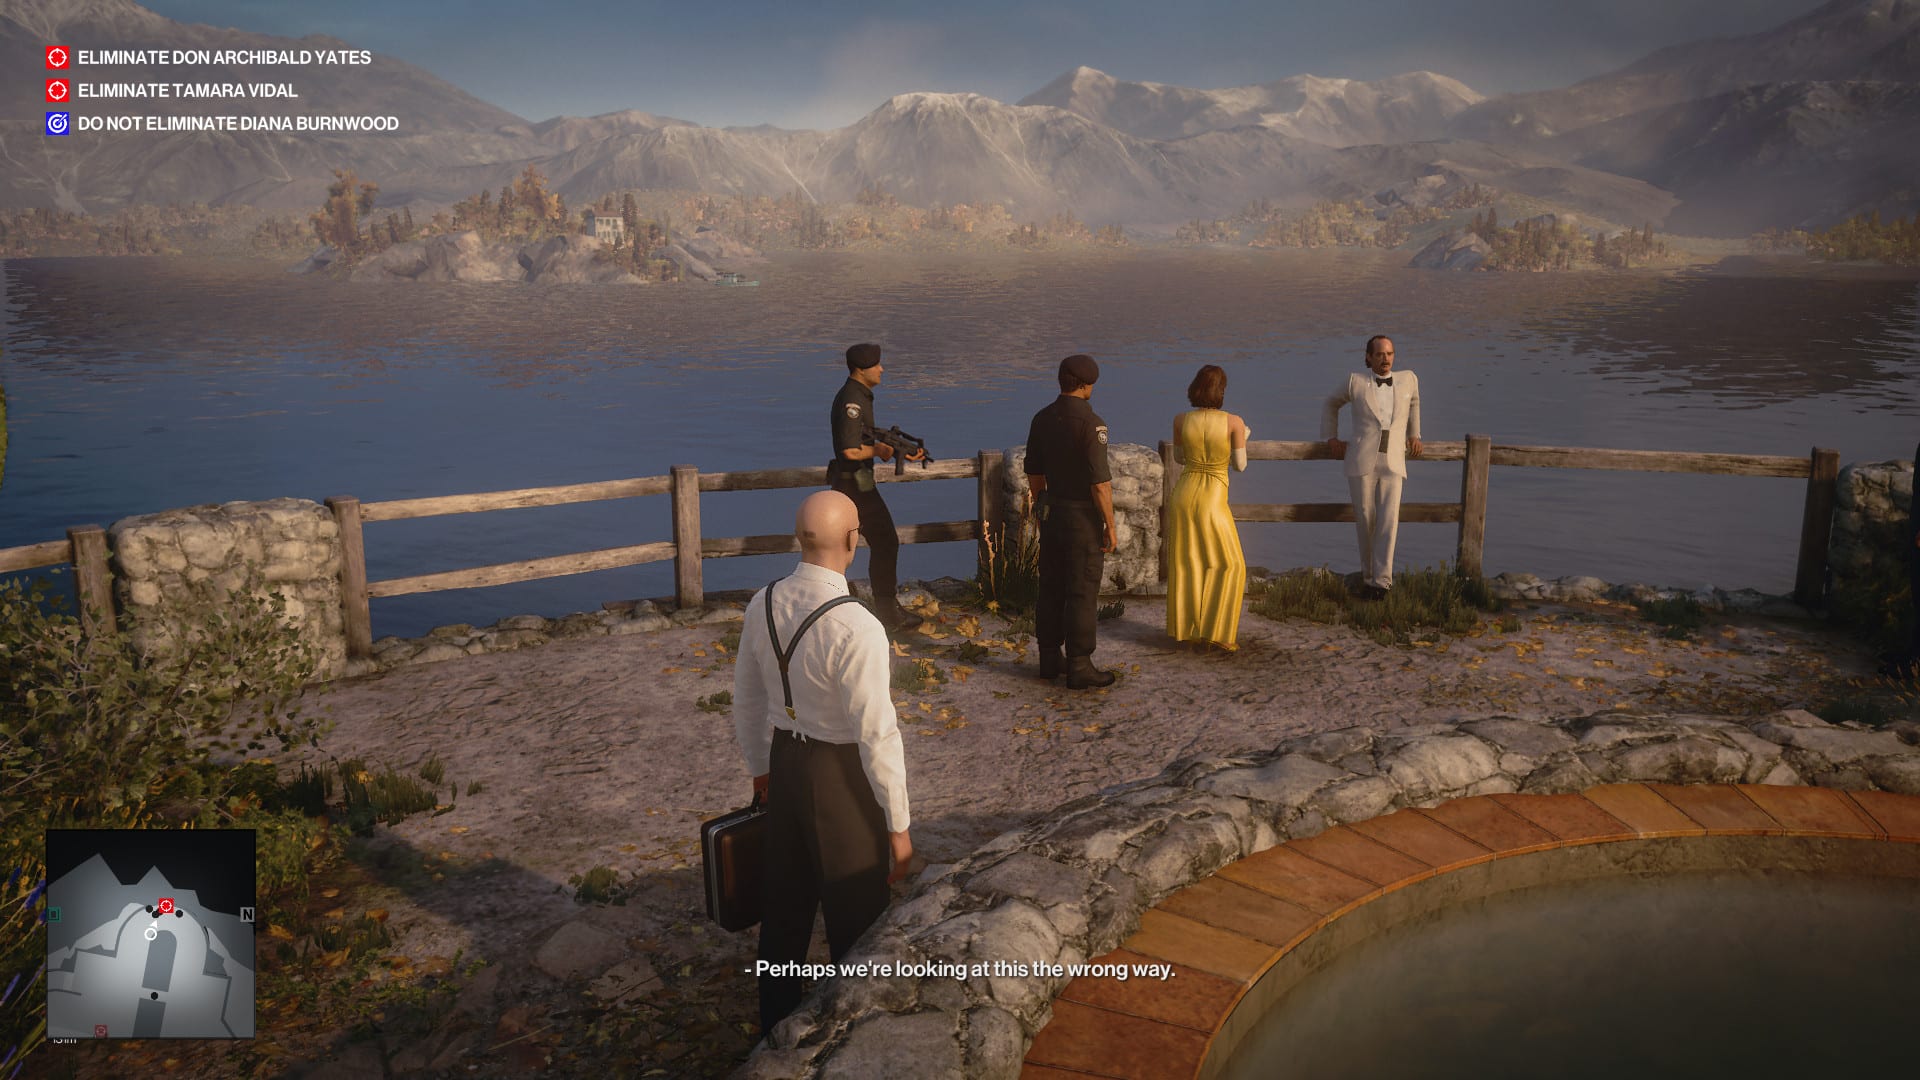
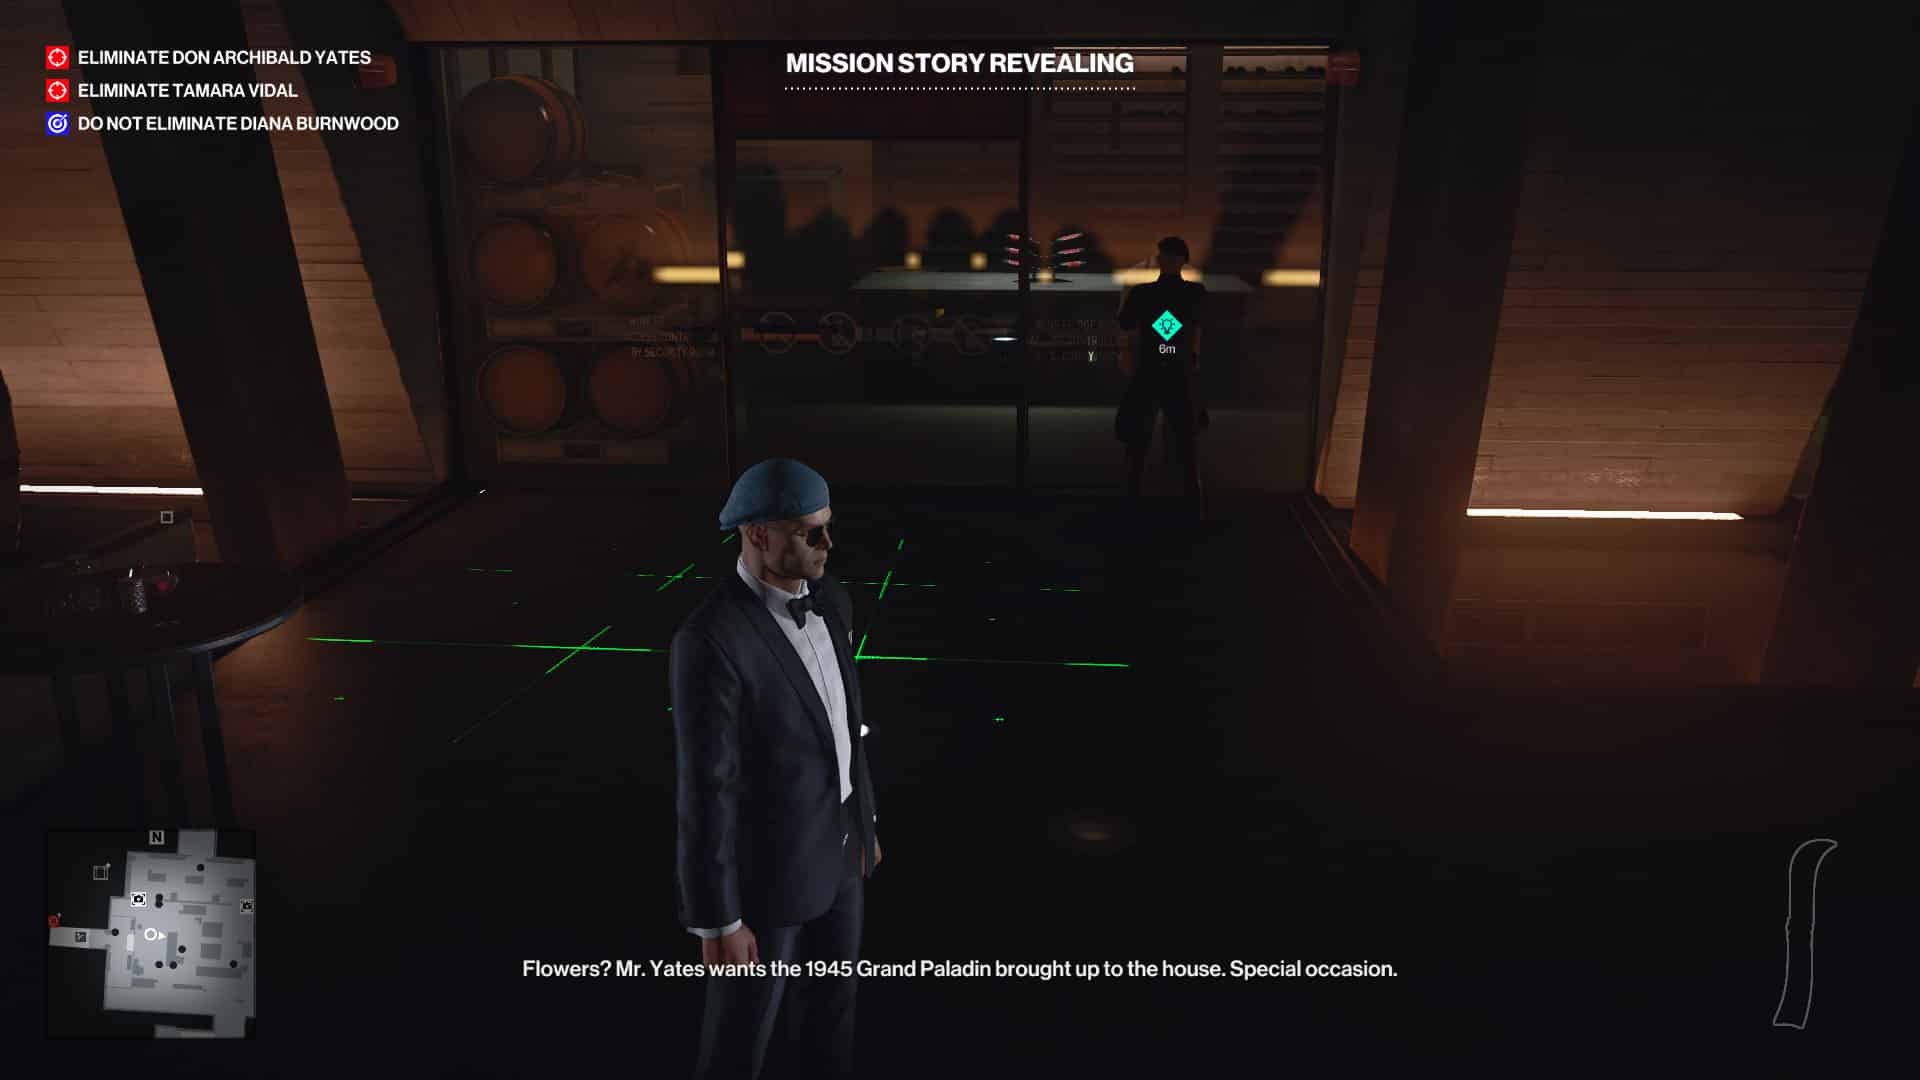
Deactivate the lasers by putting in the correct code, 1945. Grab the Grand Paladin and drop any illegal items you might have on you. Follow the story prompts until you witness Yates order Vidal’s murder. That’s one out of the way.
This next bit can get messy. You have 10 minutes to reach Diana, which is actually plenty of time. Facing the wine bottle on the table, turn right, and head out the door in the corner. You can use some of this time to prep your getaway route by eliminating or knocking the guards out around the pathway near where you emerge. It might be a good idea to grab a gun from one of them too.
When you’re ready, enter the villa through the front door and go upstairs. Deal with the three guards there and hide the bodies before speaking with Diana. Follow the story, and once Yates is dead, put him in the wardrobe.
Full disclaimer here: I have no idea how this actually clears the challenge since 47 kills Yates. But shortly after you leave the villa, you’ll get a notice that the Murder by Proxy challenge is clear. Presumably, Yates’ wife finds the body and gets the blame.
That’s it for our Hitman 3 Mendoza guide, but be sure to check out our other Hitman 3 guides:
- Hitman 3 Beginner’s Tips and Tricks Guide
- Hitman 3: Dubai On Top of the World Special Kills Guide
- Hitman 3: Berlin Apex Predator Special Kills Guide
- Hitman 3: Dartmoor Death in the Family Guide
- Hitman 3: Chongqing End of an Era Guide