Warning: The following recap of Critical Role Campaign 3, Episode 80, contains spoilers.
In Critical Role Campaign 3, Episode 80, Bells Hells closed out their corporate retreat to the Fey Realm with a twisty trust exercise and a satisfying conclusion to the shard saga that sent them to Nana Morri’s in the first place.
Bells Hells Trial of Trust

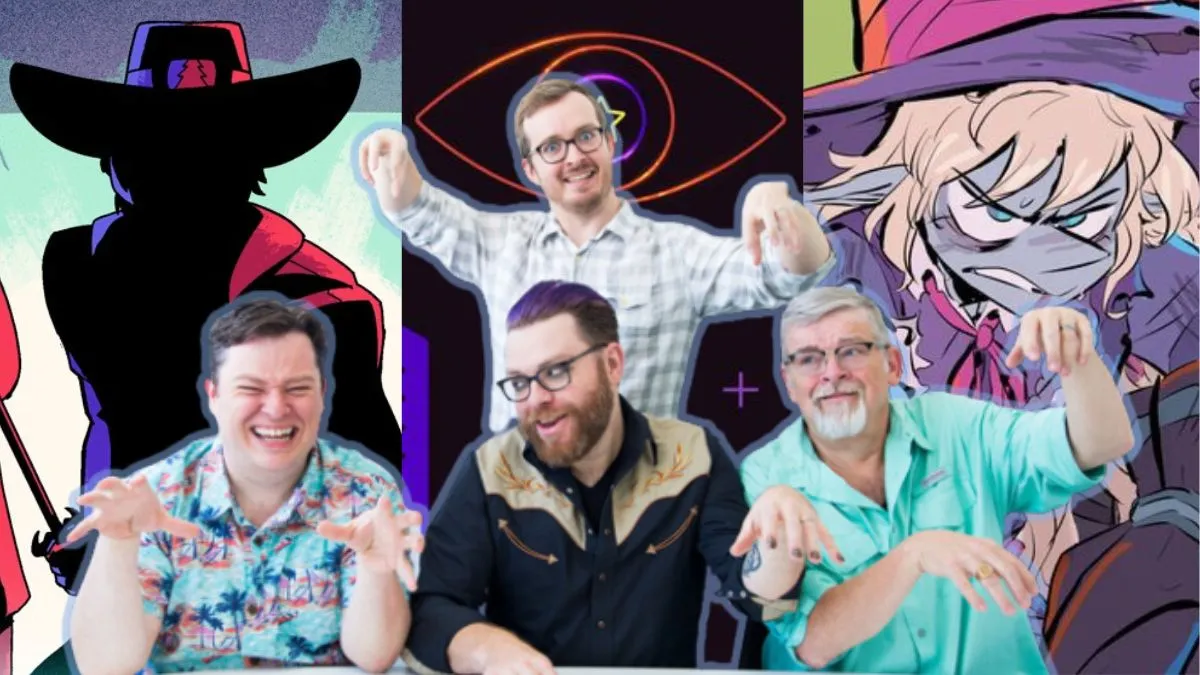
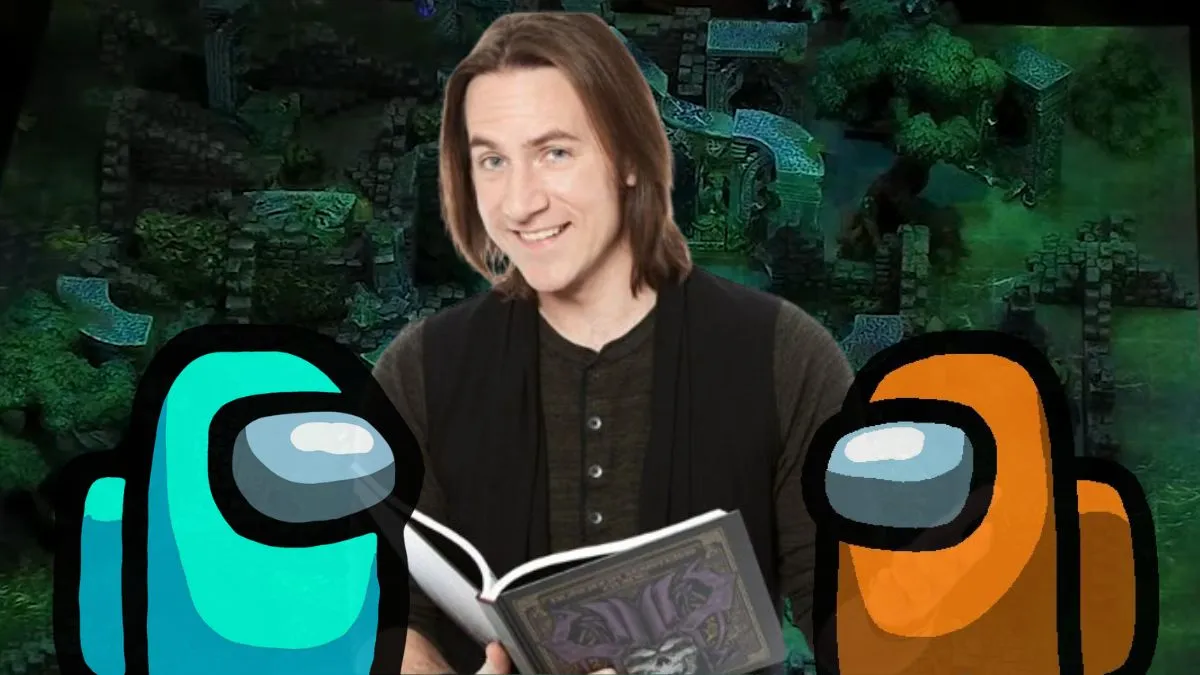
The final stage in Nana Morri’s trilogy of team-building exercises came in the form of Bells Hells’ very own Among Us-style fetch quest. The Fatestitcher explained that a pair of doppelgangers had been observing the party during their previous trials and would unknowingly replace two members of Bells Hells during their final exercise.
The party’s goal was relatively simple: find three blanched ivory branches hidden within the foggy Fey grove and return them to the central fountain. However, the two doppelgangers would attempt to thwart this mission and be granted added knowledge of nearby traps. Before the trial began, Matthew Mercer handed cards to each player denoting whether they were playing themselves or a doppelganger. Even Mercer himself claimed not to know which cards players had been handed, exchanging side texts with his players throughout the game (which resulted in Laura Bailey nearly texting a random Matt in her contacts).
Each player at Critical Role’s table peaked at their cards one at a time, with Mercer making everyone else turn away. Much like last week’s Trial of Communication, what followed was a unique mini-game that stretched the parameters of Dungeons & Dragons and yielded tremendously fun results for the friends at the table. As they scrutinized everyone’s moves from both player and character perspectives, nervous giggles and wild accusations erupted.

Some methods employed by players to determine the doppelgangers included Orym quizzing them on Critical Role trivia, Laudna inspecting Fresh Cut Grass for signs of humanoid wear-and-tear whenever the Aeormaton took damage, and nearly everyone holding attacks against their primary suspects. Imogen attempted a Detect Thoughts spell, only to be met with static and Mercer’s reiteration that, in this trial, trust was to be earned “the old-fashioned way”. That being said, Orym likewise tried using magic to aid in his insight, employing the party’s newly acquired Monocle of True Essence.
Aside from mistrust, Bells Hells had external concerns to contend with during the trial including traps, illusions, and inhospitable flora and fauna. As they slowly uncovered the three branches, these obstacles proved a further risk to the task at hand as each branch had 3 HP and could take damage alongside the player holding it. The central fountain was encased in some variety of arcane seal that would only release when all three branches were reunited, meaning the risk of losing a branch remained ever-present.
On social media, the Critter community was having as much fun trying to determine who the doppelgangers were as the players, however, Liam O’Brien’s Orym began to suspect that an entirely different ruse was afoot. As Bells Hells reached the final leg of the trial, Orym voiced his theory that none of them had been replaced by a doppelganger. When the party finally “touched the tips” of their three ivory branches, Nana Morri and the doppelgangers returned to the party and confirmed that Orym’s suspicion was correct.
One plot twist that Orym did not call however came when the party awoke together in Ligament Manor, revealing that all three trials occurred within a shared dream space. However, the dream state did not protect them from damage, with the wounds incurred during the trials having physically manifested in members of the party.
For their completion of the final trial, Bells Hells earned a final magical item from the hag’s collection in the form of an ivory branch. The party conducted a slight redistribution of their various magical items after they recollected themselves in Ligament Manor.
Fearne Accepts the Shard of Rau’shan

The Fey Realm teambuilding nap appeared to have worked wonders on Bells Hells, as they shared a renewed sense of collective motivation to return to their Ruidian mission. For Fearne Calloway, this also meant a decision to no longer flinch from the power promised by the shard of Rau’Shan. While the process of absorbing the shard previously yielded explosive results for Ashton Greymoore, the party was now better prepared for the grueling encounter. It helped that Fearne had unanimously been the party’s intended candidate for the shard.
Bells Hells loaded their faun friend up with as many boons and temporary hit points as possible, with the ceremony attracting a crowd of Fearne’s favorite fey critters such as Bompers. Imogen did not waste an opportunity to shoehorn in a sexual innuendo about shard-holders Ashton and Fearne, evoking a blush from the latter, before the process officially got underway. Imogen’s more important duty however came in shielding her girlfriend Laudna from the shard’s thrall. The voice of Delilah Briarwood in Laudna’s head encouraged her to intercept the powerful shard, but Imogen coaxed her away from the temptation with a tender embrace and gentle casting of Calm Emotions.
Though less explosive than Ashton’s attempt, the process of absorbing the shard opened Fearne up to a tremendous amount of fire damage. Resident Cleric FCG helped with healing when possible, however, quickly fell out of commission as the cumulative stress saw them succumb to their murderbot mode. With Chetney, Imogen, and Orym each helping to protect Fearne from FCG’s homicidal form, Laudna was left to buoy her friend with the few uses of Wither and Bloom she had left. The spell that the undead Sorceress once used to deal the final blow to Bor’Dor Dog’Son proved a real MVP in Critical Role’s latest episode, helping the party both during the Trial of Trust and Fearne’s transformation.
Fearne completed the rigorous challenge of absorbing the shard of Rau’shan and was even visited by the essence of the primordial whose legacy she now carries. The faun’s new fiery form proved an overwhelmingly pleasing turn of events for her wildfire monkey Mister. This transformation earned Ashley Johnson’s character a new feat and a giant sheet from Mercer and earned Sam Riegel an affectionate table wide eye-roll when he dubbed her an infearneo. Speaking of Riegel, his Aeormaton was rebooted to their default healer settings thanks to a brief PVP face-off with Orym.

Aboard the same romantic train of thought as her girlfriend, Laudna wondered whether Fearne and Ashton should kiss to awaken Ka’Mort’s shard. Though the two had shared a kiss in Whitestone, they were still healing and settled on a less awkward handshake. Taliesin Jaffe likewise received a similarly long piece of paper describing Ashton’s new abilities, with the barbarian taking on a larger awakened form.
Certain elements of both their transformations were shown off during the stream, such as Fearne’s choice whether or not to inflict heat damage when someone touches her and her additional ability to emanate bright light for 30 feet. However, fans will be eager to see the new abilities of both shard holders in action during the party’s forthcoming trip to Ruidus, one they’re all feeling more confident about thanks to their corporate retreat to the Fey Realm.
Sam’s Can: In Episode 80, Riegel’s gas can proudly displayed the haunting mask of his face worn by the audience at Wembley Arena during The Mighty Nein Reunion: Echoes of the Solstice with a red text proclaiming “Trust Me” scrawled on his chalkboard.