With Madhu the Dismantler dead and The Tower back in order, Jack has to take care of Mitra, the leader of Asura. There are a lot of collectibles to find along the way in Ghostrunner Chapter 16, “Elevator Maintenance,” and here’s our guide on how to find them all.
Where to Get Every Collectible in Ghostrunner 2 Chapter 16
As you close in on Ghostrunner 2‘s final confrontation, the levels are reverting back to the tight linearity of the early chapters. This means the collectibles are generally easier to find, which is good news, as the final levels are much more difficult. Be ready to use every skill you previously acquired to complete Ghostrunner 2 Chapter 16 because you’ll need them, especially when it comes to platforming on those damn repair bots, the true Big Bad of the game.
Related: Is Steampunk Better Than Cyberpunk? – Slightly Civil War
Anyway, we’ll be looking for eight collectibles in Ghostrunner 2 Chapter 16 “Elevator Maintenance.” That’s five Memory Shards, one Hidden Sword, an Artifact and an Audio Log. Let’s get into the thick of it!
Memory Shard #1
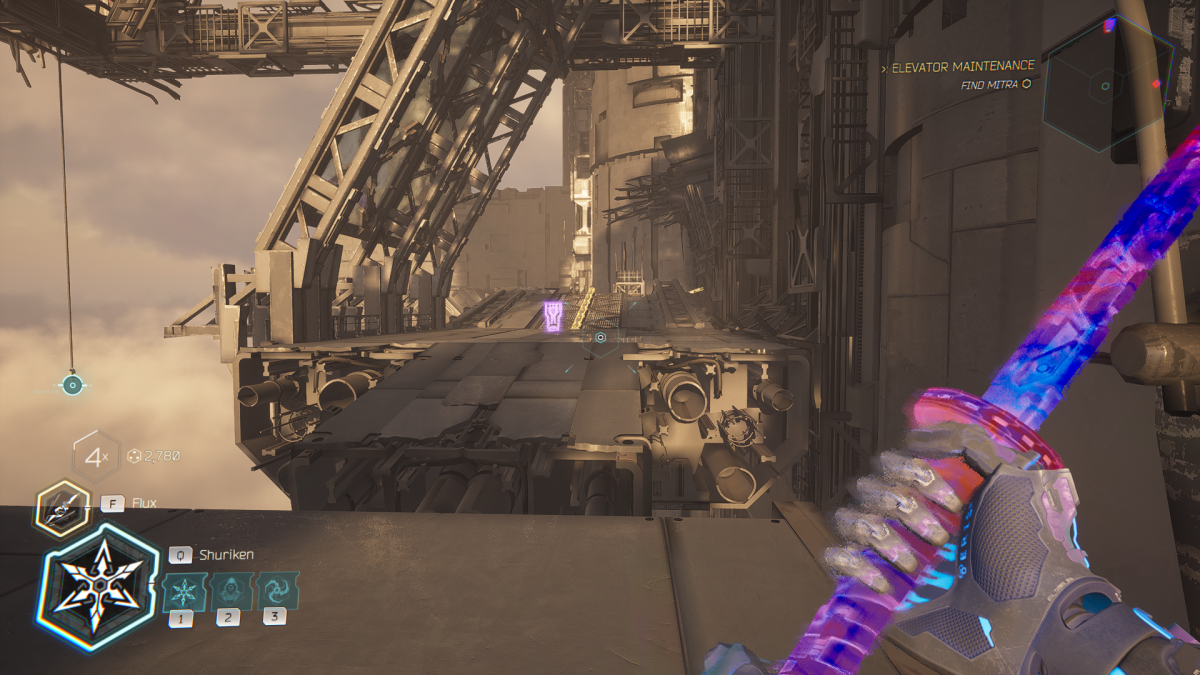
As you exit the level’s starting elevator, hop on the grind rail in front of you cruise out into the open sky. Once it comes to an end, grapple onto the hook in front of you and use the vertical panel to wall run onto another grind rail. While you’re surfing along this one, look to the left and you’ll see the Memory Shard in question.
Before making a beeline towards it, deal with the enemies in front of you instead. They should be quick to bring down since they’re not all the menacing: Just two Cyber Zombies and a Hammer Bro. Use your shurikens to shut down the zombies before jumping over the Hammer Bro’s attack and cutting him in twain. Then double back to see a collection of three ventilation hubs. Just behind them is a platform upon which floats your Memory Shard. Jump on over, grab it as use the grind rail get back on track.
Artifact #1
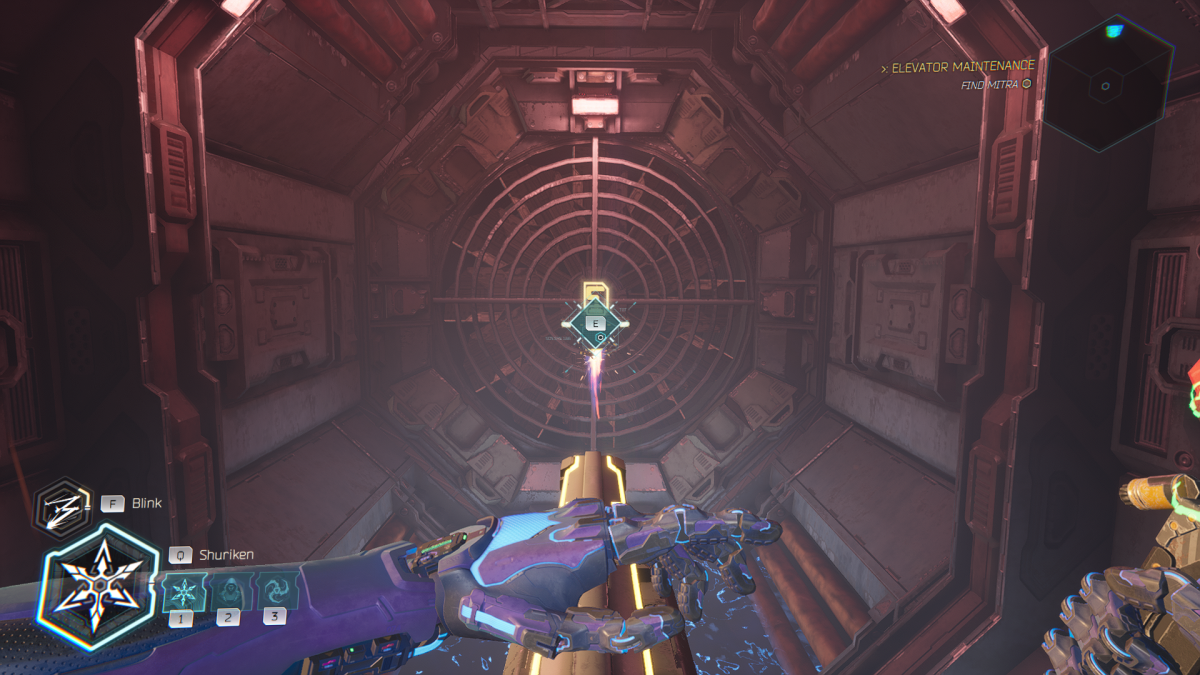
In the section where Jack’s ability to slow down Spinners is introduced (or reintroduced?), you’ll find this collectible tucked away on a secret grind rail. Make you way through the first of the aformentioned wheels, using the wall to run and jump onto a grind rail. While it looks like you’re sliding into nothing, rest assured that you’re actually heading toward a gigantic fan that will allow Jack to float while he’s in its airstream.
Once you’re in the fan’s gust, immediately turn around and look for a rail behind you. It should be to the right of the one you just used. Land on it and grind along until you get within range of a repair droid. Use the gap jammer to yank it closer so you can use it as a platform to reach the Artifact. My advise would be to use Focus to stick the landing on the droid; as we’ve come to expect, they’re incredibly finicky.
Hidden Sword #1
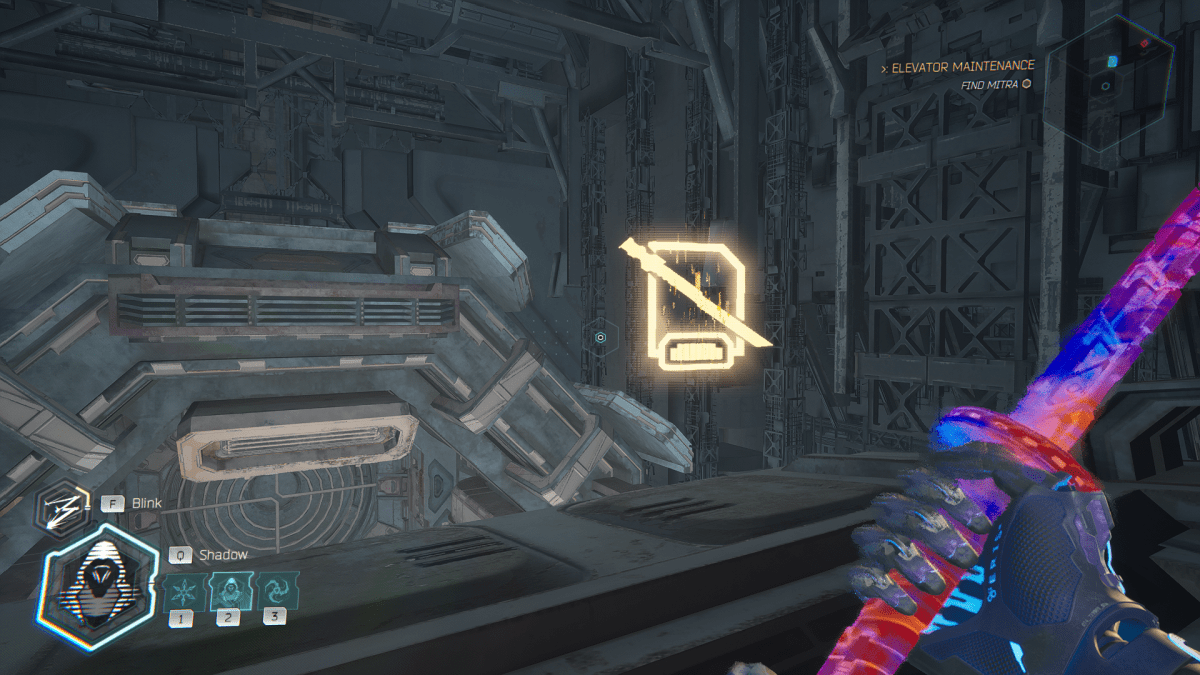
After grinding (and jumping) over the first electrical wall you come across, Jack will need to slow down another Spinner to leap through a small gap and land on different rail. Ride it through to a platform that has a cracked wall on the left and a series of yellow boxes on the right. The crates are clearly positioned in such a way as to suggest you should use them as stairs, so do just them and use them to climb up to a platform. Follow it left and you’ll find a diagonal launch pad.
Use the fan to shoot Jack into the air and then dash to the left to land on top of a mechanical structure that also hides Ghostrunner 2 Chapter 16’s Hidden Sword. One of the cooler designs in Ghostrunner 2, The Serpent collectible consists of a black hilt, red blade a glowing green circuitry. Very flashy indeed.
Memory Shard #2
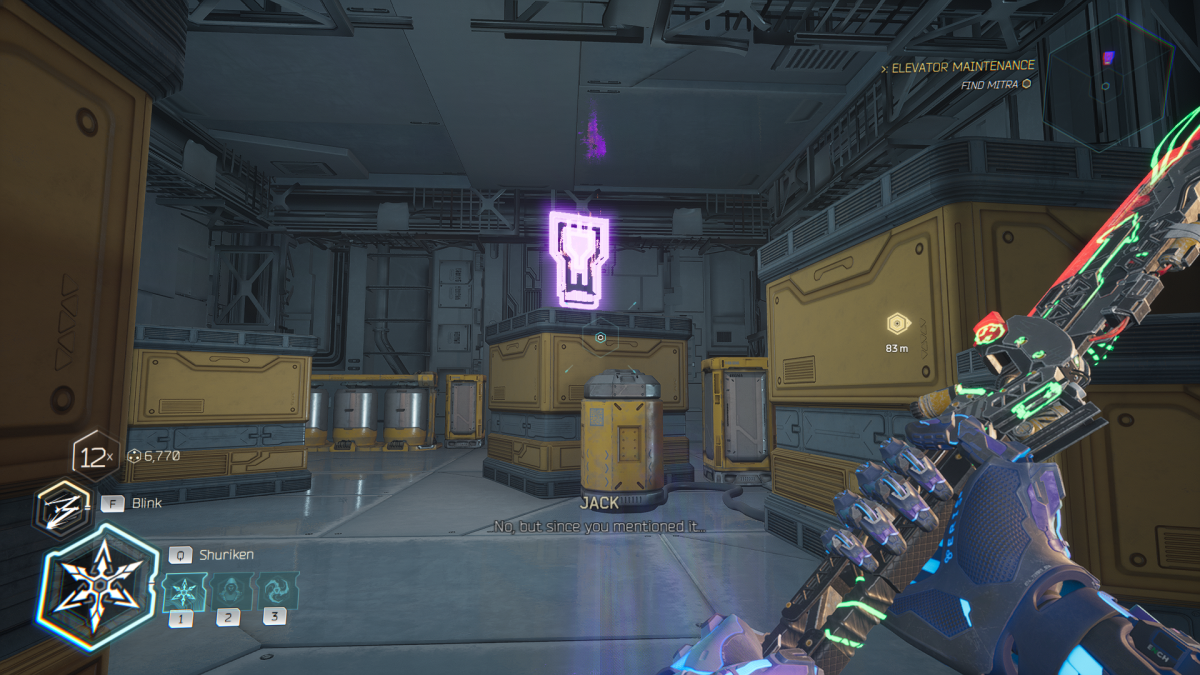
After the introduction of Biters, those weird centipede things that fling to ceilings and project the red light below them, you’ll come to a small arena that features two explosive barrels on different platforms connected by a vertical panel. Before going any further, drop a decoy and move past the first barrel you find into a corridor that turns left. Down there you’ll find MANY Cyber Zombies and a Mech. Cut them all down and finish up the rest of the enemies.
Related: Ghostrunner – Zero Punctuation
Once they’re all done, move to the platform that held the second explosive barrel and look at the series of yellow crates off the side. They’re protected by two Zombie Gunmen, one you fires a semi-auto and the other who has rapid fire. Kill them and then yank down the Biter hanging over the Memory Shard. The last thing you want is that critter falling on your head before you manage to snag your prize.
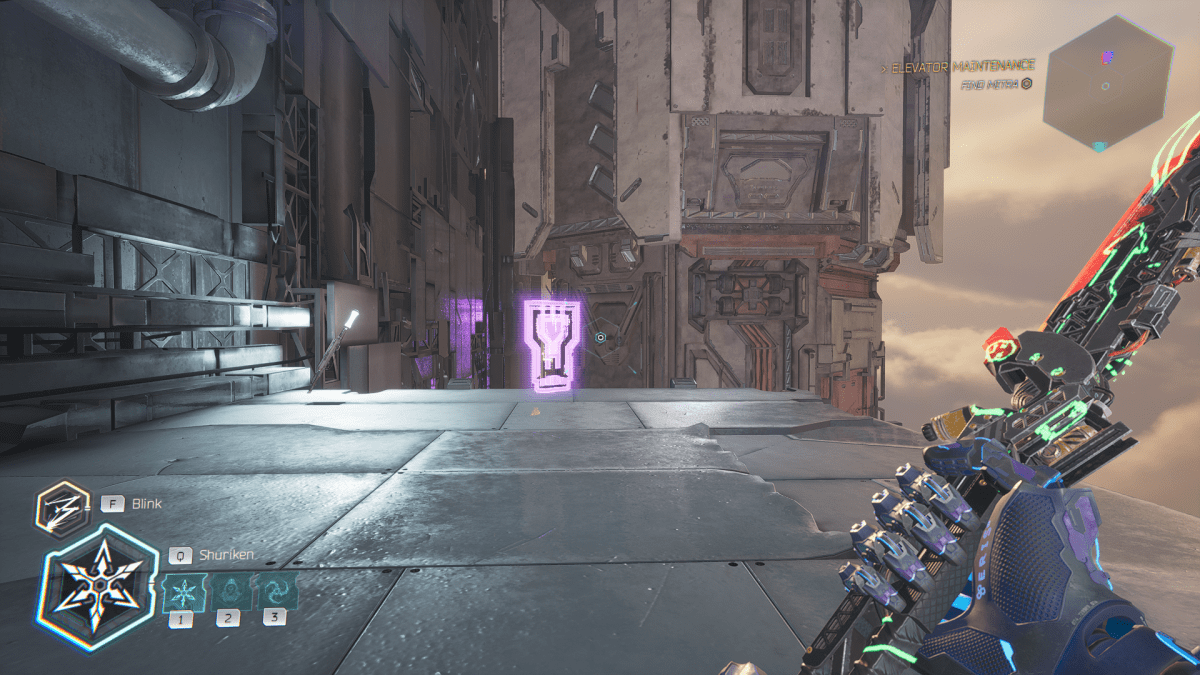
Memory Shard #3
Shortly after the section that sees you grinding across a rail that has a series of diagonal electrical walls criss-crossing over it (Hint: Use your Focus to shift around them, otherwise they’re impossible), you’ll come to a massive vertical fan. Ride the airstream up, avoiding the electrical currents as you do so, and you’ll land on a solid platform. Follow it to the right, grapple up the ledge in your way and use the fan to launch Jack towards a hook. Use the gap jammer on it and land on the platform dead ahead.
Once you’ve touched down, immediately turn around and you should see the Memory Shard floating on a separate section of the construction above you. While it may seem too far to grapple, take a leap of faith and jump off the edge. You’ll get close enough to your target that the gap jammer does the rest of the work. Zip up to the platform and pick up your treasure.
Audio Log #1
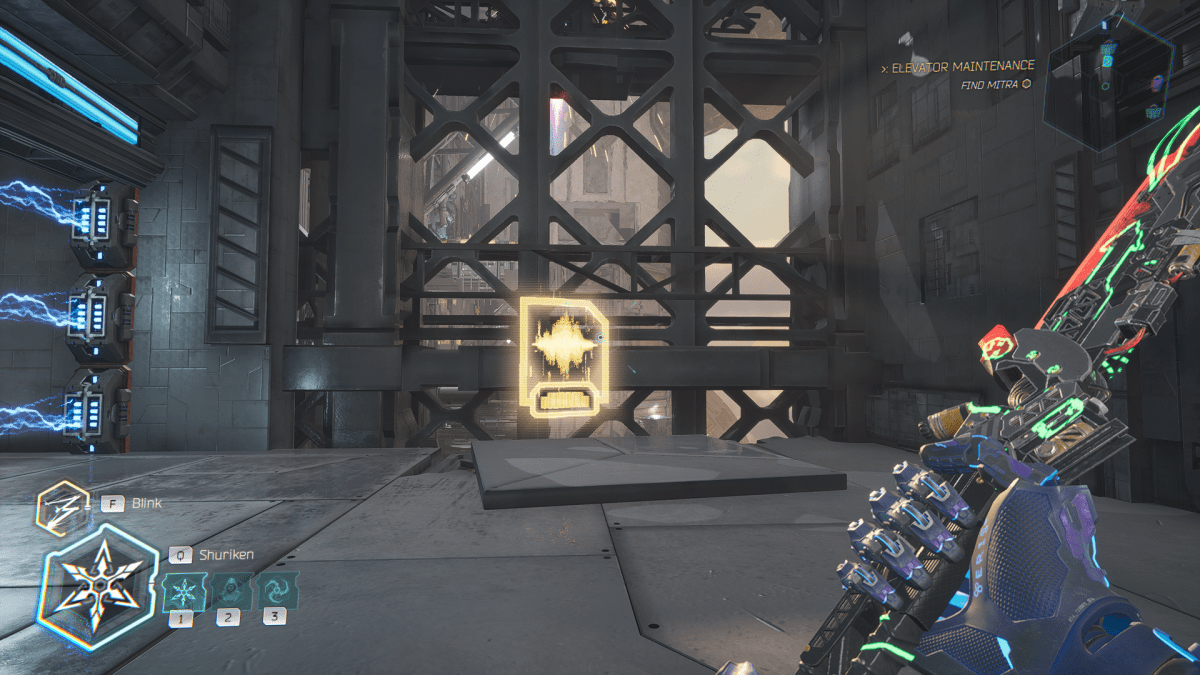
Back on the mainline path, once you’ve shifted the Tempest Crate (which is what I’m calling boxes that can be shoved around with Tempest) and used it to throw a shuriken at the electrical switch that’s powering the “CLOSED” door, head through the entrance and immediately walk off the ledge onto the platform below. Turn around, and there’ll be a another Tempest Crate just begging to be pushed out the way.
Inside the room within which you pushed the box you’ll see an electrical barrier powered by a switch. You’ll need to push the crate back to where it came from in order to reveal a vertical fan. Use the gust to float upwards and throw a shuriken at the switch. With the fence deactivated, turn around and head into the room with your Audio Log inside. This I the last one in the game so you should also unlock an achievement if you managed to track down the others.
Memory Shard #4
This Memory Shard is an absolute gimme. Head back to the section before you entered the room that contained your Audio Log; the one with the runnable panel that leads to a repair droid. Drag the bot into position and the wall-run up to it. Move through the rest of the section and you’ll eventually come across a big gap with the sought-after Shard floating on the right.
Related: How to Make Constant Failure Fun in Video Games
Drag the repair bot you previously used upwards and have it serve as a temporary platform. Jump across it to reach the other side and then pick up the Memory Shard. A quick little upgrade for you trouble.
Memory Shard #5
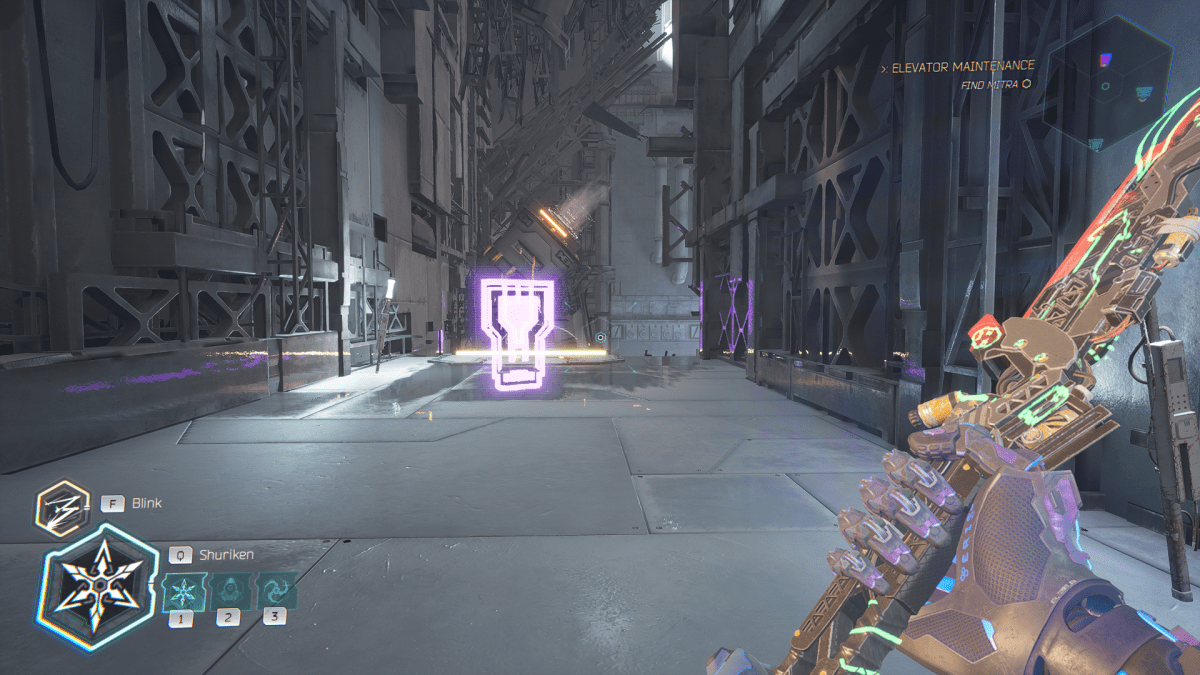
This Memory Shard in Ghostrunner 2 Chapter 16 is also a bit of a gimme but it requires you to navigate an absolute gauntlet of platforming challenges. While you don’t have to work to hard to find this collectible, it’ll feel like a real reward once your feet are back on solid ground. Metal?
Anyway, after dodging through various electrical gates, yanking many Biters off ceilings and using around five of those weird controllable drones to close a huge gap and jump onto two horizontal poles, you’ll reach an outdoor section where your path ends and the only way forward is to use the gap jammer on a bot floating in the distance. Jump on it and ride it back to where it came from. Grapple over to the ledge on your left and you’ll see the Memory Shard floating in the tunnel before you. In hindsight, kind of a disappointing reward but at least it’s better than just a checkpoint.
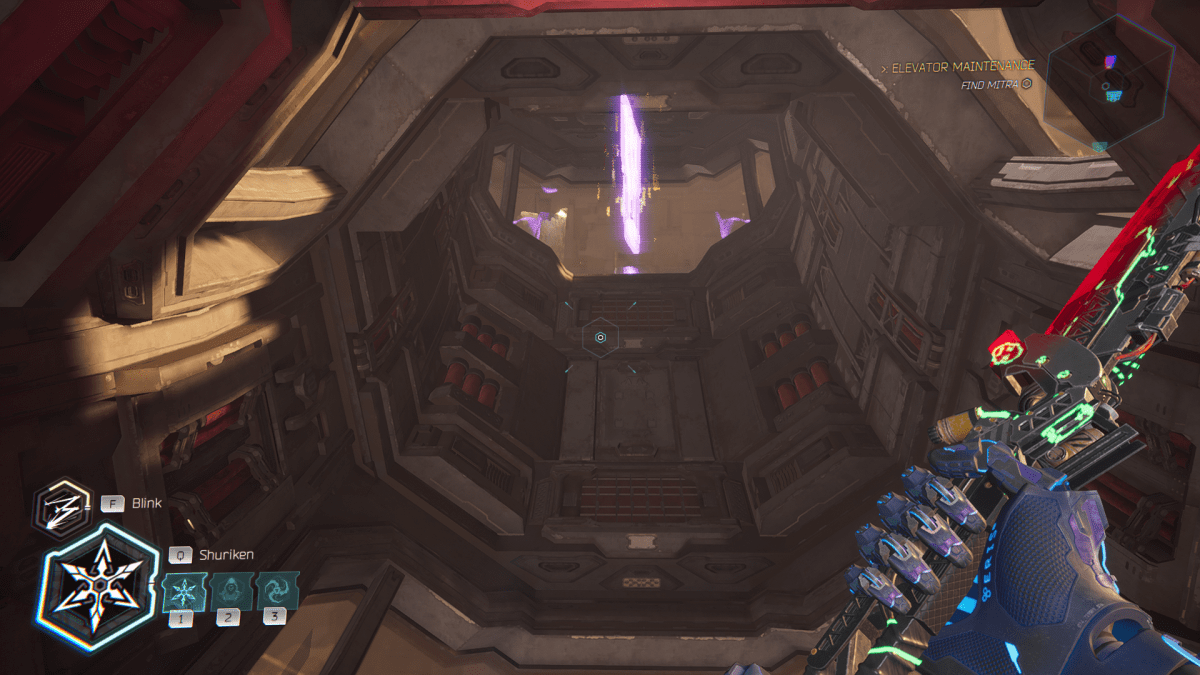
With that, the rest of “Elevator Maintenance” is a straight shoot to the finish with nothing else to pick up. I don’t believe there’s a Time Trial Challenge in this chapter, so don’t worry about hunting that down; the one in the next chapter is both really fun and an absolute nightmare! Onwards and upwards!




Published: Oct 26, 2023 09:40 am