Now that Jack’s back in Dharma, only one more enemy stands between him and his friends back in The Tower: Madhu the Dismantler. He’s spent the better part of Ghostrunner 2‘s second half taunting you relentlessly so it’s time to shut him both up and down. Here’s how to beat Madhu the Dismantler in Ghostrunner 2.
- Preparation Is Half the Battle
- How to Beat Phase 1 of Madhu the Dismantler Boss Battle in Ghostrunner 2
- Rinse and Repeat
Preparation Is Half the Battle
While the previous boss fight, Naga the Sandworm, is a far more cinematic battle that doesn’t require too much in the way of strategy, Madhu is the exact opposite. This boss will test both your combat awareness and your traversal skills. Fortunately, there’s not too much platforming like the Avatar fight, but you will need to do your best to keep active.
Related: Ghostrunner – Zero Punctuation
Before this battle, if you really want to go in prepared, I suggest revisiting Chapter 14 and tracking down a Skill Machine. Spend the data you’ve acquired on any abilities that boost your speed, buff your combos (preferably by granting you an energy refill), and amplify your shurikens. While Madhu looks like the kind of boss that’ll predominantly be a face-to-face brawl, there are times when he calls for back-up. The shuriken is great for both quickly bringing down some of the weaker foes and creating make-shift grapple points on larger enemies. If you have the chance and available Memory (which you should if you’ve been collecting all the Memory Shards up to this point), I highly recommend equipping the skill that allows Jack to throw three shurikens at once. It’ll devour your energy but with the aforementioned combo/energy boost, you should be able to refill it relatively quickly.
Right, now let’s get into the fight…
How to Beat Phase 1 of Madhu the Dismantler Boss Battle in Ghostrunner 2
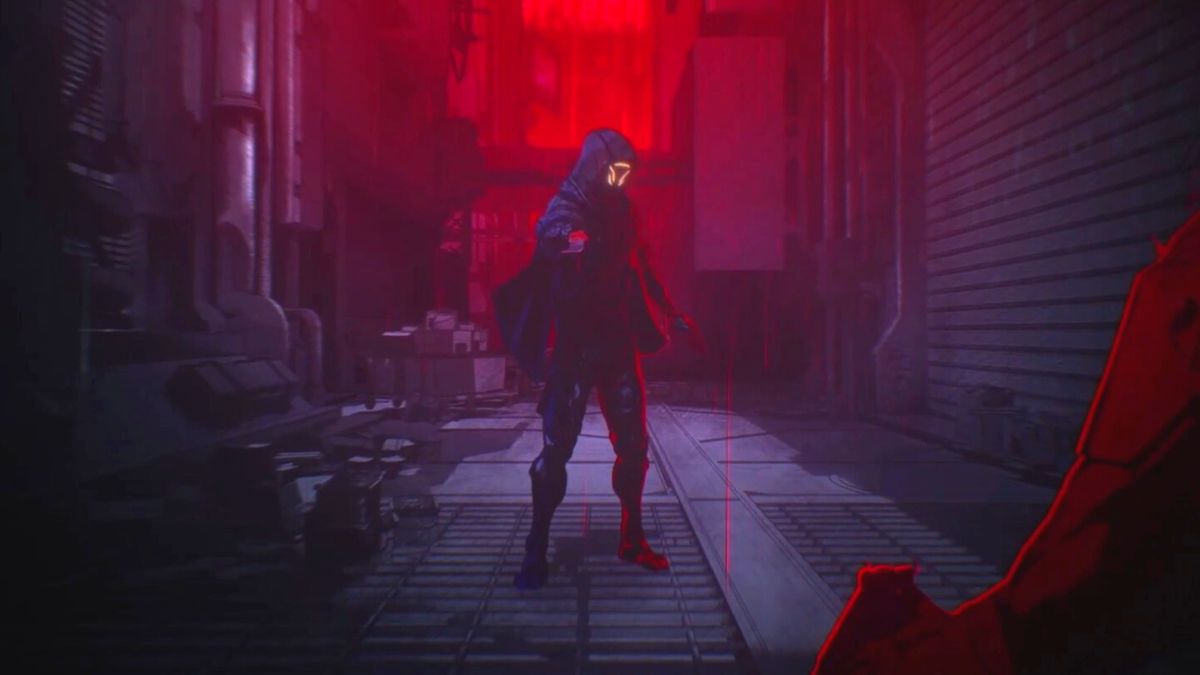
Chapter 15, titled “Danse Macabre,” kicks off with a cutscene that sees Madhu murder your new friend Bakunin. He wasn’t much of a character but pour one out anyway — it doesn’t hurt to be respectful. He’ll then throw off his cloak (or absorb it, I guess) and grow to double his height, General Grievous style. His scythe becomes his primary tool of destruction and he’ll gain a massive gatling gun on a third arm that emerges from his back. Oh, he also now has three heads. More like Ghostresident Evil, right?
The biggest thing to note about this boss is his three health bars. You’ll only be able to damage one at a time and each one correlates to a specific move set. Madhu will predominantly switch between red and blue with green showing up at key points in the fight. Basically, if his exposed heart is glowing red, he’ll only use his scythe to attack at close range. Hitting him in this form will reduce his red health bar. We’ll get to the other two colors in a moment but for now, know that Madhu always begins this fight in red.
As the cutscene ends, use the spare second you’ll get to dish out a couple of slashes. Madhu will quickly dash behind and swing his scythe horizontally. That’s effectively all he’ll do at this stage, so I recommend dodging to his left and slashing away as you do so. He’s quick, but not so fast that dashing out of his way is a mission. Once you land a few hits on him, his heart will turn blue.
That color shift signals a change in strategy. He’ll leap away onto one of the platforms on the other side of the arena and start using his gun arm. As with the previous form, any damage you deal to him while he’s glowing blue will only affect the corresponding health bar. After he touches down, he’ll fire a barrage of missiles that’ll rain down around you. You don’t need to worry about that because you’ll leap onto the grind rail connected to your platform or swung across one of the dangling hooks; the speed you pick up from these is enough to outrun this hail of fire. Once you touch down, be sure to keep an eye on the red circles that appear on the ground. They’re the classic video game sign of “there’s a dangerous thing falling, and it’ll land here.”
Related: How to Make Constant Failure Fun in Video Games
Stay ahead of his missiles until you’re close enough to hit Madhu with a shuriken. Land your target and you’ll have a grapple point. Use the gap jammer to leap over to him and start cutting away. Remember how when he’s glowing red you should always dodge to the left? Well, when Madhu’s blue you should ALWAYS go to the right. When you close the gap on him, he’ll begin sweeping his gun-arm horizontally from left to right. The movement is very slow, so just stay on his right and he won’t be able to clip you. I’m sure it goes without saying, but slash away as you avoid his blasts. Every once in a while, he’ll emit a forcefield that’ll push you back, but it’s nothing a quick dash can’t remedy.
Once you’ve done sufficient damage to his red and blue cores, he’ll activate green. Madhu will once again leap away onto the furthest platform. Don’t bother chasing after him since he creates a forcefield that’ll send Jack flying if he gets too close. Instead, look around the arena for a massive mechanical totem. It’ll be glowing green and several enemies will be standing around it. In this first instance, it’ll just be three cyber zombies. Kill them and then hack down the totem.
You’ll want to complete this phase as quickly as possible because the totem will continually heal Madhu while it’s up. The good news is that once you bring it down, he’ll lose a whole third of his green health bar. Do this three more times, and he’ll completely lose access to this ability. The green phase effectively serves as a checkpoint for this boss fight so know that whenever he lights up like a Christmas tree, you’re making solid progress.
Rinse and Repeat
The rest of Madhu’s boss battle will continue on in much the same fashion with some slight alterations. These tweaks largely only effect his green phase as his red and blue forms will remain identical for the most part. Once the first totem is destroyed, Madhu will switch back to blue and begin raining fire once again. I’m not entirely sure if he can change to red at this point because he never did for me, but simply follow the steps above and you’ll be fine: Dodge left for red and right for blue.
Phase Two will conclude with another switch to green, but this time Madhu will summon two totems, both of which are more heavily defended than the last one. You’ll need to cut down two cyber zombies and two cyber zombie gunmen. (I know at this point in the game they’re called Scions but it’s just such a dull name.) Dispatch all of them, cut down the totem, and proceed to the second one. Copy/paste to bring it down and subtract another third of Madhu’s green health bar.
Phase 3 begins with a change back to red, so get ready to slip away to his left when he comes barrelling at you. Do enough damage and green head is back! Following the pattern, this time Madhu summons THREE totems. What a shock! Two of these will be surrounded by cyber zombies and the mechs that shoot a horizontal laser. This is where your shurikens come in handy since you can use them on the mechs to stun them and create grapple points, significantly speeding up the process. It’s also super useful since the beams they shoot can be really difficult to dodge mid-air. The third totem will just have run-of-the-mill cyber zombies and a cyber zombie gunman. I advise you to destroy that one last, the mechs are a much bigger issue.
Destroy all three totems and Madhu’s green head will shut down, completely destroyed. Now that you don’t need to worry about him constantly healing, proceed to lay into his flanks. This may just be my imagination, but I’m fairly positive that when you’ve destroyed his green bar, your attacks start dealing WAY more damage. At this point, he’ll also gain a new move for his scythe that will see him power it up and smash it back into the ground. It’s a powerful display but painfully slow and easy to avoid. When he raises his weapon above his head, just dodge behind him.
Madhu the Dismantler is a boss designed to test your situational awareness and traversal abilities. While your platforming skills won’t be put to the test on this one, there are quite a few obstacles you can use to speed yourself up. The center of the arena is a pit that contains a few vertical launch pads, some hooks upon which you can grapple, and a handful of grind rails. It’s rare that anything (beyond your own error) will result in Jack falling to his death, but the grappling hooks are spaced in such a way as to be easily accessible from every part of the arena, so use them to get out of dodge at a moment’s notice.
Also, much like General Grievous again, Madhu is more about presentation than actual combat prowess. His moves are limited and very easy to dodge, the challenge comes down to limiting how much time he has to heal. Once you get that flow down, he’s a complete pushover. The checkpoints are nice but if you know what you’re doing, I doubt you’ll even need them.
Now that you’ve beat Madhu the Dismantler in Ghostrunner 2, we can reclaim The Tower and start the finals section of the game: Hunting down Midna.


Last Updated On: Oct 24, 2023 5:32 pm CEST